EN
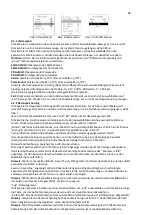
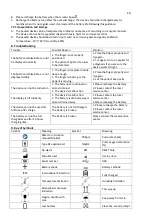
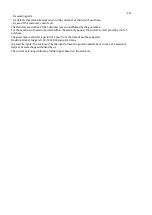
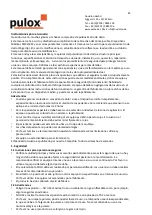
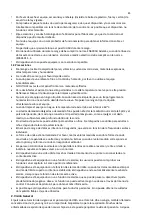
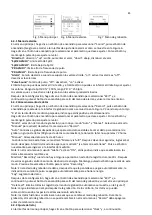
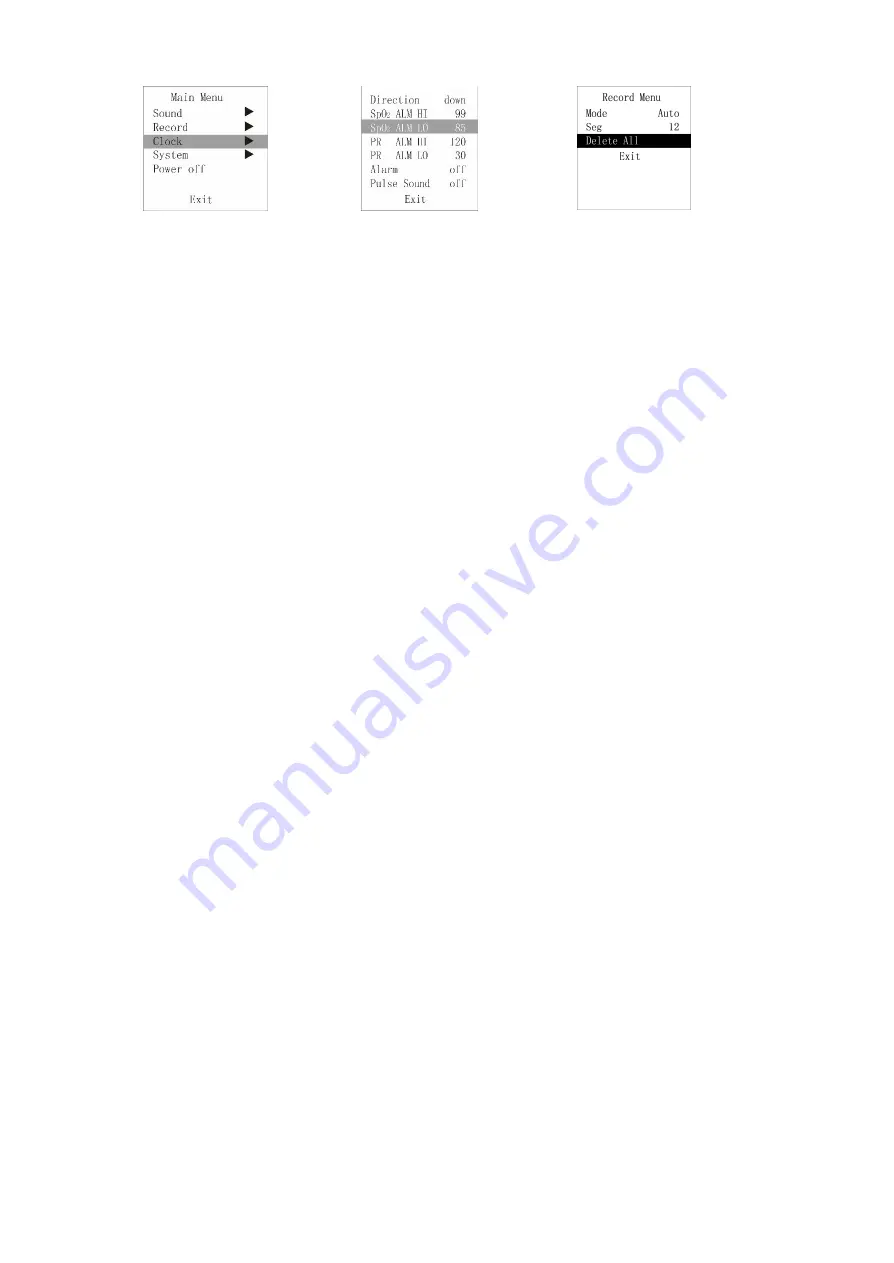
Fig. 5 Main menu
Fig. 6 Alarm menu
Fig. 7 Record menu
6.3.1 Sound prompt setting
Under main menu, short press the button to select “Sound”, then long press the button to enter its
setting interface shown in Figure 6.
Short press the button to select the option to be adjusted, then long press the button to change the
value.
“
Direction
”: direction, “up”: increase the value, “down”: decrease the value
“
SpO2 ALM HI
”: upper limit prompt for SpO2 over-limit
“
SpO2 ALM LO
”: lower limit prompt for SpO2 over-limit
“
PR ALM HI
”: upper limit prompt for PR over-limit
“
PR ALM LO
”: lower limit prompt for PR over-limit
“
Alarm
”: prompt for over-limit, “off”: close, “on”: open.
“
Pulse Sound
”: PR sound, “off”: close, “on”: open.
Lower limit can not exceed the upper limit, and the upper limit can not be lower than the lower limit
when adjusting the values. SpO2 range: 0 % ~ 100 %, PR range: 0 ~ 254 bpm
The values displayed in Figure 6 are the initial values of over-limit prompt.
After setting, short press the button to select “Exit”, then long press the button to exit sound setting
interface, and return to Main Menu interface.
6.3.2 Data storage
Under the main menu, short press the button to select “Record”, then long press the button to enter the
Record Menu interface as shown in Figure 7. It indicates that the device is storing when the red dot “R●”
in measurement interface flickers.
Short press the button to select the option to be adjusted, then long press the button to change the
value.
“Mode”: record mode selection, including: “Auto” and “Manual” mode. Under “Manual” mode, select to
turn on / off memory by “Record”.
Auto record: start recording after stable data appear, pull out the finger to finish recording a group of
data (99 group of data at most), the total duration does not exceed 72 hours.
Manual record: store up to 24-hour data.
When the memory is full, it will display “Memory is full!”, then it will enter the standby mode after
several seconds. When exiting the standby mode, it will display “Memory is full!” to give user a prompt,
press the button again to enter the measurement interface.
Note
: under manual mode, when “Record” is “ON”, the device will prompt to clear the data stored last
time.
It will display “Recording” when there is no operation under record state for 30s, then it will enter
energy saving mode after several seconds, long press the button to exit this mode; short press the
button, it will display “Recording”.
Note
: under data recording state, after the display screen turns off automatically, in order to save
power, pulse sound indication will turn off automatically.
“Seg”: data segment.
After setting, short press the button to select “Exit”, long press the button to exit record menu and
return to main menu.
“Delete All”: delete all records (auto record mode is shown as Figure 7).
Note
: please upload data in time after recording, otherwise the data may be covered when the storage
space is full.
Note
: the historical data will be deleted once switching the record mode. Under recording state, the
record mode can not be switched; under manual mode, the “Record” should be turned off before
switching mode.
6.3.3 Clock setting
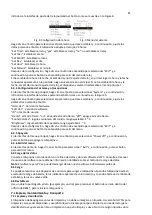
Under main menu, short press the button to select “Clock”, long press the button to enter its sub-menu
as shown in Figure 8.

