10
THERMAL IMAGING SCOPE
HELION 2 XP50 PRO
•
Launch Stream Vision and go to section My Devices.
•
Select your Pulsar device and press Check Updates.
Important:
द
if your Pulsar device is connected to phone, please turn on mobile data transfer (GPRS/3G/4G) to download
update;
द
if your Pulsar device is not connected to your phone but it's already in the My Devices section, you may use
Wi-Fi to download update.
•
Wait for the update to download and install. Pulsar device will reboot and will be ready to operate.
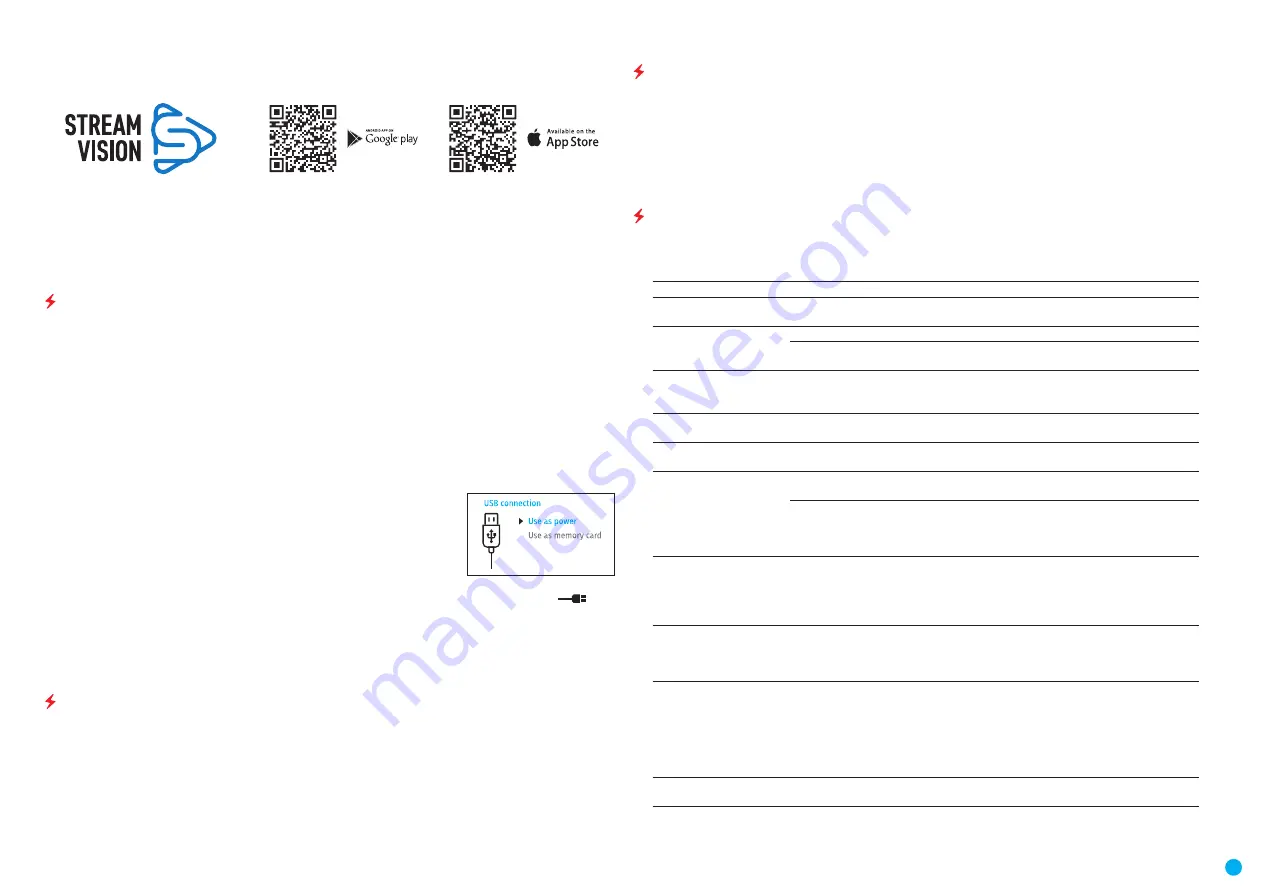
USB CONNECTION
•
Connect one end of the USB cable to the Micro-USB
(4)
port of your device and the other end to the USB port
of your PC / laptop.
•
Turn the device on with a short press of the ON
(11)
button (a device that has been turned off cannot be
detected by your computer).
•
Your device will be detected by the computer automatically; no drivers need to be installed.
•
Two connection modes will appear on the display: USB Mass storage device (external storage device) and
Power
•
Select the connection mode with the UP
(10)
and DOWN
(8)
buttons.
•
Confirm the selection
with a short press of the M
(9)
button.
CONNECTION MODES:
USB Mass storage device.
In this mode the device is detected by the computer as a flash card. This mode
is designed for work with the files saved in the device's memory. The device's
functions are not available in this mode; the device turns off automatically.
•
If video recording was in progress when the connection was made, recording
stops and the video is saved.
•
When the USB is disconnected from the device where connection is in the USB
Mass storage device mode, the device remains in the Off state. Turn the device
On for further operation.
Power.
In this mode, a PC/laptop is used as an external power supply. The status bar shows the icon
.
The device continues operating and all functions are available.
•
The Battery Pack installed in the device is NOT being charged.
•
When the USB is disconnected from the device when in the Power mode, the device keeps operating with the
Battery Pack if it is available and sufficiently charged.
MAINTENANCE AND STORAGE
Maintenance should be carried out at least twice a year, and should consist of the following measures:
•
Wipe external plastic and metal surfaces with a cotton cloth to remove dust and dirt. Silicone grease is
allowed.
•
Clean the electric terminals of the Battery Pack and the device's battery slot using a grease-free organic
solvent.
•
Check the objective and eyepiece lenses. If required, remove dust and sand (preferably by a noncontact
method). Clean the external surfaces of the lenses with products expressly designed for this purpose.
•
Store the device in a carrying case. Remove the Battery Pack for long-term storage.
TECHNICAL INSPECTION
It is recommended to carry out a technical inspection before each use of the device. Check the following:
•
The state of the objective and eyepiece lenses (there should be no cracks, grease spots, dust, deposits).
•
The device appearance (there should be no cracks on the housing).
•
The state of the Battery Pack (it should be charged) and electric contacts (there should be no signs of salts or
oxidation).
•
The controls should be in working order.
TROUBLESHOOTING
The table below lists problems that may occur when using the device. Carry out the recommended checks
and troubleshooting steps in the order listed in the table. If there are defects not listed in the table or it is
impossible to resolve the problem yourself, the device should be returned for repair.
Malfunction
Possible cause
Corrective action
The thermal imager will not
turn on.
Battery Pack is discharged.
Charge the Battery Pack.
The device does not
operate on external power
supply.
The USB cable is damaged.
Replace the USB cable.
External power supply is
discharged.
Charge the external power supply.
The image is blurry, with
vertical stripes or an
uneven background.
Calibration is required.
Perform the calibration according to the
instructions.
The image is too dark.
Brightness or contrast level is
too low.
Adjust the brightness or contrast.
Poor image quality /
detection range reduced.
Problems described may arise in adverse weather conditions (snow, rain, fog, etc.).
Smartphone or tablet PC
cannot be connected to the
device.
Password in the device was
changed.
Delete network and connect again inserting the
password saved in the device.
There are too many Wi-Fi
networks in the area device is
located which may cause signal
interference.
To ensure stable Wi-Fi performance, move the
scope to an area with few or no Wi-Fi networks.
No Wi-Fi signal or erratic
signal.
The device is beyond reliable
Wi-Fi range. There are obstacles
between the device and the
signal receiver (i.e. concrete
walls).
Place the device in line-of-sight and within range
of the Wi-Fi signal.
Colour stripes appear on
the display or the image
disappears.
The device has accumulated
static charge during operation.
As soon as the impact of the static charge is
over, the device may reboot automatically.
Alternatively, please turn off and restart the
device.
The image quality during
the device operation at
below zero temperatures
is worse than at positive
temperatures.
Because of variations in thermal conductivity, objects (surrounding environment,
background) under observation become warm more quickly at above-zero
temperatures, which allows higher temperature contrast, so the quality of the
image produced by a thermal imager will be better. At low operating temperatures,
objects under observation (background) normally cool down to roughly identical
temperatures, which leads to reduced temperature contrast and to image quality
(precision) degradation. This is normal for thermal imaging devices.
There is no image of the
observed object.
You are looking through glass.
Remove glass from the field of view.
Repair of the device is possible within 5 years.


