Description
Extracting Log Information (1)
Setting Up The Logger
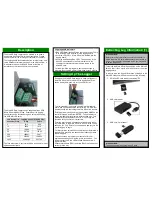
Setting up the Ultra SD Data Logger is easy, simply insert
the Micro SD card into the slot on the logging board (as
shown below), and push it in
until you hear a ‘click’.
This indicates that it is housed correctly into the logging
board, and upon powering the controller the
‘CD’ LED will
illuminate solid red confirming the Micro SD card is present.
Enter program mode by entering the passcode
‘
1997
’ on the
controller keypad,
and press ‘ENTER’. The parameter to
set up the logging interval time is direct access only. This
parameter (P129) b
y default is set to ‘0’, so no logs are
recorded until you enter an interval time.
Enter the interval value (in seconds) at which you wish to
log information to the Micro SD card. Min = 5, Max = 3600
seconds, (0 = Off). Return to run mode and power cycle the
unit for logging to begin.
For interval times below 20 seconds, although information is
logged, there may be a few seconds discrepancy between
the time logged.
You can continue to program your controller for your
application and, once completed, return to run mode. You
will notice that the ‘Data’ LED will flash blue each time it
logs information.
Ensure that the date (P931) and time (P932) have been set
correctly in the unit.
To remove the Micro SD card, push down on the Micro SD
card so that it then ejects, and then remove it from the
logging board.
In order to read the logged information contained on the
Micro SD card you will need to use one of the following:
1. SD/Micro SD card reader on a Laptop/PC:
2. USB card reader:
3. USB stick, Card reader:
The Ultra SD Data Logger can be ordered to be used in
conjunction with
Pulsar’s wall mount controllers. Please
consult Pulsar for the full range of compatible controllers.
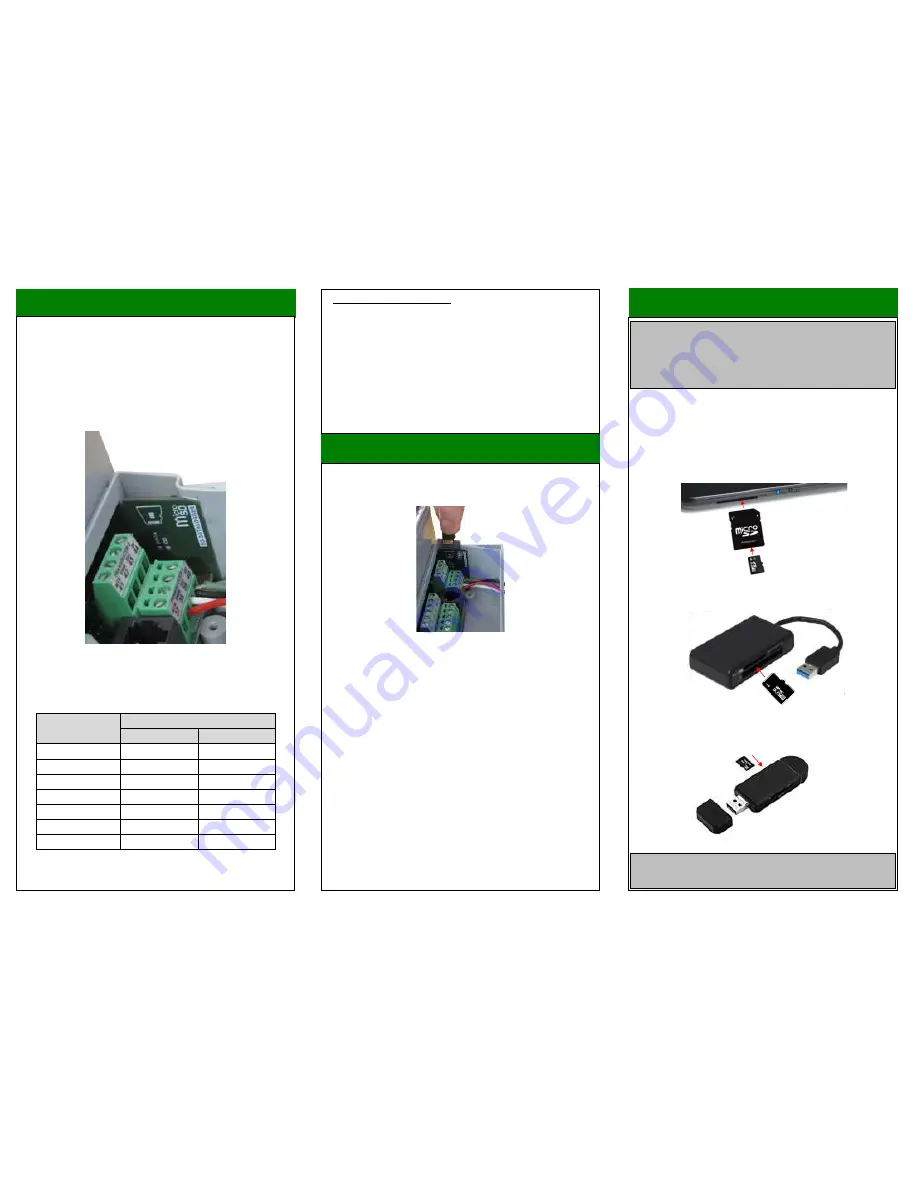
The logging board is situated under the terminal cover, next
to the transducer terminals, as seen in the picture below. It
is advisable to insert the Micro SD card at the time of
installation so that the controller is not powered.
The Ultra SD Data Logger comes supplied with an 8GB
Micro SD card ready for use. Examples of the logging
period that can be recorded are given below (when using
the 8GB Micro SD card):
Log interval in
seconds (P129)
Logging period (8192 log files)
Days
Years
5
3314
9.08
10
6628
18.16
30
19884
54.48
60
39768
108.95
300
198841
544.7
600
397682
1089.54
3600
2386092
6537.24
The files are stored in .csv format, which is suitable for most
spreadsheet software.
Important Note:
Before removing the terminal cover of the controller to
obtain the Micro SD card, please ensure that it is safe to
do so. If the controller is powered by AC you may need
to switch the unit off.
Logging board indicators
•
Blue LED (Data) flashes 3 times every 2 seconds = There
is no Micro SD card inserted into the logging board.
•
Solid red LED (CD) = Micro SD card is inserted into the
logging board.
•
Solid red and flashing Blue LED = The frequency of the
blue LED corresponds to the time interval set in the
controller, to indicate that a log is being stored on the
Micro SD card.
For example: If the log interval is set to 300 seconds (5
minutes), then the blue LED will flash once every 5 minutes.
seconds.
Important Note:
The above items are not supplied by Pulsar.


