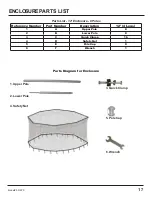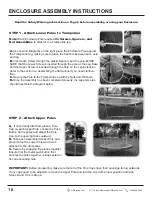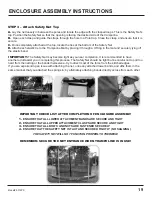
To assemble this trampoline you will need to use the included Spring Tool.
Do not discard or misplace Spring Tool. You will need this to remove/replace springs if required.
PRIOR TO ASSEMBLING:
Please Note:
As these are assembled separately, the assembly instructions/parts list for the
trampoline are below, followed by the enclosure assembly instructions/parts list on Page 18.
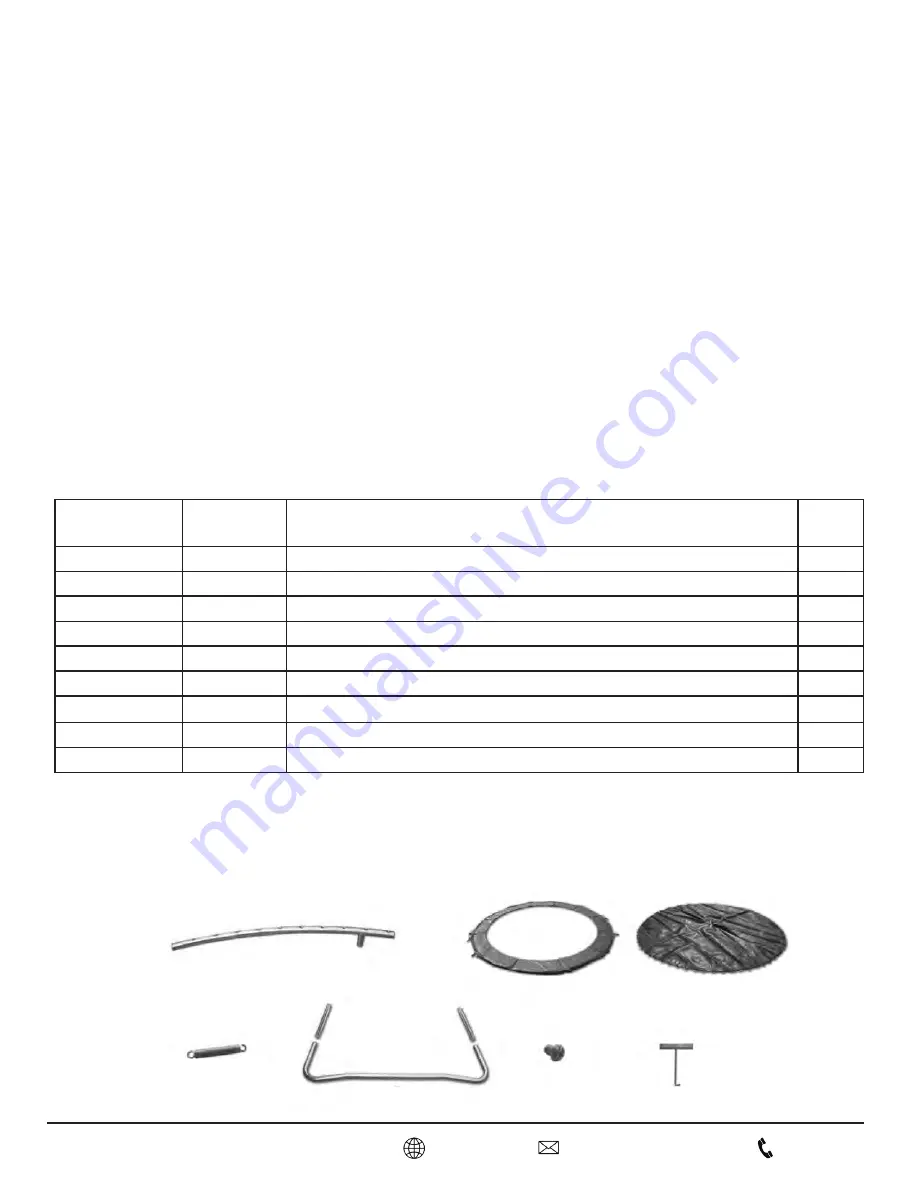
Please refer to the table for part descriptions and numbers.
Make sure you have all parts listed. If you
are missing any parts, please contact customer service at customerservice@
gqbrands.com
.
Choose a location on level ground and free from obstacles where you will be using your trampoline.
Assemble the trampoline in the location it will be used in
to ensure proper fit and
clearance from environmental objects. If the trampoline must be moved once it is assembled, you
MUST
securely tape the top rail frame joints and use a
MINIMUM of
2
adults placed equidis-tant
around the unit. Failure to do so may result in damage to the assembly.
NEVER DRAG OR ROLL THE ASSEMBLED TRAMPOLINE!
IMPORTANT: USE GLOVES TO PROTECT AGAINST PINCH POINTS DURING ASSEMBLY.
PARTS LIST
-
12’ Trampoline - 72 Springs - (Enclosure parts list on page 18)
Reference
Number
Part
Number
Description
12’
1
A
Top Rail
8
2
B
Frame Pad
1
3
C
Trampoline Mat
1
4
D
Springs
72
5
E
Leg Extension
8
6
F
Leg Base
4
7
G
Hardware
16
8
H
Spring Tool
1
9
I
Safety Placard
1
Enclosed are the current specifications and product features available at time of
printing, however, changes may be made in equipment, availability, specifications
and features without notice.
1.
2.
3.
4.
5.
6.
7.
8.
5.
10
CustomerService@GQBrands.com
GQBrands.com
1-866-498-5269


