background image

2

Symbols on the product and in the user manual

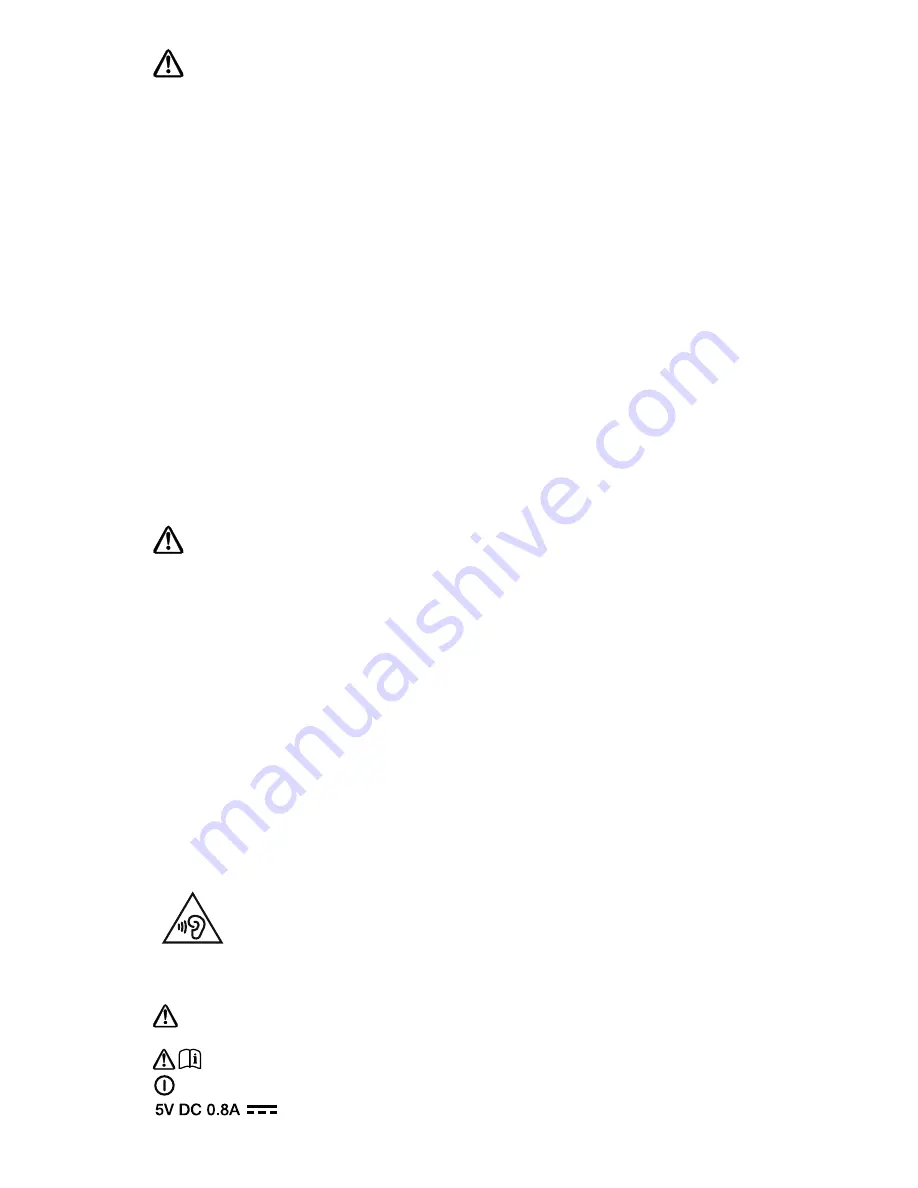
 Potentially serious risk to your personal safety. To avoid possible injury or death, obey all safety 

notices with this symbol.

Caution. Read the user manual before use.

Where to switch on or off the product, or put it in standby.

Part
Project
Sub Assembly
Doc Type
Customer
Version
Version Date

106WV
Marley
Rear Housing
Artwork
Pure
1
07/09/2016

History

V1 - 1st Issue


Pantone 877C


Colour Spec

 5V DC power supply input, 0.8 amps.

ChargePAK M1 safety instructions

1.   Read the instructions for ChargePAK use in this document.

2.   Only use your ChargePAK with original Pure products. 

Use only the original Pure 

ChargePAK M1.

3.   Store ChargePAK in a cool, dry place at normal room temperature. Remove from devices 

that will be stored unused for extended periods.

4.   Do not puncture, modify, drop, throw, or cause other unnecessary shocks to your 

ChargePAK. May present a risk of fire, explosion, or chemical burn if mistreated.

5.   Do not dispose of ChargePAK in a fire or incinerator, or leave in hot places such as a motor 

car under direct sunlight. Do not store near oven, stove, or other heat source.

6.   Do not connect ChargePAK directly to an electrical source, such as a building outlet or 

automobile power-point. Do not place into a microwave oven, or any other high-pressure 

container.

7.   Do not immerse ChargePAK in water or otherwise expose it to liquids.

8.   Do not short circuit ChargePAK.

9.   Do not use or charge a ChargePAK that appears to be leaking, discoloured, rusty, deformed; 

emitting an odour; or is otherwise abnormal.

10.   Do not touch a leaking ChargePAK directly; wear protective material to remove and dispose 

of it properly immediately.

11.   Do not store where children may have access.

12.   Dispose of ChargePAK as per normal rechargeable batteries according to the local laws 

and regulations of your region. Some batteries may be recycled, and may be accepted for 

disposal at your local recycling centre.

13.   Attention should be drawn to the environmental aspects of battery disposal.

Safety information

1.   Familiarise yourself with all of the safety information and instructions before using the radio. 

When passing this radio on to others, please include all documents.

2.   The apparatus shall not be exposed to dripping or splashing and that no objects filled with 

liquids, such as vases, shall be placed on the apparatus. 

If liquid or water is spilled on to the radio, switch it off at the mains immediately, disconnect the 

mains plug and contact your dealer. 

Never touch the plug or the radio itself with wet hands. Never pull the power cable when 

disconnecting the power adaptor from the power supply.

3.   The batteries (battery pack or batteries installed) shall not be exposed to excessive heat such as 

sunshine, fire or the like

4.   Using the radio in rooms or climates with high humidity and temperatures may cause 

condensation to form inside the radio, which can damage the radio. Use apparatus in moderate 

climates only.

5.   Avoid extreme degrees of temperature,either hot or cold. Place the device well away from 

heat sources such as radiators or gas/electric fires. No naked flame sources, such as lighted 

candles, should be placed on the apparatus

6.   The mains power adapter is used as the disconnect device, the disconnect device shall remain 

readily operable. 

Fit the mains adaptor to an easily accessible socket located near the radio and ONLY use the 

mains power adapter supplied.

7.   Use only power supplies listed in the user instructions. (Model KSLFB0500080W1UV-1 or 

SW0500800-AM).

8.   Ensure that the available supply voltage corresponds with the required operational voltage of the 

radio before use.

9.   Disconnect your radio from the power supply if you will not use your radio for a long period of 

time (e.g. if you are going on holiday).

10.   Always unplug your radio from the mains socket before cleaning. When cleaning the radio, 

do not use any type of abrasive pad or abrasive cleaning solutions as these may damage the 

radio’s surface.

11.   To reduce the risk of electric shock, do not remove any screws as there are no user-serviceable 

parts inside. Refer servicing to qualified personnel.

Damage to hearing can occur with consistent exposure to high volume when using 

headphones. Always check the volume level before inserting headphones into your ears. 

Use of headphones while operating a vehicle is not recommended and is illegal in some 

areas. Stop listening to your Move if you find it distracting while operating any type of 

vehicle or performing any other activity that requires your full attention.

Summary of Contents for Move 2520

Page 1: ......

Page 2: ......

Page 3: ...0 This manual will get you up and running in no time and explains how to make the most of Move 2520 s great features If you need additional help with topics not covered in this manual please visit the Pure support pages at www pure com ...

Page 4: ... or splashing and that no objects filled with liquids such as vases shall be placed on the apparatus If liquid or water is spilled on to the radio switch it off at the mains immediately disconnect the mains plug and contact your dealer Never touch the plug or the radio itself with wet hands Never pull the power cable when disconnecting the power adaptor from the power supply 3 The batteries batter...

Page 5: ...e display 9 Using the navigation dial 10 Listening to digital radio 10 Listening to FM radio 11 Favourites 12 Settings 12 Time 12 24h 12 Language 12 Factory reset 12 Version 12 Update 13 FM stereo 13 Autotune 13 Sleep timer 14 Audio settings 14 Display settings 15 Help and specifications 15 Hints and tips 15 Technical specifications 17 Pure Warranty Statement for Australia ...

Page 6: ...4 What s in the box Move 2520 Noise isolating headphones Plus a choice of small medium or large earbuds ChargePAK M1 Power adapter Attach the appropriate pins for your region ...

Page 7: ... page 9 for information Top Bottom Micro USB socket For connecting the mains adapter or a USB cable for software updates Lock switch Slide to lock the navigation dial and the Select button to prevent accidental use 3 5mm socket For headphones Select button ...

Page 8: ...Press down slightly near the catch while sliding the cover back on Note Before using Move for the first time we recommend that you charge it for at least 3 hours Remove ChargePAK M1 if you are storing Move unused for a long period Under normal circumstances your ChargePAK M1 will give you years of trouble free use but as with all rechargeable batteries its performance will gradually reduce with ag...

Page 9: ...adphone cable doubles as an aerial using headphones with shorter or asymmetrical cables or using headphones with volume controls may affect reception Switch on Press Source to switch Move on Select language Turn the navigation dial and press Select to choose from English French German or Italian Autotune Move will perform an autotune for digital stations and tune to a station when complete The num...

Page 10: ...o signal DR Digital radio FM FM radio Volume mute Signal strength Sleep timer Displayed when the sleep timer is set Text area Displays menus settings and station information Battery charge level Animated when charging Removed when fully charged Current time AM PM indicator ...

Page 11: ...Access options and settings Press again to go back one step Fav Press to display the favourites list Hold to save a favourite You can save up to 10 digital and 10 FM stations as favourites Source also On Off Switch between digital and FM radio Press to switch on and hold to switch off Stations Displays the station list in digital radio or tuning screen in FM DR ST Volume 25 DR ST Digital radio Set...

Page 12: ...ng Press Stations to show the FM tuning screen then use one of the following methods to find the station you want Seek tune Press left Stations or right Fav on the navigation dial to seek to the previous or next station with a strong signal Press Select to exit Manual tune Turn the navigation dial to manually tune to a frequency Press Select to exit DR ST Station list Absolute FM tuning 87 50MHz F...

Page 13: ...ation dial to scroll through favourites 3 Press and hold Fav or Select to save the current station as a favourite You can save over existing favourites Selecting a favourite 1 Press Fav to show the favourites list 2 Turn the navigation dial to scroll through favourites 3 Press Select to tune DR ST Favourites 3 Empty DR ST Favourites 3 Absolute DR ST Favourite 3 Stored ...

Page 14: ... favourites Restarts with default settings Version Displays the current software version Update Contact Pure technical support http support pure com for more information on how to update Move 2520 to the latest software version Press Menu select Settings and choose a setting to adjust Time 12h 24h 24 hour DR ST Language English DR ST Factory reset No Yes DR ST Version V1 2_M DR ST Update No Yes ...

Page 15: ...earch for new stations and remove those no longer broadcasting DR ST Scanning 32 Sleep timer 1 Press Menu then select Sleep timer 2 Turn the navigation dial and press Select to set the timer for up to 90 minutes or choose Sleep off to cancel The sleep timer icon will appear when a sleep timer is set The sleep timer can be set to switch Move off after a period of time DR ST Set sleep time 30 minute...

Page 16: ...st how long the display backlight stays on Choose from Always on Timed off after 7 seconds or Off Information Digital radio only Choose the information shown on the display Scrolling text Provided by the broadcaster Signal strength The clear block indicates reliable reception level Signal quality From 0 low to 100 high Press Menu select Display and select one of the following options DR ST Backlig...

Page 17: ...upply and software upgrade Output 3 5mm stereo output for headphones Mains power Adapter Input AC 100 240 V 50 60 Hz Output DC 5V 0 8 A Main Unit DC 5V 0 8 A Software version V1 2_M_1RC9 Battery ChargePAK M1 1000mAh Dimensions 102 mm x 56 mm x 15 mm Approvals CE marked Compliant with R TTE RED 2014 53 EU after 13th June 2017 and RoHS Directives 1999 95 EC and 2011 65 EU ETSI EN300 401 compliant Se...

Page 18: ...K Pure the Pure logo are trademarks or registered trademarks of Pure International Limited Copyright Copyright 2017 Pure International Limited All rights reserved No part of this publication may be copied or distributed transmitted transcribed stored in a retrieval system or translated into any human or computer language in any form or by any means electronic mechanical magnetic manual or otherwis...

Page 19: ...17 ...

Page 20: ...104FO_07 www pure com support pure com Pure International Limited Concept House Home Park Road Kings Langley Herts WD4 8UD United Kingdom http support pure com ...

Reviews: