PureAire Monitoring Systems, Inc.
5/25/07
9
3.3 Sensor Installation
IMPORTANT:
Be careful not to turn the sensor or touch the membrane on the
bottom of the sensor during installation.
IMPORTANT:
Be sure to remove the jumper from the sensor electronics prior
to installing the sensor. Failure to do so will result in a sensor fault indication
upon startup.
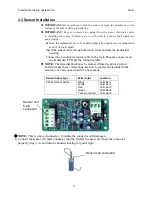
Remove the transmitter cover. It is held in place by captive screws mounted in
each of its four corners.
Insert the sensor cable through the strain relief and into the transmitter
housing.
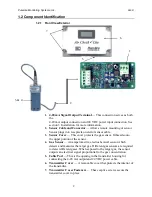
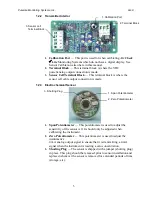
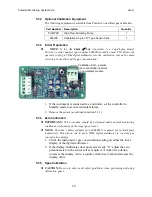
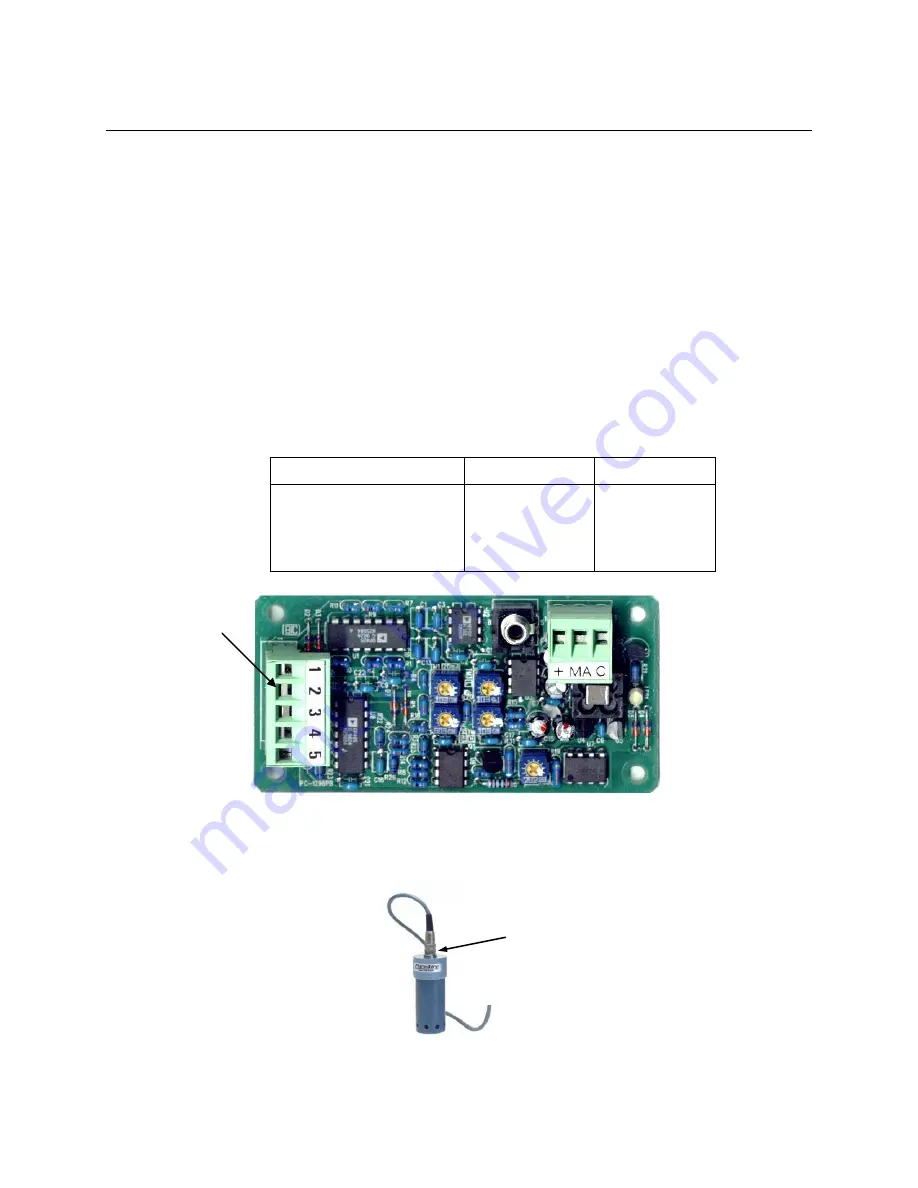
Connect the 5-conductor sensor cable to the 5-pin Phoenix connector on
the transmitter PCB per the following table:
NOTE
:
The terminal block may be removed from the printed circuit
board to make these connections. Be sure to replace the terminal block
securely once all connections have been made.
Sensor Cable Type
Wire Color
Location
5-Wire Sensor Cable
Black
White
Red
Green
Yellow or Brown
Terminal 1
Terminal 2
Terminal 3
Terminal 4
Terminal 5
NOTE:
This is a keyed connector. Twisting the connector will damage it.
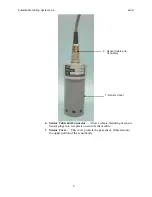
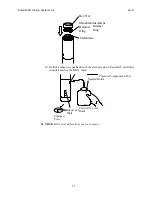
4. Connect the sensor cell male connector into the GS-DQS sensor cell. Align the connector
properly, plug it in, and turn the knurled locking ring until tight
Sensor cell
5-pin
connector
Sensor cell connector
Summary of Contents for Air Check Lite
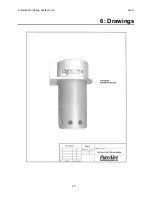
Page 26: ...PureAire Monitoring Systems Inc 5 25 07 23 6 Drawings ...
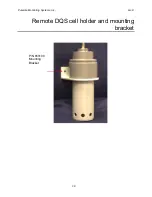
Page 28: ...PureAire Monitoring Systems Inc 5 25 07 25 DQS cell Mounted to AirCheck Lite ...
Page 29: ...PureAire Monitoring Systems Inc 5 25 07 26 Membrane ...
Page 30: ...PureAire Monitoring Systems Inc 5 25 07 27 24VDC 3 wire is remote up to 1000 meters ...


