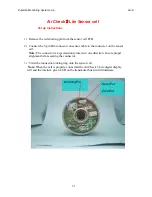
PureAire Monitoring Systems, Inc.
5/25/07
21
NOTE:
Gas generation kits are available through PureAire. These kits include
instructions and materials for generating calibration gases and precise methods
for accurately measuring the concentration of these gases.
NOTE:
The gas concentration should be close to, but never exceed, full scale.
1.
Connect the appropriate sensor adapter to the inlet of the high flow
sampling pump and connect the Tedlar “waste gas” bag to the outlet of
the pump.
2.
Open the valve on the waste gas bag.
3.
Connect the flowmeter to the inlet of the sensor adapter and turn the
high flow sampling pump “on.”
4.
Adjust the pump’s flowrate potentiometer until a flowrate of 0.5
liters/minute is achieved. A clockwise rotation increases flow; a
counter-clockwise rotation decreases flow.
5.
Recheck the instrument’s zero reading; adjust as required.
6.
Generate the calibration gas within a Tedlar bag.
IMPORTANT:
Be sure to perform the calibration before the concentration of
the gas changes. Also, PureAire recommends that you verify that the
concentration of the calibration gas is the same after calibration as it was before.
7.
Disconnect the flowmeter and connect the Tedlar calibration gas bag
to the inlet side of the sensor adapter.
8.
Open the valve on the calibration gas bag.
9.
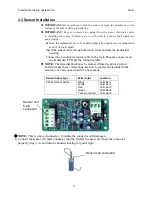
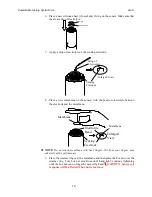
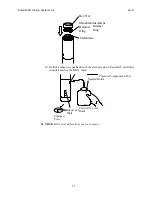
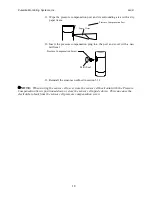
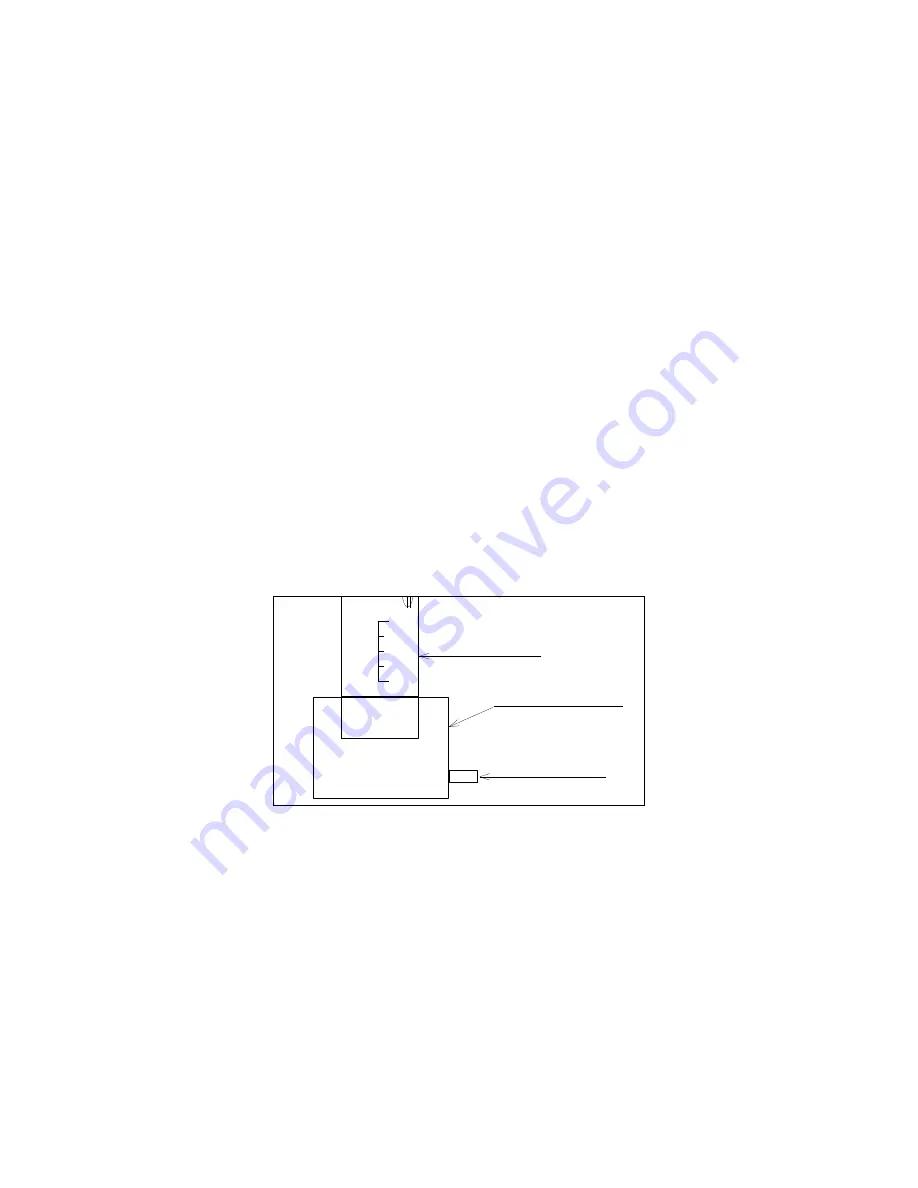
Insert the sensor into the sensor adapter by pushing the sensor cell into
the adapter.
NOTE:
Do not twist or “screw” the sensor into the sensor adapter.
1
2
3
VR1
VR4
VR2
VR3
CN3
CN1
CN2
J1
VR5
SPAN
ZERO
max.
min.
SPAN ADJUSTMENT
ZERO ADJUSTMENT
INDICATOR JACK
SENSOR
SENSOR ADAPTER
CALIBRATION GAS
INLET
1
2
3
4
10.
Expose the sensor cell to the span gas for 1 to 2 minutes until the gas
reading stabilizes.
11.
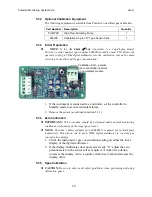
Adjust the span potentiometer on the sensor cell until the displayed gas
reading matches the concentration value of the calibration gas. A
clockwise rotation increases the display value; a counter-clockwise
rotation decreases the display value.
12.
Close the valve on the calibration gas bag and permit the instrument to
return to a zero reading.
13.
Open the valve on the calibration gas bag and verify that the display
reading matches the concentration of the calibration gas. Readjust the
span potentiometer as required.
14.
Close the valve on the calibration gas bag and disconnect it from the
calibration cap.
Summary of Contents for Air Check Lite
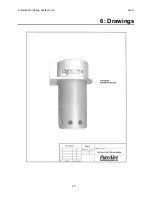
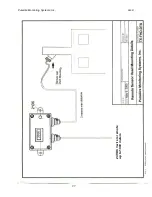
Page 26: ...PureAire Monitoring Systems Inc 5 25 07 23 6 Drawings ...
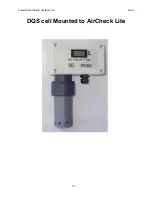
Page 28: ...PureAire Monitoring Systems Inc 5 25 07 25 DQS cell Mounted to AirCheck Lite ...
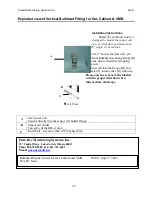
Page 29: ...PureAire Monitoring Systems Inc 5 25 07 26 Membrane ...
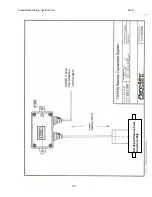
Page 30: ...PureAire Monitoring Systems Inc 5 25 07 27 24VDC 3 wire is remote up to 1000 meters ...

