PRINCIPLE OF OPERATION
ELECTRICAL SUPPLY
The WMDH 25 Dehumidifier utilizes its integral humidistat to monitor the conditioned space.
When the relative humidity goes above the selected set point, the dehumidifier will
energize. Air is drawn across an evaporator coil, which is cooler than the dew point of air.
This means moisture will condense out of the air. The air is then reheated through the
condenser coil and distributed back into the room.
POWER SUPPLY
OUTLET REQUIREMENT
CIRCUIT PROTECTOR
220 Volts AC may cause serious injury from electric shock.
WARNING
TO ENSURE SAFETY:
Disconnect electrical power before servicing.
Only plug unit into grounded electrical circuit.
Do not use extension cord.
Do not use a plug adapter.
SAFETY NOTES
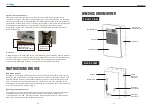
The WMDH 25 Dehumidifier must always be connected using a grounded electrical
connection (as required for all electrical appliances). If non-grounded wiring is used, all
liability reverts to owner and the warranty is voided.
The WMDH 25 Dehumidifier should only be installed and serviced by a qualified
technician.If there is a chance that water flooded the dehumidifier, it should be opened and
allowed to dry thoroughly before reconnecting to electrical power and restarting.
To ensure proper operation, no obstruction should be located within 915 mm of the
discharge of the unit.
Do not insert any objects or fingers into the inlet or discharge. If service is required, call a
qualified technician.
All work on the dehumidifier should be done with the unit“off” and unplugged or the breaker
turned off.
Do not use water to clean the exterior. To clean unit, unplug from power, then use a damp
cloth to wipe exterior.
Drain hose must be installed to ensure proper gravity flow of condensate water to a drain
source.
PureAiro
WMDH 25
220 V, 50 Hz AC, Single Phase
3-Prong
15 Amp Time Delay Fuse or Circuit Breaker
02
03
INSTALLATION
Do not install your dehumidifier in a corrosive environment.
WARNING
Mounting
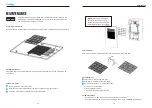
The WMDH 25 Dehumidifier is designed to mount into the wall cavity between two studs
mounted on standard 406mm centers. The chassis of the unit slips into the wall from the
front and is secured by the four mounting tabs with screws (not provided).
Ensure the
bottom of the unit is properly supported before screwing into drywall.
1
2
3
4
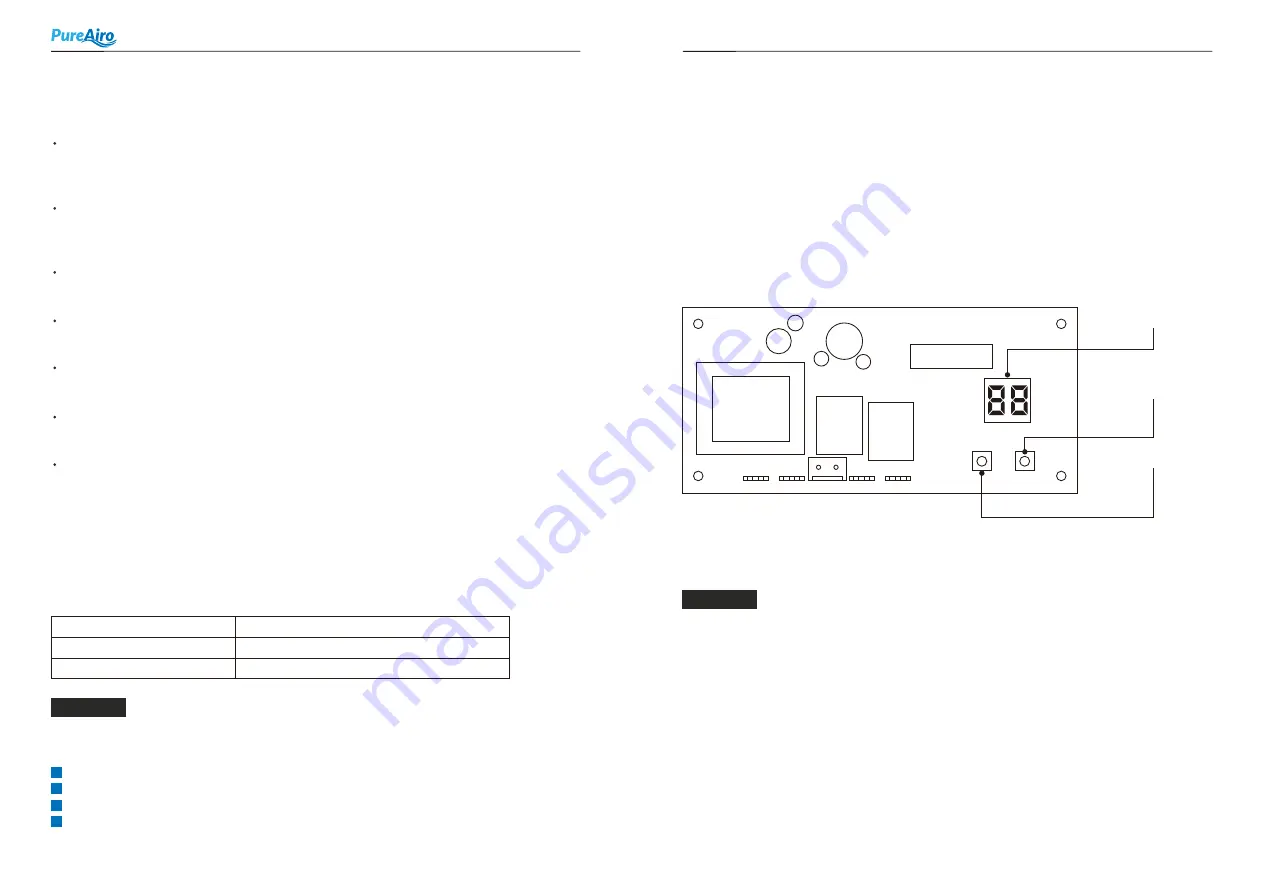
CONTROL BOARD
SET
ON/OFF
Humidity Setpoint
Button
On/Off Button
Humidity Display
Plumbing
The 300 mm drain line (included) is to be attached to the barbed drain hose connection on
the rear of the unit. Secure hose with a hose clamp (included). The entire length of drain line
to the gravity drain must be downhill.
No low spots or dip are permitted as they may cause
leaks.
It is possible to use a short piece of the included tube to deposit condensate directly
into a PVC gravity drain system.
All state and local plumbing codes must be adhered to
for proper operation of the unit and to maintain warranty compliance.


