


SAIL TRACK
INSTALLATION
1.
Layout
the
sail
track
lengths
supplied
in
your
Orbit
®
Air
Annexe
bag
in
front
of
the
caravan
wall
that
you
will
be
installing
on.
2.
On
the
caravan
wall,
carefully
measure
and
mark
a
straight
line
and
a
starting
point
for
your
sail
track
to
follow.
3.
Once
you
have
worked
out
your
end
point
cut
the
excess
length
of
sail
track.
Clean
up
the
ends
of
the
sail
track
with
a
small
round
file
to
give
a
nice
clean
entry.
It
is
harder
to
do
this
after
it
is
fixed
to
the
side
of
the
caravan
wall.
4.
Apply
small
squares
(say
10mm
x
10mm)
of
double
sided
self
adhesive
foam
tape
(1.5mm
thick)
about
every
300mm
to
the
caravan
wall
along
the
line
where
you
want
the
sail
track
to
be
positioned.
Keep
the
end
patches
about
75mm
from
the
ends
of
the
sail
track.
5.
Then
apply
a
bead
of
Sikaflex
11F
between
the
tape
patches
for
the
full
length
of
the
sail
track.
6
.
Press
the
sail
track
onto
the
tape
patches
and
squeeze
the
Sikaflex
out.
The
tape
will
hold
the
sail
track
in
position
until
the
Sikaflex
sets
(allow
24
hours
minimum
before
"testing”).
Important: When
fixing
and aligning
the sail track lengths to the caravan
wall, make sure there is no gap
between the sail track join, so the air
annex slides in and out of the sail track
channel smoothly. Seal joins with extra
Sikaflex
to avoid water going through
if needed.
7.
Clean
up
any
excess
Sikaflex
immediately
with
clean
rags
and
turps
as
excess
Sikaflex
will
hamper
the
air
annexe
to
slide
in
and
out
of
the
sail
track
smoothly.
8.
Job
done!
8.
Your
annexe
is
supplied
with
two
adjustable
rear
support
poles.
Ensure
the
rear
weather
seal
pads
are
located
between
your
caravan’s
wall
and
the
rear
support
poles.
The
poles
should
be
inserted
with
the
bottom
part
through
the
retaining
loop
located
at
the
base
of
the
rear
seal
pads
and
with
the
flat
end
inserted
into
the
integral
in
the
top
back
end
of
annexe
above
the
rear
seal
pads.
Adjust
these
poles
as
necessary
to
obtain
the
correct
tension
using
the
adjustable
quick
lock
bracket.
9
.
Ensure
the
weather
skirt
is
laid
and
pegged
correctly
to
help
stop
any
water
entering
the
annexe.
The
weather
skirt
has
a
dual
pegging
system
so
the
skirt
can
be
pegged
inside
or
outside
the
annexe.
10
.
Located
in
the
central
air
beam
is
an
integral
sewn-in
vertical
storm
pole
which
can
be
used
in
conjunction
with
a
rear
support
pole
in
certain
weather
conditions
to
aid
stability
and
any
water
dispersal.
Insert
the
flat
end
of
the
pole
with
the
black
plastic
protection
piece
into
the
integrated
storm
pole
and
adjust
it
to
the
correct
tension
(slightly
lifting
the
roof,
but
taking
care
not
to
over
adjust)
and
tighten
using
the
quick
lock
brake.
TAKING DOWN YOUR ANNEXE
Taking
down
your
annexe
should
ideally
be
done
when
the
annexe
is
completely
dry.
If
taken
down
wet,
dry
completely
at
the
first
opportunity
to
avoid
damage
to
your
annexe.
To
dismantle
your
annexe,
deflate
each
tube
by
unscrewing
the
dust
cap
and
then
the
valve
from
the
bladder.
Un-peg
the
annexe
and
then
release
the
beading
from
the
caravan
sail
track
channel.
The
annexe
should
be
folded
carefully
and
packed
in
a
dry
safe
place.
Leave
the
valves
un-fitted
whilst
being
stored.
ORBIT
AIR
COMET
325
LOW
325
WIDTH
RANGE
DEVELOPED
SPECIFICALLY
FOR
THE
AUSTRALIAN
CLIMATE
From
the
Makers
of
the
Multi-Award
Winning
AirOPUS
®
Camper
Trailer
INFLATABLE
CARAVAN
ANNEXE
PITCHING
INSTRUCTIONS
CONTINUED
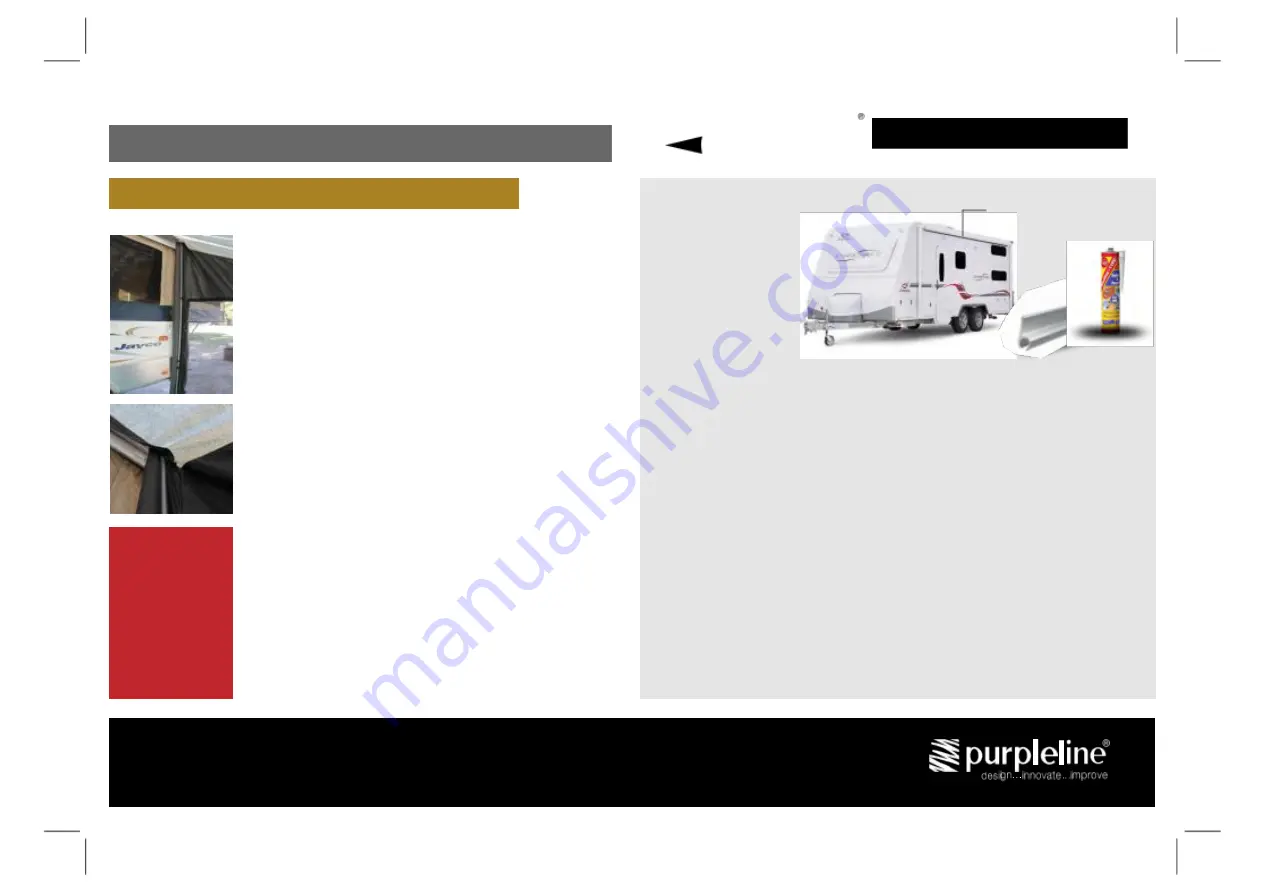
SAIL
TRACK
REQUIRED
Installing
sail
track
without
pop
rivets,
screws
or
drilling
into
your
caravan
DO
NOT
USE
THE
PUMP
TO
DEFLATE
YOUR
ANNEXE.
SIMPLY
UNSCREW
THE
VALVES
TO
DEFLATE
orbitairtech.com.au


