CONQUEST
®
WATER HEATER
36
PV500-71 02/16
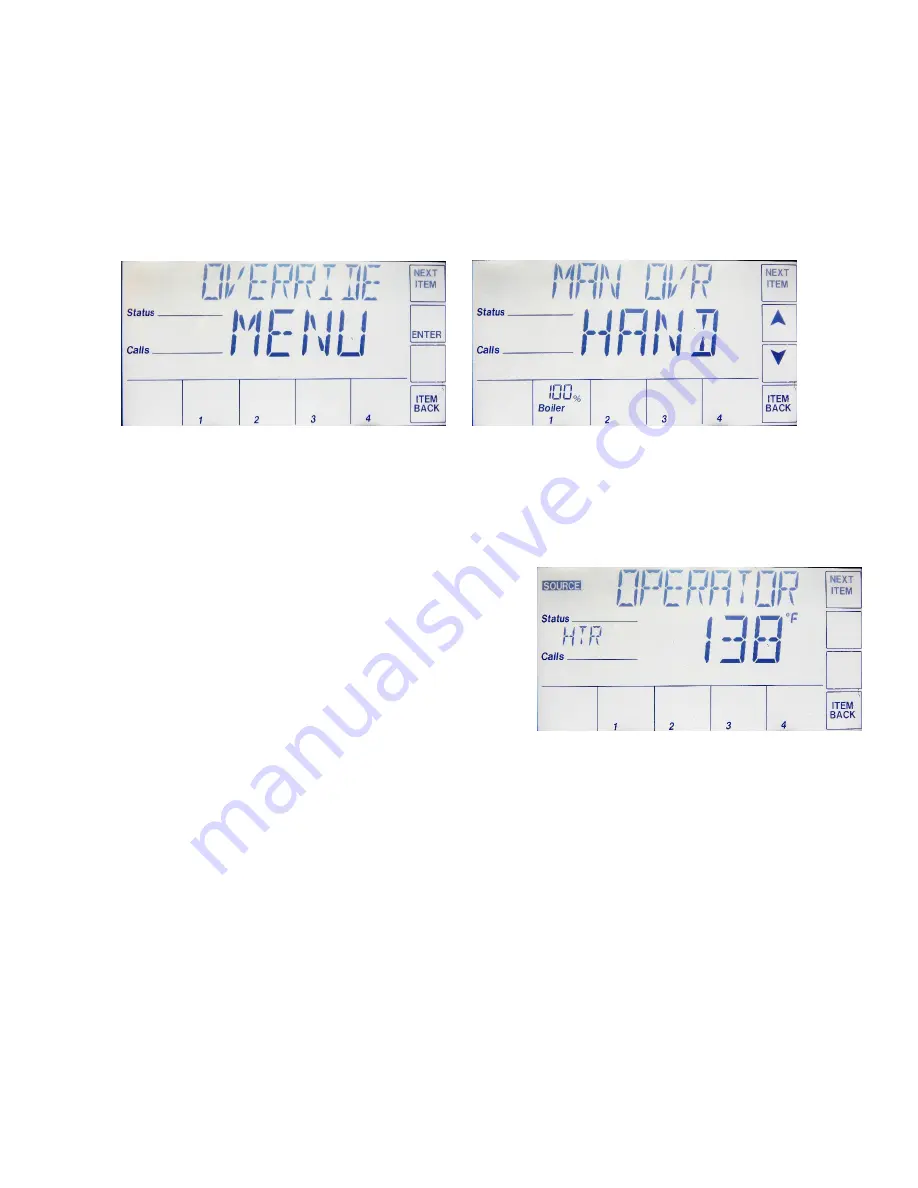
10. The next screen is SAN PUMP. To force on the SANI pump, turn this setting to ON.
11. The next screen is HTR PUMP. To force on the integral tank circulator, turn this setting to ON.
12. The next screen is HTR MOD. This setting will override the operating control and using the up and down arrow
buttons, force the burner to fire at the selected firing rate. This function is useful when tuning the operation of
the burner at a range of firing rates.
NOTE:
If the HTR MOD control is activated while the burner is firing, the burner will shut down and recycle.
WARNING: When adjustments are complete and before putting the water heater into service, return the
MAN OVR function back to “AUTO” Failure to return the MAN OVR function to “AUTO” can cause high
water temperatures that can result in property damage, scalding, other serious injury or death.
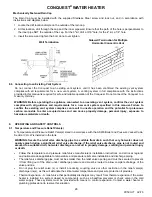
10.10 Potentiometer (Operating Set Point for Standalone Operation)
The PIM Ignition Control will continue to operate the Conquest water heater at a 120 degree internal setpoint
should the touch screen control fail, or communication between the two devices is interrupted. This internal
setpoint can be adjusted using the potentiometer to maintain a different operating temperature under these
circumstances if desired. This feature is intended to be used on a temporary basis, since accuracy of temperature
control is dependent upon the touch screen control.
IMPORTANT
: It is recommended that at the time of
commissioning, the startup technician adjusts the
potentiometer to the desired set point displayed in the
OPERATOR screen located in the SOURCE control system
menu. The standalone set point can be adjusted independently
of the touchscreen but a specific setting may be difficult to
achieve using the temperature index on the PIM. (See
POTENTIOMETER Adjusting the Setpoint)
10.11 Using Tool Box Menu
The TOOL BOX MENU contains several adjustable parameters as well as up to the 15 past alarm messages
logged.
1. The first screen in the Tool Box is for the ACCESS level. The three choices available here are USER, INSTaller
and ADVanced. Depending on the controls software revision, the ADVanced level can be selected using the UP
and DOWN arrow buttons for the first revision. Subsequent software revisions require that button #4 in the
bottom right corner be pressed and held in order to place the control in the ADVanced access level. Consult
factory before changing any settings requiring an ADVanced access level. Depending on the access level
selected, different parameters will become visible and adjustable. Selecting the appropriate access level will
make menu navigation easier and minimize the possibility that parameters will be unintentionally changed,
resulting in improper operation.
2. The second screen will display the software revision for the touch panel display. Press the enter button to view.
3. The third screen allows the user to turn the display backlight ON continuously, OFF or TMPY will keep the
backlight on only during use.
4. The fourth screen allows the user to choose between Fahrenheit and Celsius.
5. All of the following screens will display the most recent alarm messages up to 15. The Status field will show
messages beginning with the most recent. This screen will display the time and date of the failure.

