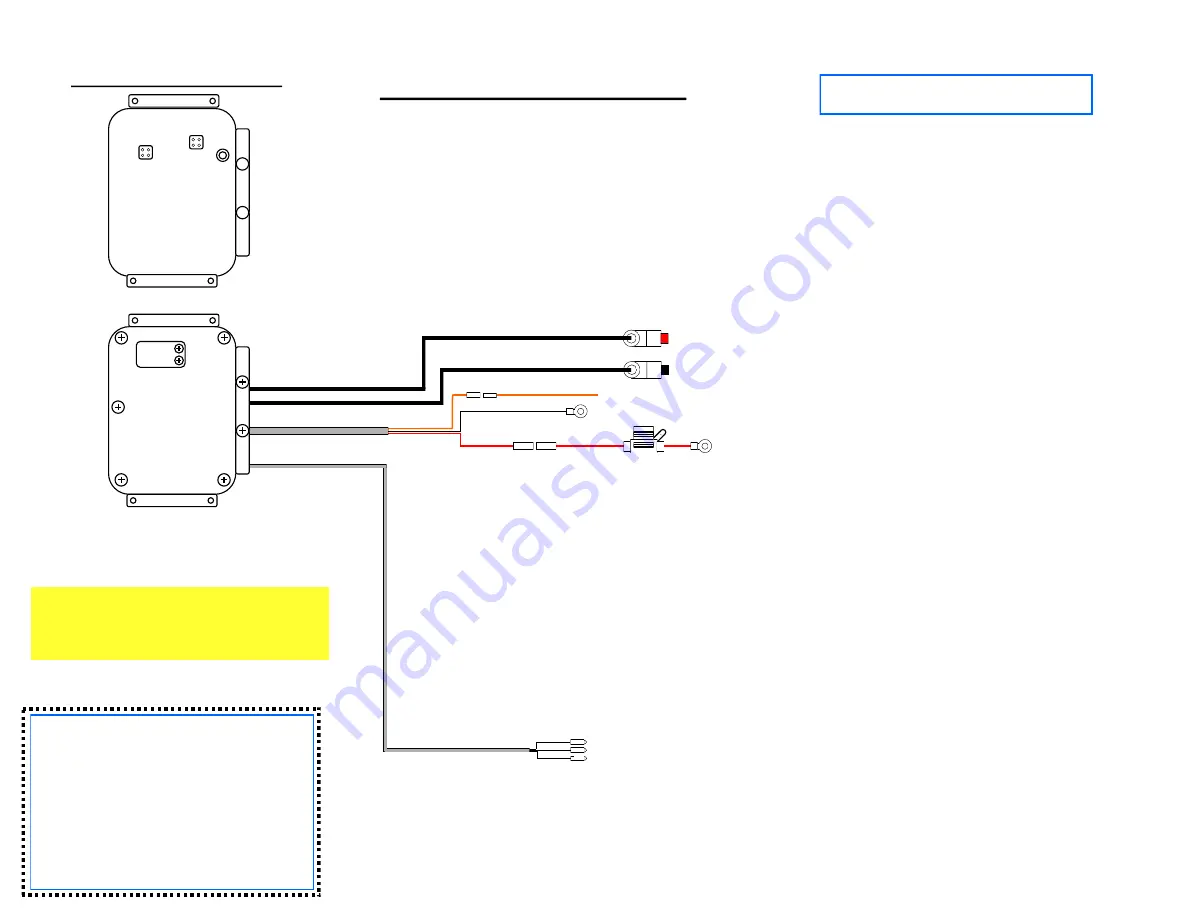
white
black
red
Motorcycle PA PTT Button—Assemble to handlebar bracket
red
black
Motorcycle Radio PTT Button—Assemble to handlebar bracket
Wires to 1/4 inch Harley Siren PA connector (pull back
1/4”
jack and tie wrap to frame). Solder
wires to back of connector as follows:
MIC+ (RED wire)
-
TIP ( blue/pink ) (2014 and Newer Models: Pink /Brown)
PTT (WHITE wire)
-
RING ( red/pink ) (2014 and Newer Models: Pink /Green)
GND (BLACK wire)
-
SLEEVE ( white/pink ) (2014 and Newer Models: Pink /Black)
PA VOLUME:
Adjust helmet microphone PA transmit volume with a small flat screwdriver on the siren amplifier
(to access, remove Philips head at siren amplifier).
NOTE: An additional gain adjust is available in the Control Module if additional volume adjustment
is needed.
NOTE: When testing PA volume, make sure the siren speaker is directed to an open area to avoid
improper feedback.
NOTE: When testing PA volume, make sure the helmet microphone is on axis (not rotated) and held
close to the users mouth (within
1/4”).
PAIRING QUICK GUIDE
NOTE: All other Bluetooth devices in the immediate
area must be powered off.
1) Power off both devices. Press each PAIR switch until
LED goes to a solid color (2
-
3 seconds), then release.
2) Press and hold
Motor
PAIR switch until LED toggles
red
-
green
-
red
-
green, then release it and immediately:
3) Press and hold
Shouldermic (or Headset)
PAIR switch
until LED toggles red
-
green
-
red
-
green, then release.
4) After 10
-
15 seconds, a green pulse will confirm PAIR
is established.
CUT OUT AND MOUNT IN CONVENIENT LOCATION:
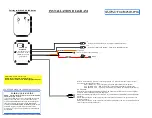
INSTALLATION DIAGRAM
Mount MODULE in rear radio box
NOTE: Do not install in metal enclosures
NOTE: Mount module away
from
speaker
magnets
QUESTIONS? call us at 800
-
584
-
4119 Monday
through Friday, 7AM to 4PM Pacific Time, USA.
Removable tab
Removable tab
pa
iri
ng
sw
it
ch
5v
Pa
ir
L
E
D
3v
K
IC
K
M
O
B
PT
T
P
A
P
T
T
SQ
Pairing switch and led indicators
CONTROL
MODULE
Note: remove screws
to access PA volume
adjustment (12
-
turn
gain adjust)
Removable tab
Removable tab
PA volume
B
Chassis ( do NOT connect to battery
-
)
To Ignition


