After activating the application, the first page will be created by default. You can add other
pages by:
- Selecting "Add" -> "Page" in the tools bar;
- Selecting "Add Page" in the quick access bar;
- Clicking the right mouse button on the list of pages and selecting "Page" from the context
menu;
- Clicking the right mouse button on the existing page in the list of pages and selecting
"Duplicate page" from the context menu.
A new page is added with a default background and the next number available. You can
change the page number by clicking the right mouse button and selecting "Change page number"
in the context menu.
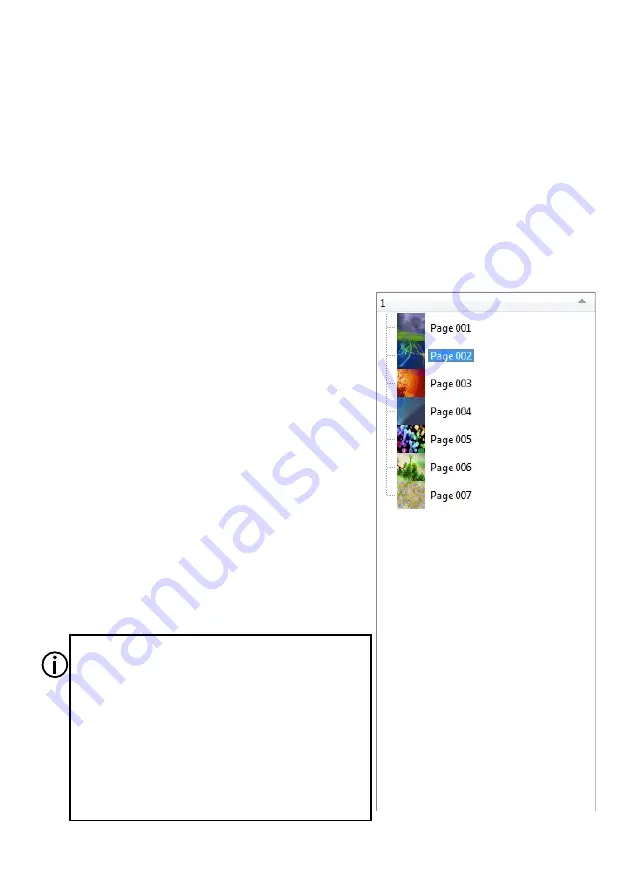
All pages created are shown on the list of pages. You
can edit each of them by selecting a given page. An active
page is displayed within the preview window.
On each page, you can add buttons, sliders, indicator
lights, alerts and clocks. The preview window allows you
to arrange the items located on the page. To have an even
arrangement, you can activate the "snap to grid" feature
("Add" -> "SnapToGrid"). The size of the grid (separately
for axes x and y) can be adjusted within the 1-160x range.
The grid is invisible, even if active.
The pages area includes a list of pages created within
the application. It enables convenient navigation
between pages you want to edit. If you click "+" on the
page name, the list will pop up showing all items located
on a given page. If you click the name of a given item on
the list, that item will be automatically selected within the
preview window.
4.3. Creating a page
11
You can explore the area of pages also by means
of arrow keys. The "Up" arrow moves what is
selected upwards and opens a page selected; the
"Down" arrow moves what is selected downwards;
the "Right" arrow rolls up the tree, and the "Left"
arrow rolls down the tree.
Upon selecting a given page and pressing the right
arrow key, the content of the page will be
displayed. If you press the left key over the same
position, the content of a given page will be rolled
down.


