

Instruction Manual
Read this user manual carefully before first use. Keep this manual for further guidance in case.
www.pyleusa.com
www.pyleusa.com/contactus
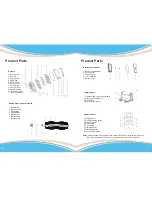
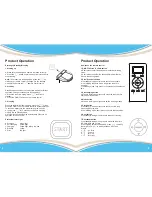
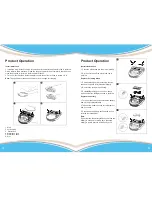
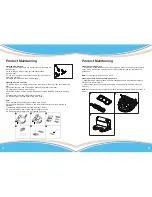
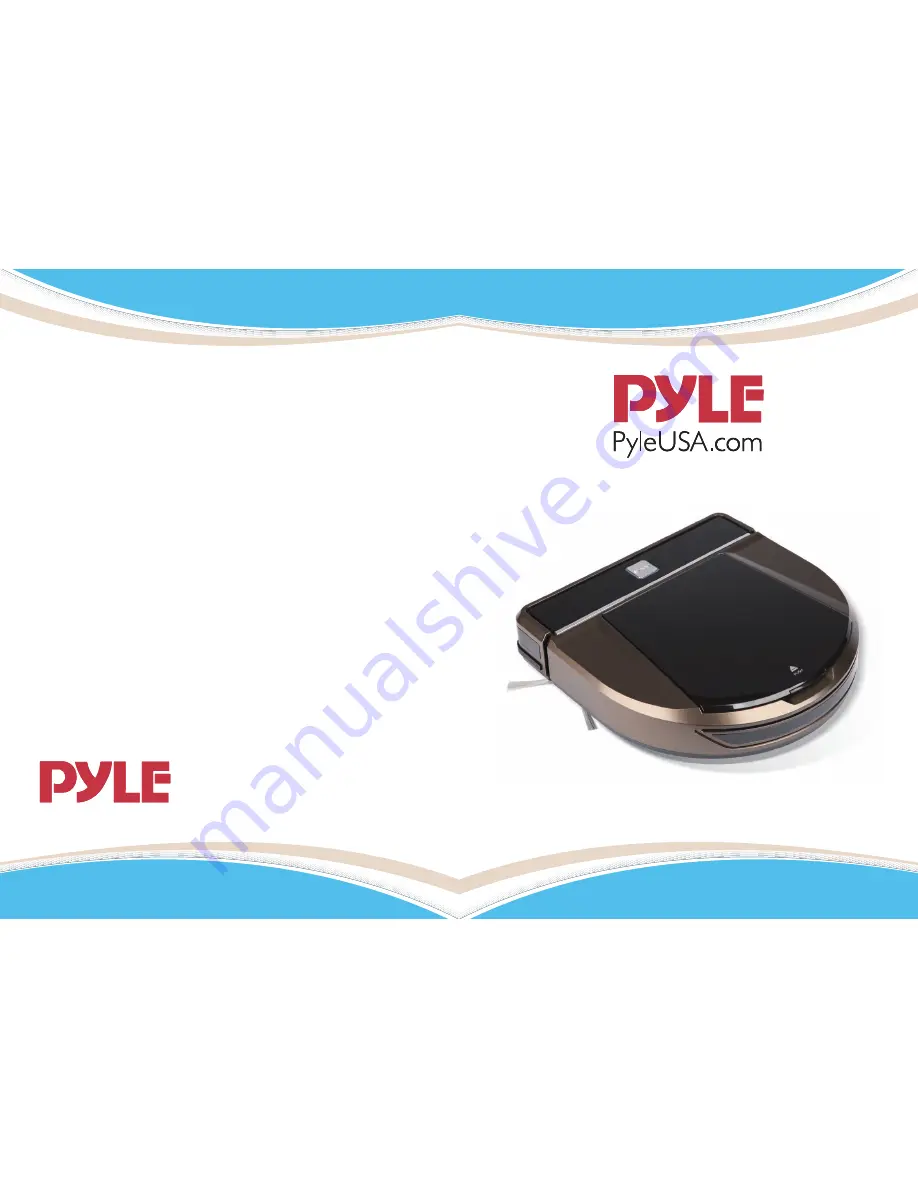
PUCRC750 Robotic Vacuum Cleaner
Instruction Manual
Read this user manual carefully before first use. Keep this manual for further guidance in case.
www.pyleusa.com
www.pyleusa.com/contactus
PUCRC750 Robotic Vacuum Cleaner


