


Summary of Contents for Pure Clean PUCRC99
Page 1: ...PUCRC99 User Manual ...
Page 16: ......
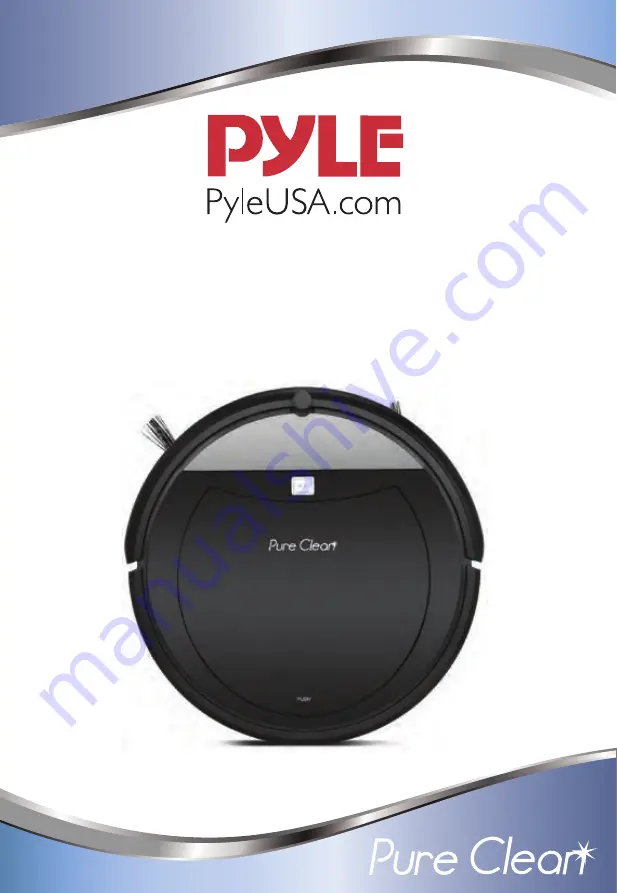
The Pyle Pure Clean PUCRC99 is an advanced robotic vacuum cleaner designed to effortlessly clean your floors. With its user-friendly interface, it's easy to operate and maintain. Enhance your cleaning experience by downloading the free user manual from 88.208.23.73:8080 to access all the detailed instructions and guidance you need.
Page 1: ...PUCRC99 User Manual ...
Page 16: ......


