SVS-VISTEK–Getting Started Contents of Camera Set
11
4
Getting Started
4.1
Contents of Camera Set
>
Camera
>
Power supply (if ordered/option)
>
Quick guide
>
User Manual
>
Software installer – ConvCam
>
Euresys camera file (optional)
4.2
Power supply
Connect the power supply.
CAUTION! – This camera does not support hotplugging
1.
First, connect the data cable.
2.
Then connect power supply.
When using your own power supply (e.g. 10 -25 V DC) see also Hirose
12-pin for a detailed pin layout of the power connector. For power input
specifications refer to specifications.
4.3
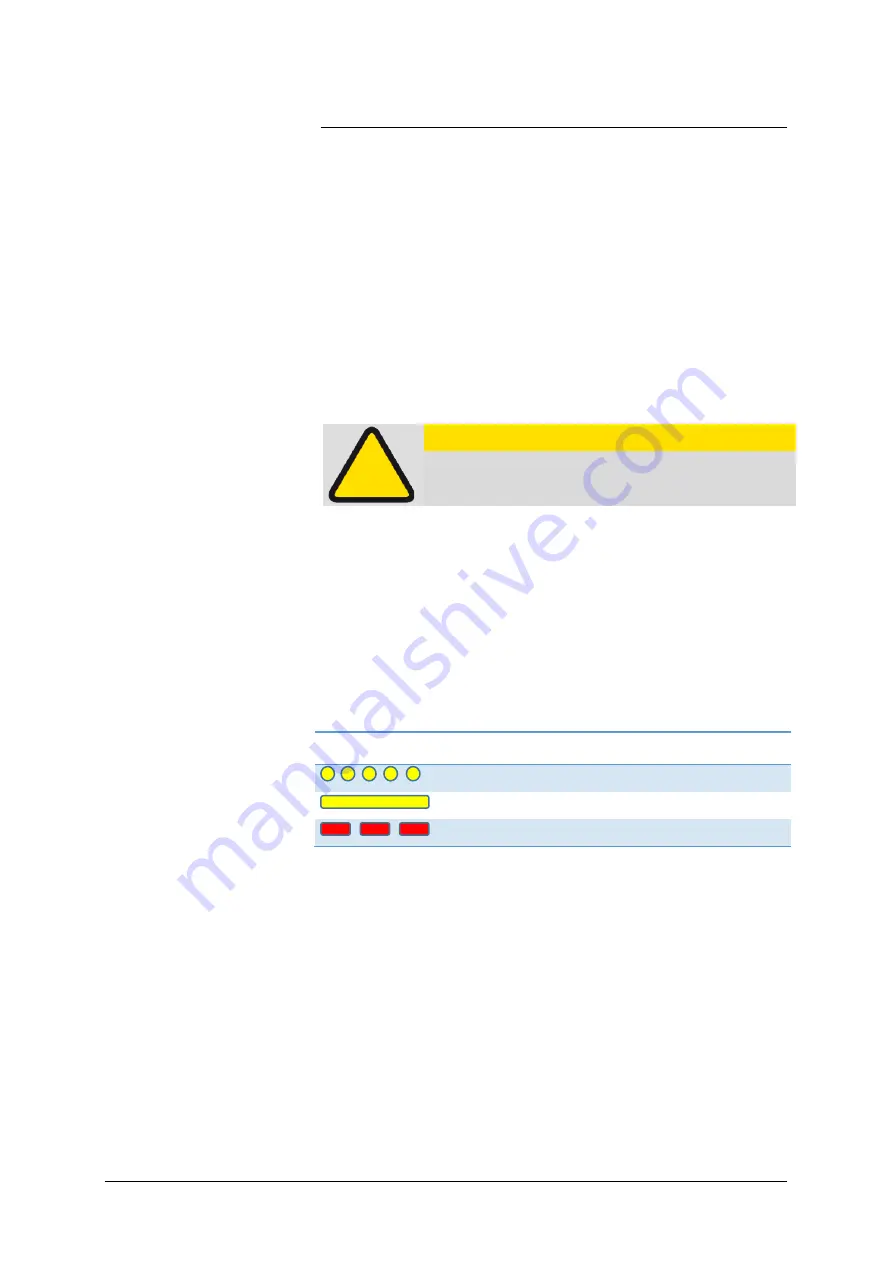
Camera Link Flashing LED Codes
On power up, the camera will indicate its current status with a flashing
LED on its back. The LED will change color and rhythm.
The meaning of the blinking codes translates as follows:
Figure 3: Status LED flashing codes
Flashing
Description
Yellow quickly ( ≈ 8 Hz )
booting
Yellow permanent
ready
Red slow ( ≈ 1 Hz )
error
Summary of Contents for EXO Series
Page 21: ...SVS VISTEK Connectors 21 ...
Page 26: ...SVS VISTEK Dimensions 26 Side Right Top ...
Page 27: ...SVS VISTEK Dimensions 27 Bottom Back ...
Page 28: ...SVS VISTEK Dimensions 28 Cross Section 6 2 exo250 CL exo252 CL front side Left ...
Page 29: ...SVS VISTEK Dimensions 29 ...
Page 30: ...SVS VISTEK Dimensions 30 Side Right Top ...
Page 31: ...SVS VISTEK Dimensions 31 Bottom Back Cross Section ...
Page 32: ...SVS VISTEK Dimensions 32 6 3 exo267 CL exo304 CL ...
Page 33: ...SVS VISTEK Dimensions 33 ...
Page 34: ...SVS VISTEK Dimensions 34 ...
Page 35: ...SVS VISTEK Dimensions 35 6 4 exo4000 CL front side Left ...
Page 36: ...SVS VISTEK Dimensions 36 Side Right Top ...
Page 37: ...SVS VISTEK Dimensions 37 Bottom Back ...
Page 38: ...SVS VISTEK Dimensions 38 Cross Section ...
Page 39: ...SVS VISTEK Dimensions 39 6 5 exo5000 U3 front side Left ...
Page 40: ...SVS VISTEK Dimensions 40 Side Right Top ...
Page 41: ...SVS VISTEK Dimensions 41 Bottom Back Cross Section ...
Page 65: ...SVS VISTEK Feature Set 65 ...
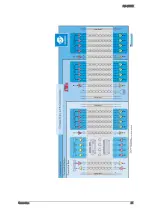
Page 71: ...SVS VISTEK Feature Set 71 Figure 42 I O Lines with open end indicate physical in and outputs ...
Page 124: ...SVS VISTEK Troubleshooting 124 Space for further descriptions screenshots and log files ...


