2-2
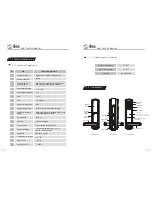
2.3 Instruction for indicators
2.4 Function of buttons
9
8
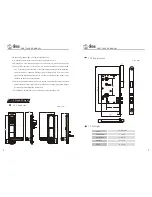
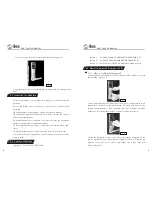
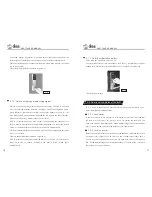
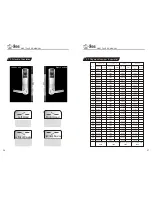
2.Lock-out status, locked with latches and deadbolt,(Figure 2-2)
3.“Normally open” status, the lock will always be unlocked by rotating outside
lever.
1.Green light flashes once, followed by a long beep, it means successful
operation.
2.Red light flashes once, followed by 2 short beeps, it means failed
operation.
3.Red light flashes from the sensor, it means the sensor is working.
4.Red and green light flash, the buzzer alert 3 times, it means low voltage,
please change the batteries.
5.Red light flashes once, the buzzer alert once, it means the fingerprint
number is already used, use a different number.
6.Green light flashes once a second, it means the lock is in “normally open”
status.
7.Red light flashes once a second, it means the lock is in lock-out status.
8.“Activate the lock” in the manual, it means to make the buttons or sensor
begin to work.
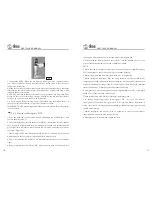
Button “0” - TO ACTIVATE THE LOCK
QSE7F4 USER MANUAL
QSE7F4 USER MANUAL
2.5.1 How to set Master fingerprint?
2-3
2-4
2.5 Master fingerprint & Emergency PIN
Button “1” - TO ENROLL GROUP MEMBER'S FINGERPRINT(S)
Button “2” - TO ERASE GROUP MEMBER'S FINGERPRINT(S)
Button “3”- TO SET THE LOCK INTO NORMALLY OPEN STATUS
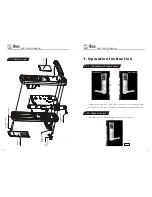
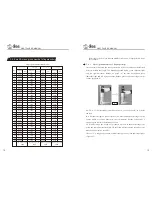
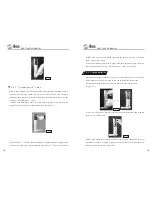
1.Press and hold the cylinder cover button, slide down the cylinder cover with
another hand. (Figure 2-3)
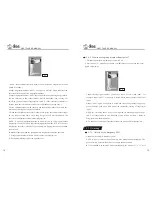
2.Insert mechanical key into the keyhole, turn the key (anticlockwise if left
handed lock, clockwise if right handed lock) till a long beef is heard, stop
turning and hold the key. Red and green light flash, red light on sensor
flashes as well, which means the lock, is ready for setup. (Figure 2-4)
3.Place the fingerprint which you wish to be the Master fingerprint on the
sensor, red light goes out, green indicator lights all the time. When the red
light on sensor goes out, remove your finger and a long beep will
follow.(Figure2-5)


