20
21
2.1 ADVANCED NETWORK SETTINGS
Now that you’ve successfully connnected your NVR to your network and to the Internet, there
are additional features which you can take advantage of. These settings allow your NVR to
send out e-mail alerts as well as post images and records to an FTP site. In addition, you can
see which users are online, limit online access and more.
PICTURE 2-1
PICTURE 2-2
ADDITIONAL SETTINGS
CHAPTER 2
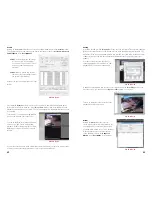
ONLINE USERS
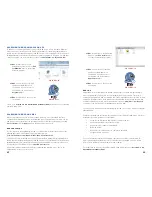
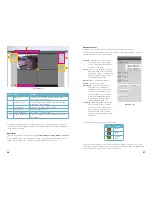
A list of users accessing the NVR from over
the network or through the Internet is shown
in
Online Users
menu which itself is found in
the
Info
menu.
The user’s name as well as the IP address
used to access the NVR is displayed.
If you have proper system management rights
(Configured in
Account
, See
Section 4.4
Advanced
in the
User’s Manual
for full
instructions), you can disconnect or block
a user. The maximum time a user can be
disconnected is 18 hours (65,535 seconds).
PICTURE 2-3
PICTURE 2-4
IP FILTER
You can also improve security by controlling remote access to your NVR using the IP Filter.
This feature enables you to allow online users only from approved IP addresses. Up to 64
addresses may be entered.
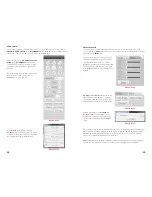
Enter the trusted IP addresses into the field at
the top of the window and select
Add IP
to
add that address to the list of those allowed
to connect to the NVR.
Once this feature is enabled, only IP
addresses within this list can be used to
access the NVR. If this feature is not enabled,
then users can connect from any IP address
if they have the correct user name and
password information.
NETWORK
IP Address
Subnet Mask
Gateway
TCP Port
UDP Port
Preferred DNS
Alternate DNS
IP Filter
Trusted Sites : 0
NTP
windows.time.com : 24
PPOE
DDNS
No Available DDNS Setup
Transfer Mode
LAN Download
HTTP Port
Max Connection
DHCP
ADVANCED SETTING
0 . 0 . 0 . 0
0 . 0 . 0 . 0
0 . 0 . 0 . 0
0 . 0 . 0 . 0
0 . 0 . 0 . 0
37777
37778
80
20
Latency
Default
Save
Cancel
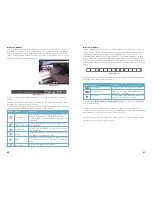
The
IP Filter
window is accessed through
the
Advanced Settings
area of the
Network
menu.


