

10
11
ESC
2
1
3
5
4
6
8
7
9
-/--
C
0
DISP
RUN
SHOT
CAM
SPEED
AUTO
PRESET
HOME
SETUP
PATTERN
A
DELETE
B
S1
F1
S2
F2
S3
F3
S4
F4
P1
P5
P2
P6
P3
P7
P4
P8
OPEN
CLOSE
IRIS
FOCUS+
FOCUS-
ZOOM+
ZOOM-
ENTER
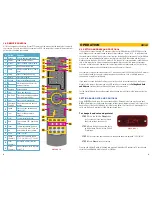
PICTURE 2-2
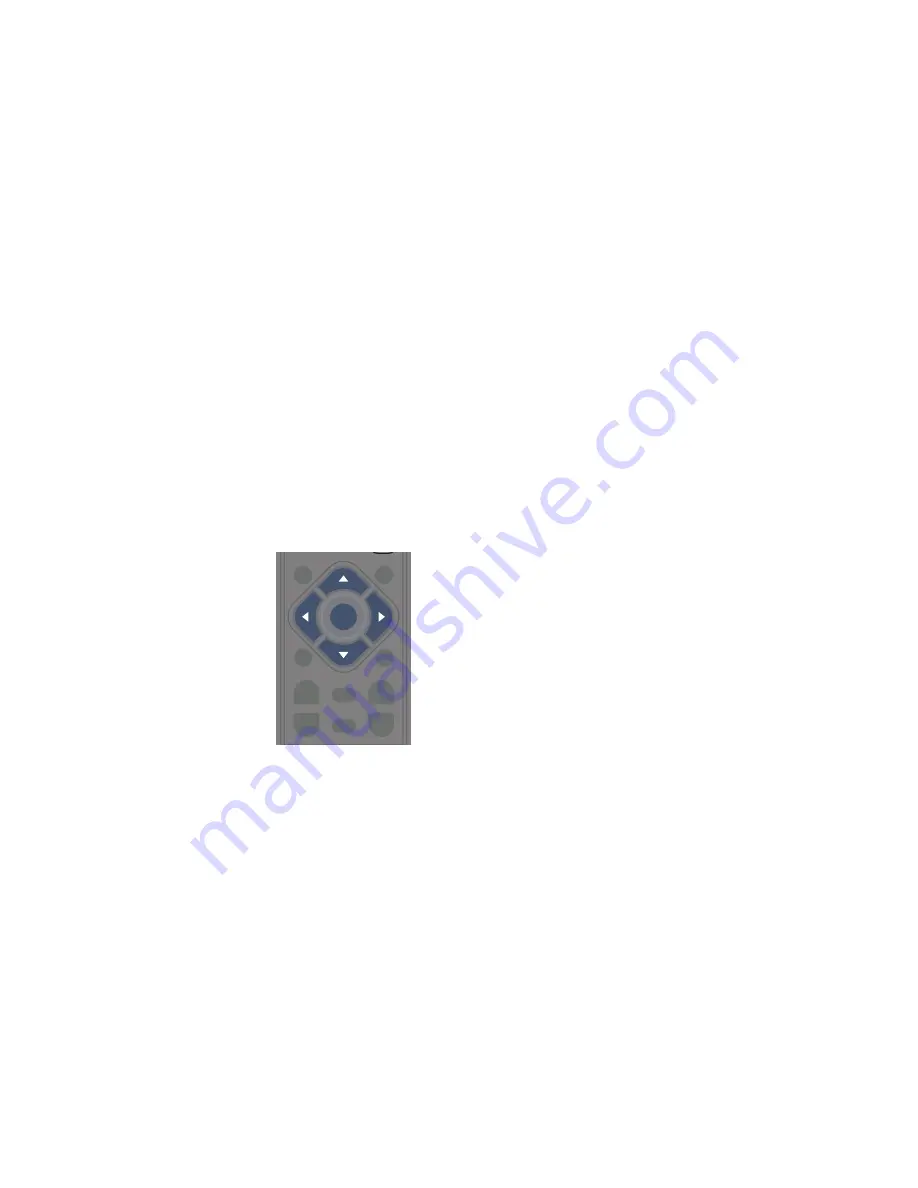
It should be noted that the other buttons in that
area - the ones controlling Focus and Iris - do
not function with these cameras. This is due to
the fact that both cameras automatically focus
on a subject and the automatic iris adjusts the
level of light reaching the sensor without the
need for manual input.
Using the directional controls will override any
current automatically running operation of the
camera.
To change address
STEP 1.
Press the CAM button until it shows the address number, A=001
STEP 2.
If the desired channel is 1-9, simply push that number on the remote. For addresses
10-16, you will need to press the “
-/--
” button before entering the two digits. You may press
the
C
button to delete a digit.
STEP 3.
If you are entering a two-digit address, you will need to press
Enter
after the second
digit.
When the LED dispaly is showing address information, clicking and holding Delete for three seconds
will clear all addresses.
2.2 DIRECTIONAL CONTROLS
The most basic method for controlling the PTZ camera is by using the directional controls on the
remote. The four, blue directional control buttons at the center of the remote allow you to move the
camera both left and right as well as up and down. For horizontal movement, the camera can rotate in
a full circle. Vertically, the camera only move between straight down and level.
For cameras with the zoom function, the two buttons marked
Zoom+
and
Zoom-
allow you to mag-
nify the target area by three times.
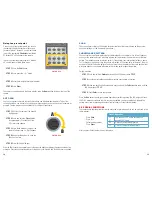
2.3 OTHER CONTROLS
SPEED
The camera’s movement speed can be adjusted from slowest (2) to fastest (63) by two methods:
1. Shortcut buttons - These buttons are located at the bottom of the remote. S1=8, S2=40, S3=51,
S4=63
2. Pressing the
Speed
button and then entering the desired speed before pressing
Enter
.
AUTO
This will cause the camera to move to its Home Point (see next section) and begin rotating 360° until
interrupted by another command from the Remote, such as pressing a directional button.
2.4 PROGRAMMING
The camera can be programmed to store preset points in which you save a specific position -
including zoom, if applicable - for access later. In addition, you may also record a surveillance pattern
with up to 16 stops that the camera will cycle through. It is this pattern which is most commonly used
to automatically scan a wide area.
PRESET POINTS
The user is able to create up to 80 preset points which are stored in the memory of the Control
Module. The first eight of these can be accessed with the touch of a single button at the bottom of
the remote which will cause the camera to point at the desired location. The remaining preset points
require the use of more than one button to access.
Setting a point
STEP 1.
Using the directional buttons, point your camera to the desired location. Adjust the zoom
if needed/available.
STEP 2.
Press and hold the
Preset
button for approximately 3 seconds until the
Set-
message
appears.
STEP 3.
Enter the number for this preset.
If the number is higher than nine, you will need to press press the “
-/--
” button before
entering the two digits (up to 80) and then press
Enter
.
Home point
This is essentially Preset Point #0. This is the point that the camera will return to when you press the
Home
button. It differs from the other preset points by being the starting and ending point for a 360-
degree rotation of the camera when the the
Scan
button is pressed. The camera will retain any zoom
settings set for the home point during its rotation.
Setting the Home point is identical to the procedure used to set any other preset point above, except
that once the
Set-
message appears, you should press the
Home
button rather than a number. The
Control Module’s LED readout will display
HONE
, to indicate that it has been set.
Clearing a preset point
You may overwrite a preset point by positioning the camera to a different location and then assigning
it the same number as the point you want to delete. Or, you may go to the preset point and then press
and hold the
DELETE
button for about three seconds until the message
CLR-
appears on the Control
Module.
You may clear ALL of the preset points by following the instructions for setting a preset point and
entering
95
. This cannot be undone.


