User Manual
16
To connect to the DVR from the remote computer you would then open an Internet Explorer browser
window and enter the internet IP of your router that you got by going to www.myipaddress.com.
Notice
: If you cannot use HTTP port 80 or 9000 because it is being used by another program, or it is being blocked by your service
provider, you can use another port in the same range. If you do so then you need to forward the IP address of the router to the other port,
change the port in the DVR NETWORK settings, and you need to add the port number after the IP address. For example, if you set the
HTTP port as 82, you need to enter the IP address as 192.168.0.25:82.
User name and password here are the same as what you use on the DVR.
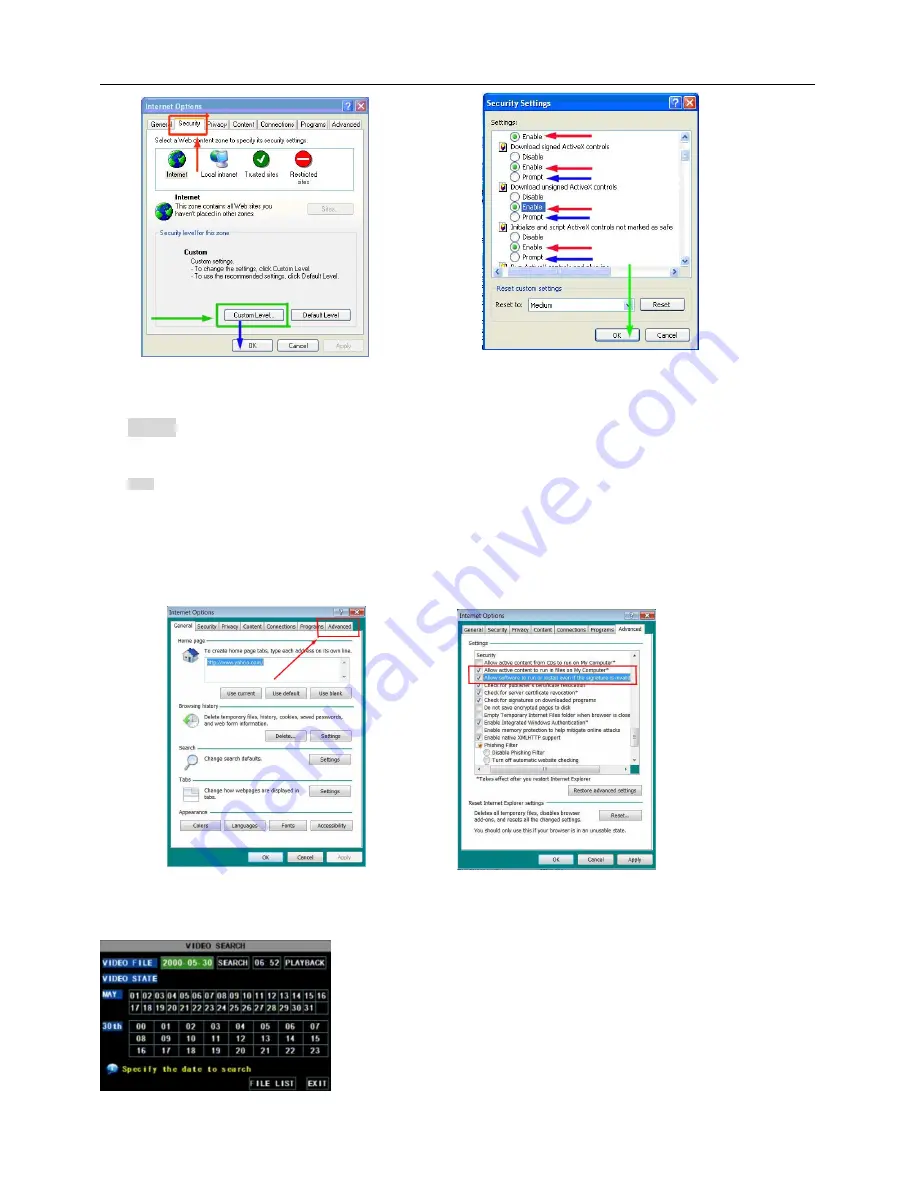
If you get a error message that says the program cannot load because the publisher is unknown or the
program is unsigned, go to internet explorer, tools, internet options (refer to Picture 5-15), then go to the
“Advanced” tab (RED box in Picture 5-18), this will open the window in Picture 5-19, scroll down to “Security”,
and select the options to “Allow software to run or install even if the signature is invalid”, and “Allow Active
Content to Run Files on My Computer” (RED box in Picture 5-19).
5.2.4 Recording Search
Click [Main menu
search] to enter into [Video Search] menu (shown as the below picture 5-20)
.
Searched playback:
If you input specific date and click [Search], you will find all the
recordings for that day. When you select [Date] item, you will
playback the recordings in 4 channel mode; or, click [File list] button
to display File list interface, where you can playback or backup the
file you selected. See File List heading below.
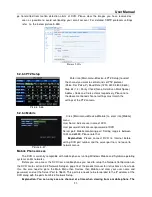
Picture 5-16
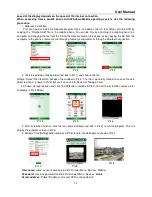
Picture 5-17
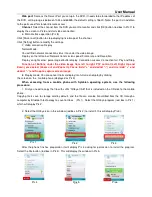
Picture 5-19
Picture 5-18
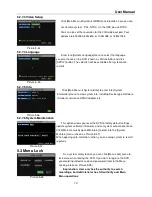
Picture 5-20
Summary of Contents for QSD9004V
Page 5: ...User Manual 2...
Page 24: ...User Manual 20...


