QSDF8204 Digital Video Recorder User Manual
25
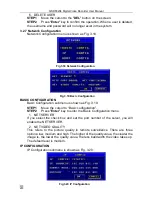
This is the DVR’s IP configuration. There are three options: STATIC, DHCP
and PPPoE.
If you use the Static IP address option you will need to access the router the
DVR is attached and get the setup information. You can do this by going to
the run option on a computer that is attached to the same router as the DVR
and typing cmd or command to get to a command prompt. At the command
prompt type ipconfig and hit ENTER to access the network information. The
screen will list the computer’s IP address, the Subnet Mask, and the Gateway.
The IP address you assign to the DVR must have the same first 3 sets of
numbers as the Gateway. If the computer’s IP address ends in a 1 or 2-digit
number, you can select an IP address ending in 100, if the computer’s IP
address ends in a number in the 100s then select an IP address ending in
200.
STEP1
Input IP Address, Subnet Mask and Gateway
STEP2
Press "
OK
" button to modify the IP Configuration menu.
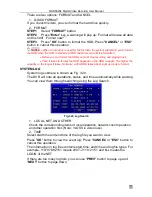
If you select DHCP, the router will automatically assign the IP address.
After
selecting DHCP, you need to wait about 30 seconds. The automatically
assigned IP will be displayed in the system information window.
If you are attaching the DVR directly to a DSL or cable modem/router, you can
use the PPPoE option. You need to input username and password when
connecting to internet. You would get the username and password
information from your internet service provider.
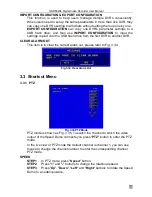
If you press the "
INFO
" button, System Information menu can be displayed on
the screen as long as the DVR connects with the network well (refer to Fig.
3.21).
Notice:
•
If the local area network has a DHCP server or the router the DVR is attached to
supports DHCP we recommend using the DHCP option.
•
Before you set PPPoE, you need to reboot the modem. After setting the PPPoE,
you need wait for a while for the settings to take effect.
Fig 3.21 System Information


