VII.
Operating Instructions:
1.
Start Recording: After setting the parameters in the software, the logger has NOT
started recording yet. To Start, Press and Hold the left button for more than four
seconds. Once the symbol lights up, recording has started. If the symbol flashes,
the data logger has a delayed start time.
*Resetting and saving parameters in the
software will erase all data. Be sure to save data before setting new parameters.
2.
Stop Recording:
The data logger will automatically stop recording when the recording capacity is
full. In the status display, if the symbol lights up, it means recording has stopped.
If "permit stopping by pressing button" is set, press the right button for more than
four seconds and the symbol lights up, which means recording has stopped.
Recording can also be stopped in the software by selecting the Stop Record icon in
the tool bar.
*After the data logger stops recording, it cannot be started again by pressing
the left button. It can only be started again by resetting the parameters in the software.
3.
Switch Menu Items: By short pressing the left button, the display interface will cycle
to the next item.
4.
Return to the Status Display: By short pressing the right button, the logger will
return to the main status display.
5.
Alarm Status: During recording, if the measured temperature is higher than the
upper limit, the symbol lights up, indicating an upper alarm. If the measured
temperature is lower than the lower limit, the symbol lights up, indicating a lower
alarm.
6.
Recording Interval: This interval is selected in the software. Once the parameter is
set, data will be saved according to the chosen interval. After the interval is selected,
the time length bar automatically calculates the recording time length.
7.
Recording Time Length: Describes the total recording time before the memory
reaches its full capacity.
8.
Clear The Recorded Data: Data can be cleared through resetting the parameters in
the software or by selecting the Delete Data icon in the tool bar.
9.
Inner Clock and Calendar: The date and time are adjusted in the software.
10.
Sensor Failure: When there is a sensor failure or the logger goes over the
temperature range, it will display the notifications below.
It will display "Err" in the normal temperature position of the LCD.
There will be a "Sensor error" warning in the software.
11.
Battery Level Indication:
*lf the battery level falls below
10%, please replace the battery
immediately!
12.
Other Functions:
Recording Time Delay: Set the "start delay time" in software, press the left button
for more than 4 seconds and the symbol flashes, which indicates a delayed start
status. Once recording has started, the symbol stops flashing.
Temperature Unit: °F or °C can be selected in the software
Serial Number / User Information: Logger details or unique identifiers can be set as
needed in the software.
13.
QA-T5 Data Management Software:
Provides data analysis functionality and allows data to be view graphically or in tables.
Data can be also be queried, saved, printed or exported as Word, Excel, TXT or PDF
formats. The software is available for Windows and Mac. Windows version supports
XP or above and the Mac version supports OSX 10.5.6 or above.
*Both versions of the
software can be downloaded at www.QAsupplies.com.
VIII.
Battery Replacement:
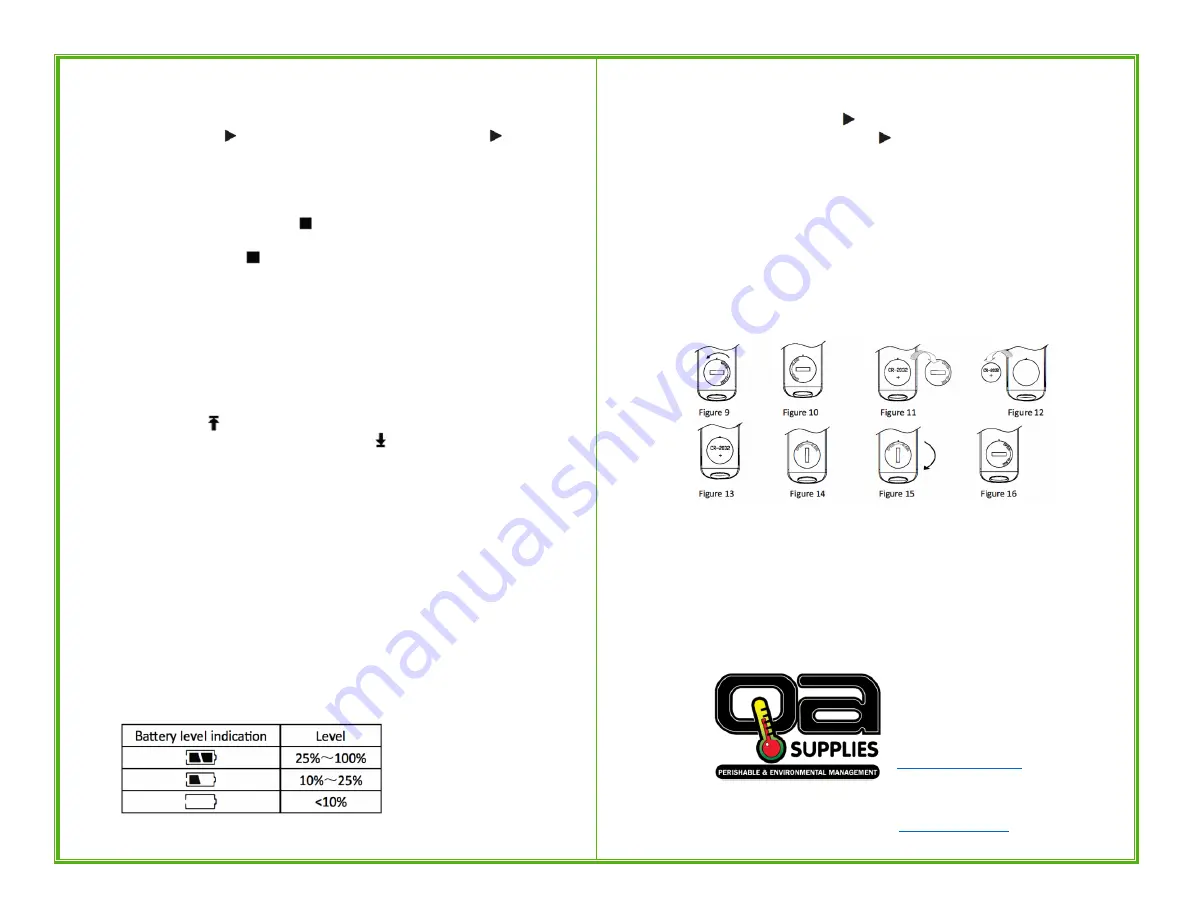
Replacing the Batteries
1.
Rotate the cover counter-clockwise to the position shown in Figure 10.
2.
Remove the battery cover
3.
Remove the old battery from the slot
4.
Put the new battery into the slot
(negative pole down)
5.
Replace the cover as shown in Figure 14
6.
Rotate the cover clockwise to the position shown in Figure 16
QA Supplies LLC
1185 Pineridge Road
Norfolk, VA 23502 USA
(800) 472-7205
Download a copy of this manual at


