40
28 aprile 2021
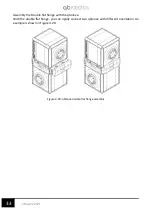
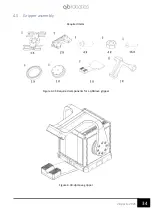
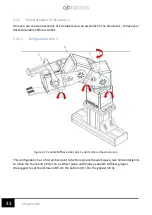
By the flanges in the kit, you can make the joints of you robot. For example: Base Flange to fix
the first qbmove to a frame; Flat Flange for first and
fourth joint of ② and second for ④ and
⑤; and C Flange for other joints.
IMPORTANT
Before assembly, make a correct evaluation of the joint's torque based on
the technical data and external loads.
Each qbmove you connect to your system must have a unique and
different ID
.
5.1.2
Distances between flange and actuator
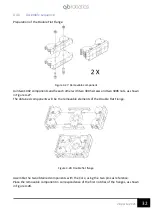
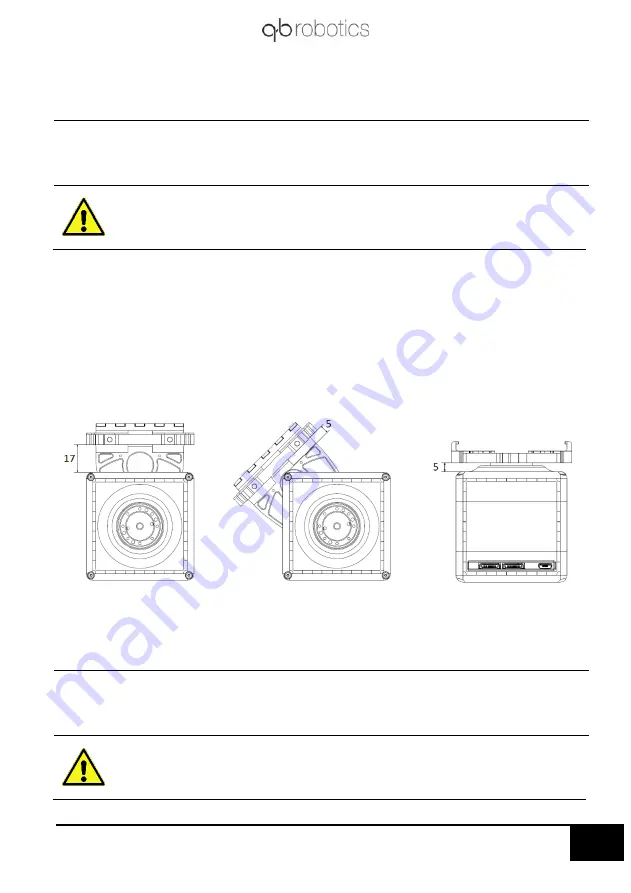
When you assemble any robot, you must be careful about the distances between flanges and
actuator’s carter (
Figure 5-2) because during the use, cables or some object can make
interference with relative movement of the components.
To avoid malfunctions after assembly, you must manually check the movement of each joint to
verify if they work properly.
IMPORTANT
Before using the robot, you must check if each joint’s range is free of
obstacles.
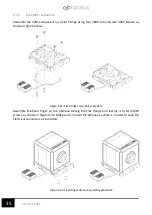
Before assembling the devices, make sure that each qbmove is in zero
position (see section 6.2)
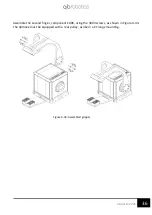
Figure 5-2
: Critical distances between qbmove’s
carter and C-Flange (first two images) and Flat Flange (last
picture on the right)
Summary of Contents for qbmove Advanced Kit
Page 2: ...www qbrobotics com ...
Page 15: ...12 28 aprile 2021 Figure 3 7 Snap on mechanism Figure 3 8 Examples of connection ...
Page 40: ...37 28 aprile 2021 ...
Page 63: ...60 28 aprile 2021 IMPORTANT Remember to power the qbmove or the chain before using it ...
Page 97: ...94 28 aprile 2021 This page was intentionally left blank ...


