z
z
z
z
z
z
z
35
Checking the calibration
The laser instrument should be checked, like all measure instruments, before
use.
The inspection can be carried out most easily by doing a reverse
measurement. Therefore do the following steps:
Set up the instrument onto a stable fixing.
Turn the laser on and let it level.
Mount the receiver in a fixed distance, e.g. in 30 meter, and move it onto the
laser plane (display middle).
Now turn the instrument around each 90° and let the instrument level.
Measure in each case the difference to the first height.
If the deviation is smaller than ± 2mm, the instrument is within the
specification.
In case of larger deviations the instrument has to be calibrated.
Calibrating the QL320
General information:
The calibration of the instrument can be done by use. We recommend to
carry out the calibration attentively and carefully. For failures at
measurements and/or consequential damages through a wrong calibration no
liability can be taken over.
If you feel unsure doing the calibration, you should contact your authorised
dealer or the QBL Baulaser GmbH. We recommend to use a measuring
length of 50 meter for the calibration (= 100m after reverse measurement).
Remark for the calibration of the QL320H:
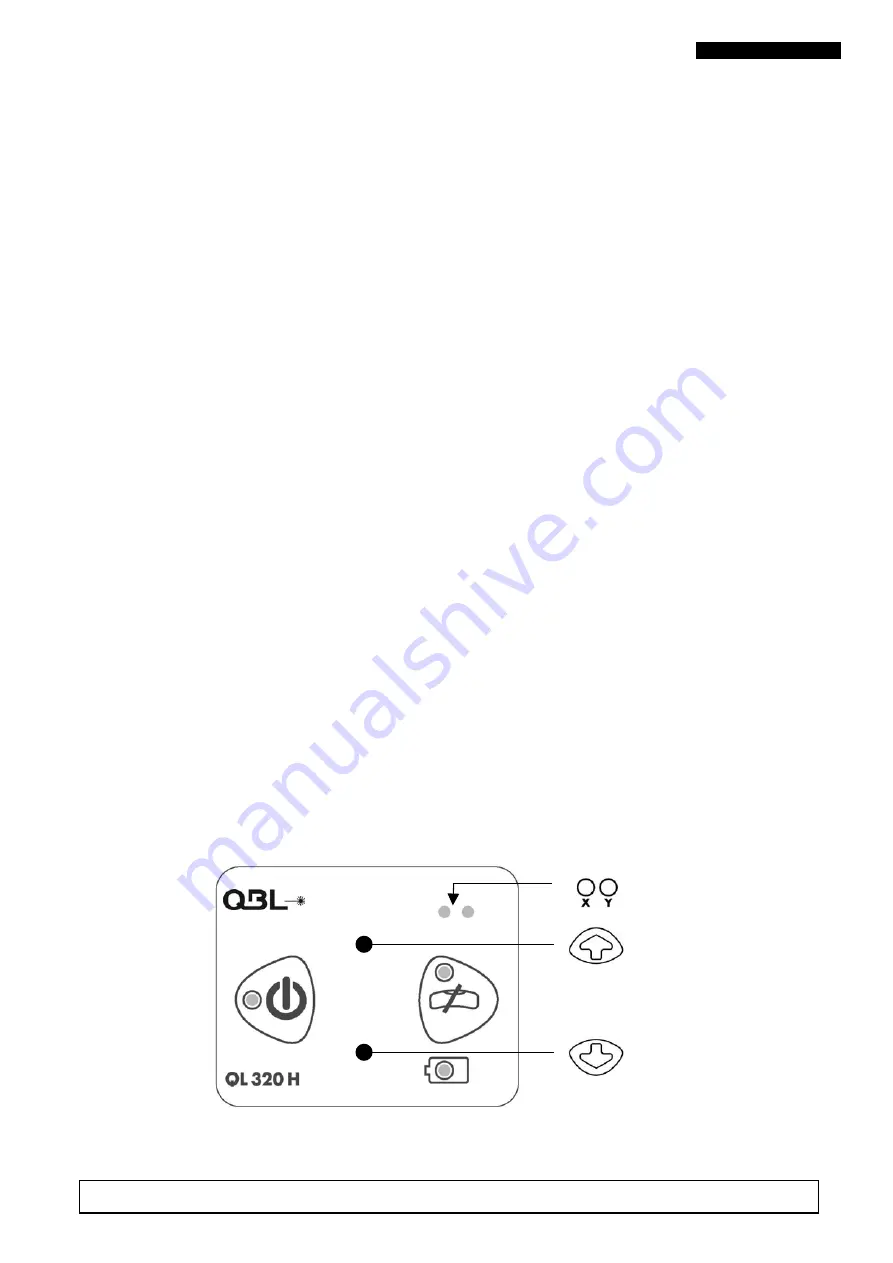
On laser type QL320H the arrow keys are not to be seen at the control panel
since they are not acting in normal use. The keys become active in the
calibration mode. Following illustration shows the position of the keys.


