


B
E
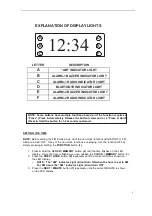
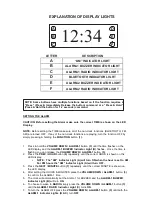
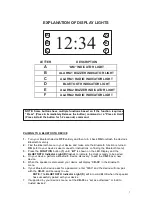
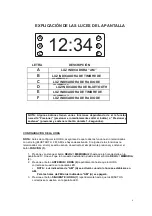
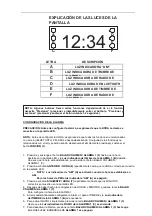
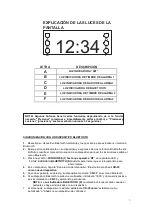
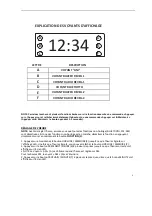
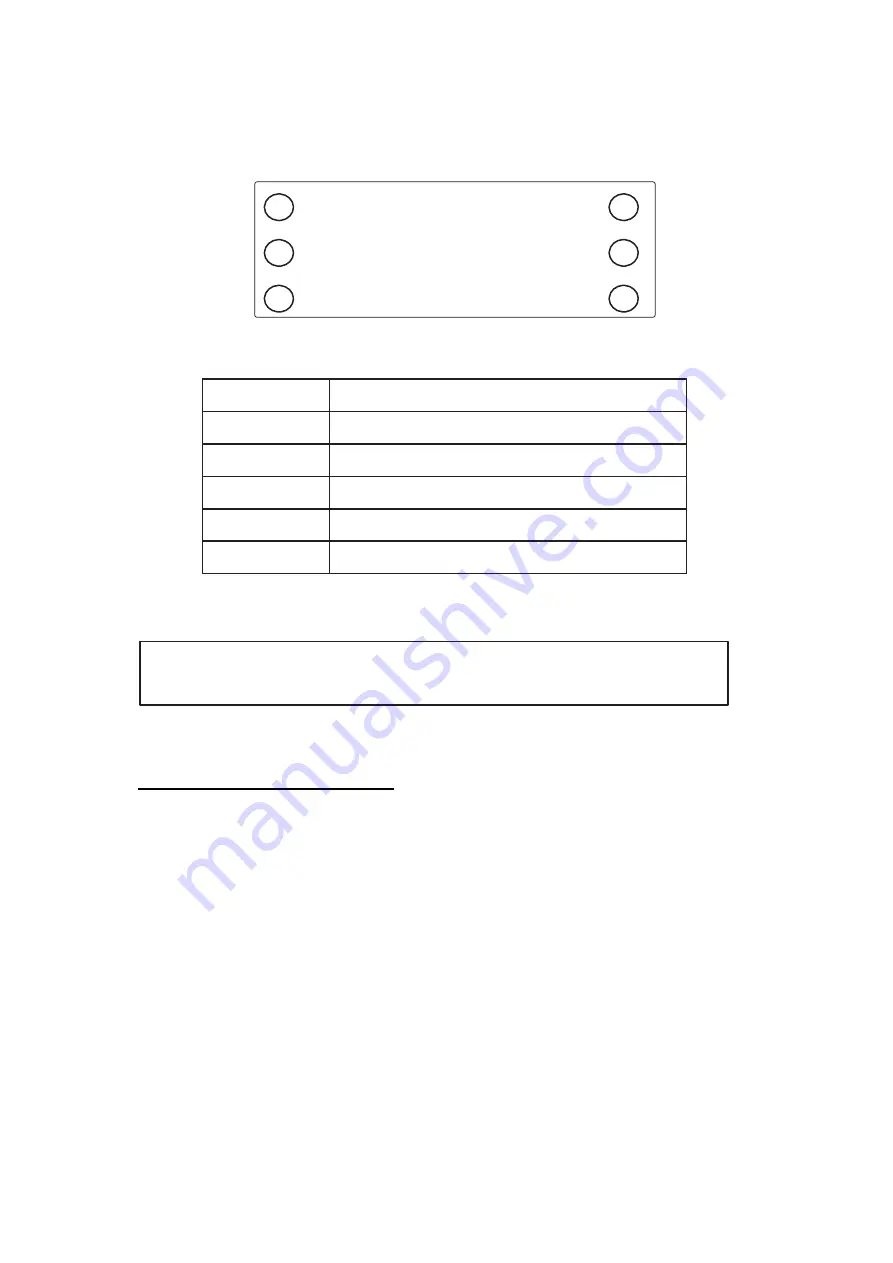
EXPLANATION OF DISPLAY LIGHTS
A
12:34
D
C
F
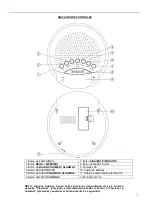
LETTER
DESCRIPTION
A
“AM” INDICATOR LIGHT
B
ALARM-1 BUZZER INDICATOR LIGHT
C
ALARM-1 RADIO INDICATOR LIGHT
D
BLUETOOTH INDICATOR LIGHT
E
ALARM-2 BUZZER INDICATOR LIGHT
F
ALARM-2 RADIO INDICATOR LIGHT
NOTE: Some buttons have multiple functions based on if the function requires a
“Press” (Press & Immediately Release the button) command or a “Press & Hold”
(Press & Hold the button for 1-2 seconds) command.
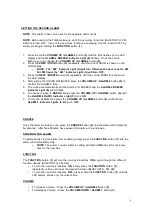
PAIRING TO A BLUETOOTH DEVICE
1.
Turn your Bluetooth device
OFF
entirely and then turn it back
ON
to refresh the device’s
Bluetooth memory.
2.
Find the Bluetooth menu in your device and make sure the Bluetooth function is turned
ON
(refer to your device’s user manual for instructions on finding the Bluetooth menu).
3.
Press the
FUNCTION
button
(1)
until “
BT
” is shown on the LED Display and the
BLUETOOTH Indicator Light (D)
flashes to indicate the clock is ready to be paired.
4.
On your device, perform a Bluetooth “device discovery” to add the
CR-33
as a new
device.
5.
When the speaker is discovered your device will display “
CR-33
” in the Bluetooth
menu.
6.
If your Bluetooth device asks for a password, enter “0000” and the device will now pair
with the
CR-33
and be ready to use.
NOTE:
The
BLUETOOTH Indicator Light (D)
will turn solid BLUE when the speaker
has successfully paired with your device
7. If supported by your device’s menu, set the
CR-33
as “set as authorized” or “add to
trusted devices”.
7


