- 85 -
10.4
Installation of carburetor
Assembly and installatioj is conducted in the reverse order
of disassembly.
10.5Adjustment of carburetor
Switch on and warm up the machine for about 3 minutes,
so that the engine will operate in normal running
temperature;
Adjust the idle adjustment bolts and set engine speed to be
1500rpm;
Screw the mixture adjustment bolt to the end with proper
force.
At this point the engine will stall
(
if not
,
inspect whether air
escapes at the interface of air filter , whether the bolt is
tightened and whether the intake of the air filter is
blocked);
Withdraw the mixture adjustment bolt for 1 circle;
Restart and adjust the idle adjustment screw so that the
rotation speed reaches 2000-2500rpm;
Slowly adjust the mixture adjustment bolts
(
anticlockwise),
till the engine speed reaches its utmost
(
mixture bolt is
withdrawn for two circles at most
)
.
Reset the idle adjustment screw and set the engine speed
down to 1500±100rpm/min.
Pull the throttle for several times for acceleration and
inspect whether the idle speed is steady.
Test the outlet and compare it with the specified standards.
Note:
When the carburettor is ready for sell, the idle adjusting bolts have already been adjusted, so they generally
require no adjustment. When dismantling the carburettor, the number of turning of the bolts should be recorded
which is very helpful during the installation.
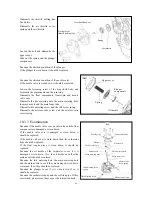
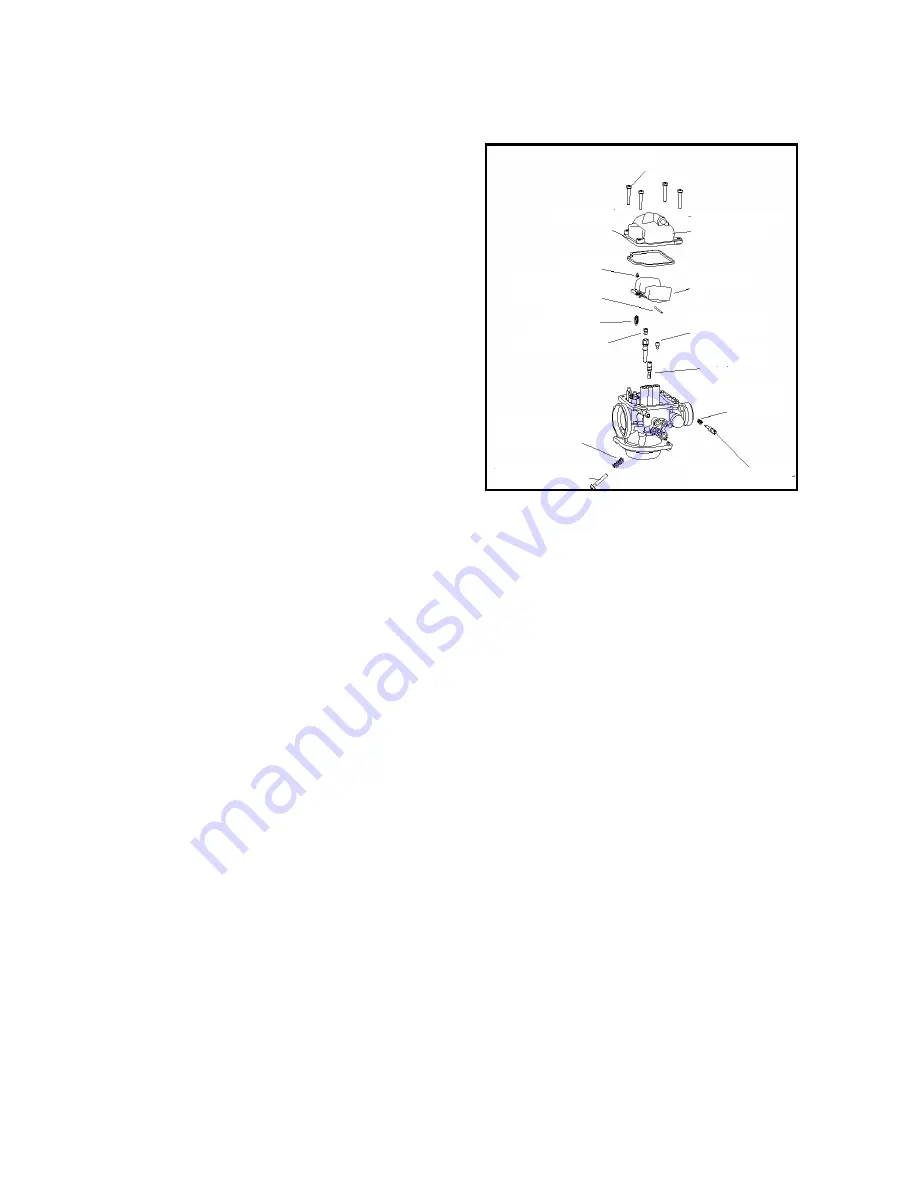
Bolt
Sealing ring
Floater pin
Idle metering hole
Floater
Needle valve core
Main foam tube
Idle adjusting screw
spring
Idle adjusting screw
Main metering hole
Main nozzle
Mixture-ratio
screw spring
Lower shell body
Mixture-ratio screw
Summary of Contents for QJ150T-10
Page 15: ... 14 QJ150 10 ...
Page 73: ... 72 Rear wheel rear suspension ...
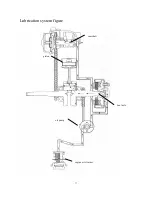
Page 78: ... 77 Lubrication system figure engine oil strainer oil pump bent axle camshaft piston ...
Page 87: ... 86 ...
Page 97: ... 96 ...
Page 104: ... 103 ...
Page 113: ... 112 Output axle Middle axle Input axle ...
Page 116: ... 115 The assembly of bearings and oil seal should use special tools to prevent damage ...
Page 125: ... 124 Muffler ...
Page 131: ... 130 ...


