11
11
EN
2.
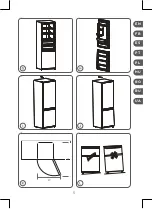
Ensure sufficient air circulation at the rear of the appliance. Do not place the appliance against
a wall to avoid noise caused by vibration. Make sure that the air can still circulate freely
around the appliance. Insufficient ventilation would result in malfunction and increased energy
consumption. Leave a space of at least
10
cm between the refrigerator and the wall, and at
least
30
cm between the top of the refrigerator and the ceiling.
3.
Leave enough space to access and open the door easily: ≥
990
x
1025
mm (fig.
). If
necessary, change the direction of the door opening (
REVERSING THE DIRECTION
OF THE DOOR OPENING
).
4.
If the refrigerator is placed on an uneven surface, level the appliance using the adjustable feet
(fig.
). This will ensure proper operation without vibration.
6. OPERATION
6.1.
Commissioning the appliance
1.
After transport, unpacking and installation and before the first use, let the appliance rest for
2
hours in vertical position.
2.
Clean the appliance and its components (
7. C
LEANING AND MAINTENANCE).
3.
Connect the power plug with a wall outlet.
4.
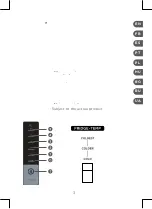
Set the temperature to a high level using the
SET
button (TEMPERATURE CONTROL
(REFRIGERATOR
)).
5.
Let the refrigerator run for
24
hours before inserting fresh or frozen foods.
6.2.
Temperature control (refrigerator)
Note:
The temperature inside the appliance is the result of several factors, such as the ambient
temperature, the quantity of food stored, the frequency of opening of the door, etc. Adjust the setting
accordingly using the
SET
button.
1.
Turn the
SET
button to the desired position. Position
2
is for the coldest temperature, position
8
is the least cold. To stop the refrigerator completely, disconnect it from the all outlet.
2.
Fast
cool:
Press the
SET
button several times until “
SUPER
“ is shown in the display. The
appliance will now operate for
150
minutes in a rapid cooling mode. Press the
SET
button
again if you want to change to a different cooling setting.
6.3.
Temperature control (freezer)
The temperature control offers
3
settings:
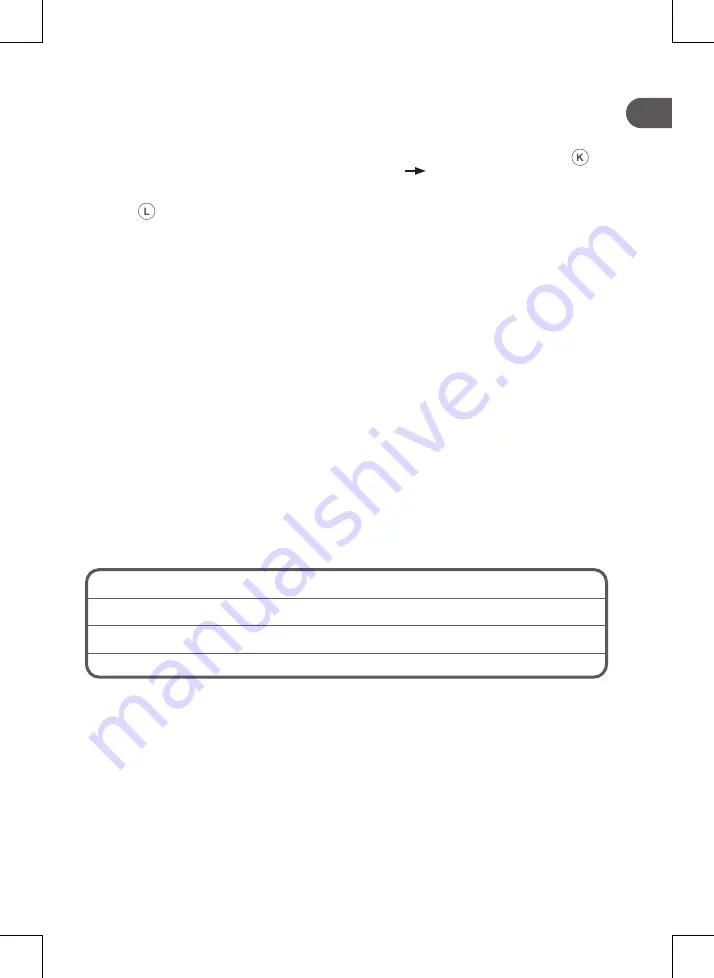
Setting
Cleaning
COLD
Default position.
COLDER
Ambient temperature above
35
°C. This setting is most useful during the summer.
COLDEST
Ambient temperature below
10
°C. This setting is most useful during the winter.
6.4. Accessories
Various glass or plastic storage shelves are included with your appliance – different models have
different combinations.
Always slide one of the full size glass storage shelves into the lowest set of guides, above the fruit
and vegetable containers.
6.5.
Keeping food in the appliance
■
Cooked meats/fishes should always be stored on a shelf above raw meats/fishes to avoid
bacterial transfer. Keep raw meats/fishes in a container which is large enough to collect juices
and cover it properly. Place the container on the lowest shelf.
Summary of Contents for Q.6916
Page 3: ...3 EN FR ES PT PL HU RO UA RU Subject to the actual product...
Page 4: ...4 FR EN ES IT PT PL HU RU RO ES FR PT PL HU RO UA RU...
Page 5: ...5 EN FR ES PT PL HU RO UA RU W H...
Page 92: ...92 RO RU 1 1 2 3 1 C 92 2 C 96 3 C 96 4 C 96 5 C 97 6 C 98 7 C 100 8 C 101 9 C 101 10 C 103...
Page 93: ...93 RU 4 5 6 7 8 9 10 11 12 13 14 15...
Page 94: ...94 RO RU 16 8 3 8 17 48 5 18...
Page 95: ...95 RU 19 20 21 4 22 23 24 F 25 26 27 28...
Page 97: ...97 RU 5 5 1 1 2 5 2 50 5 1...
Page 99: ...99 RU 6 4 6 5 6 6 6 7 6 8 3 1...
Page 100: ...100 RO RU 6 9 F 6 10 1 2 3 2 3 1 7...
Page 101: ...101 RU 7 1 7 2 45 1 2 3 4 7 3 8...
Page 102: ...102 RO RU 9 48 5 3 5...
Page 103: ...103 RU 48 5 3 4...
Page 104: ...104 RO RU 10 3 6 SIM SD IMEI 3...
Page 106: ...106 RU UA 4 5 6 7 8 9 10 11 12 13 14 15...
Page 107: ...107 UA 16 8 3 8 17 48 5 18 19...
Page 108: ...108 RU UA 20 21 4 22 23 24 F 25 26 27 28...
Page 110: ...110 RU UA 5 5 1 1 2 5 2 50 5 1...
Page 112: ...112 RU UA 6 4 6 5 6 6 6 7 6 8 3 1...
Page 113: ...113 UA 6 9 F 6 10 1 2 3 2 3 1 7...
Page 114: ...114 RU UA 7 1 7 2 45 1 2 3 4 7 3 8...
Page 115: ...115 UA 9 48 5 3 5...
Page 116: ...116 RU UA 48 5 3 4...
Page 117: ...117 UA 10 3 6 SIM SD IMEI 3...
Page 118: ......
Page 119: ......

