English
2
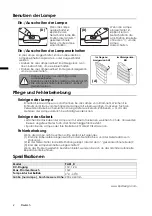
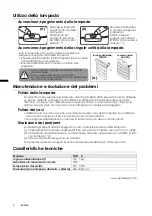
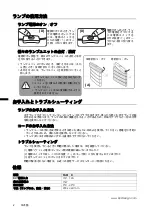
Using the Lamp
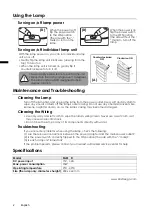
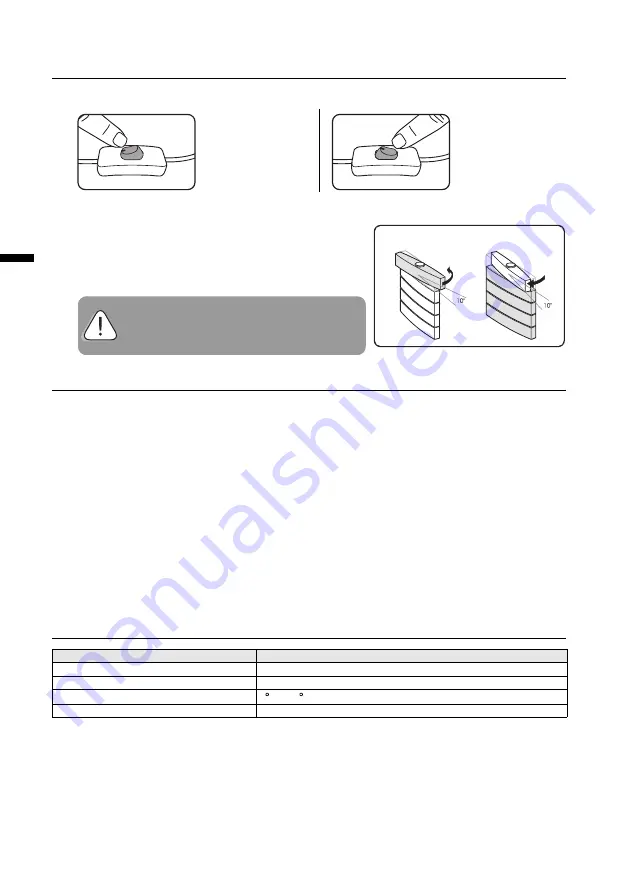
Turning on/off lamp power
Turning on/off individual lamp unit
Maintenance and Troubleshooting
Cleaning the Lamp
Turn off the lamp first, and unplug the lamp from the power outlet. Use a soft and dry cloth to
wipe any smears or dusts off the lamp's outer casing. Do not use any chemical solvents like
kerosene, naphtha and so on, as the lamp's casing may become damaged.
Cleaning the Wiring
• Use only a dry and soft cloth to wipe the lamp's wiring clean. Never use a wet cloth, as it
may cause an electric shock.
• Do not rinse the lamp or any of its components directly with water.
Troubleshooting
If you encounter problems when using the lamp, check the following:
(1) Are there loose connections between the power adapter and the mains power outlet?
(2) Is the power switch correctly flipped to the ON position (the side with the "-" mark)?
(3) Is each lamp unit turned on?
If the problem persists, please contact your nearest authorized service center for help.
Specifications
www.QisDesign.com
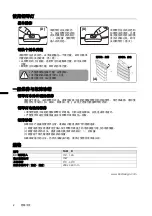
When the power is off,
flip the power switch
to the ON position
(the side with the "-"
mark) to turn on the
lamp.
When the power is on,
flip the power switch
to the OFF position
(the side without the "-
" mark) to turn off the
lamp.
With the lamp power on, you can turn individual lamp
unit on or off.
• Gently flip the lamp unit clockwise (viewing from the
top) to turn it on.
• When the lamp unit is turned on, gently flip it
counterclockwise to turn it off.
(D)
(D)
• Never apply excess force to each lamp unit
• Never turn the unit an angle over 10 degrees.
• The lamp units are NOT designed for 360-
degree rotation.
Counterclockwise:
OFF
Clockwise: ON
(A)
Model
PA01 _D
DC power input
15V, 1.2A
Max. power consumption
15W
Operating temperature
0 C - 40 C
Size (the lamp only, diameter x height)
200 x 460 mm
Summary of Contents for PA01 D
Page 2: ...C B A D...
Page 11: ...1 LED LED A 1 B 1 C 1 ADS 18C 15 1518GPCU 100 240V AC 50 60 Hz 1 2...
Page 12: ...2 1 2 3 D D 10 360 A PA01 _D DC 15V 1 2A 15W 0 C 40 C x 200 x 460 mm www QisDesign com...
Page 13: ...1 LED LED A 1 B 1 C 1 ADS 18C 15 1518GPCU 100 240V AC 50 60 Hz 1 2...
Page 14: ...2 1 2 3 www QisDesign com D D 10 360 A PA01 _D DC 15V 1 2A 15W 0 C 40 C x 200 x 460 mm...
Page 15: ...1 LED LED A x 1 B x 1 C x 1 ADS 18C 15 1518GPCU 100 240V AC 50 60 Hz 1 2...

