7–Installing Management Applications
Detailed Procedures
72
83840-546-00 D
9.
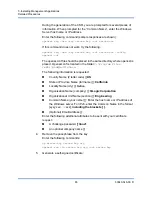
Enable
Allow Basic Authentication
and click
OK
.
10.
Run the following command from the command prompt to test the
connection:
winrm id -remote:<remote machine Hostname or IP Address>
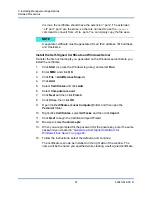
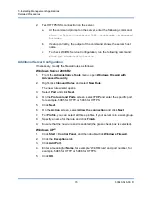
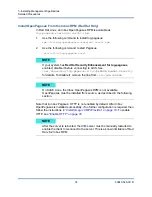
Perform HTTPS Configuration (if you plan to use HTTPS)
After you generate a self-signed certificate, as described in
Self-Signed Certificate for Windows/Linux Server” on page 64
, you can import the
certificate on the client to facilitate a connection between server and client. Ensure
that all steps mentioned in section
“Generate a Self-Signed Certificate for
Windows/Linux Server” on page 64
are completed, including copying
hostname.pfx
at the location from where client can access it, before you proceed
with the following steps.
1.
Click
Start
(or press the Windows logo key) and select
Run
.
2.
Enter
MMC
and click
OK
.
3.
Click
File
and select
Add/Remove Snap-in
.
4.
Click
Add
.
5.
Select
Certificates
and click
Add
.
6.
Select
Computer account
and click
Next
.
7.
Click
Finish
.
8.
Click
Close
and then click
OK
.
9.
Under
Certificates (Local Computer)
, right-click on
Trusted Root
Certification Authorities
, select
All Tasks
, and select
Import
.
10.
Click
Next
to begin the Certificate Import Wizard.
11.
Browse to select the
.pfx
file you generated in
Certificate for Windows/Linux Server” on page 64
. Change the selection in
the
Files of type
list to
Personal Information Exchange (*.pfxas, *.p12)
,
select the
hostname.
pfx file and click
Open
.
12.
Enter the password you assigned to the private key and click
Next
.
Summary of Contents for 8400 Series
Page 390: ......


