7–Removal and Replacement
iSR6200 Chassis Blades
7-6
ISR651101-00 G
150 Here comes the directory listing.
iSR6200_FRU.bin
226 Directory send OK.
ftp: 17 bytes received in 0.00Seconds 17000.00Kbytes/sec.
ftp>
get iSR6200_FRU.bin
200 PORT command successful. Consider using PASV.
150 Opening BINARY mode data connection for iSR6200_FRU.bin (20010 bytes).
226 File send OK.
ftp: 20010 bytes received in 0.00Seconds 20010000.00Kbytes/sec.
ftp>
bye
221 Goodbye.
4.
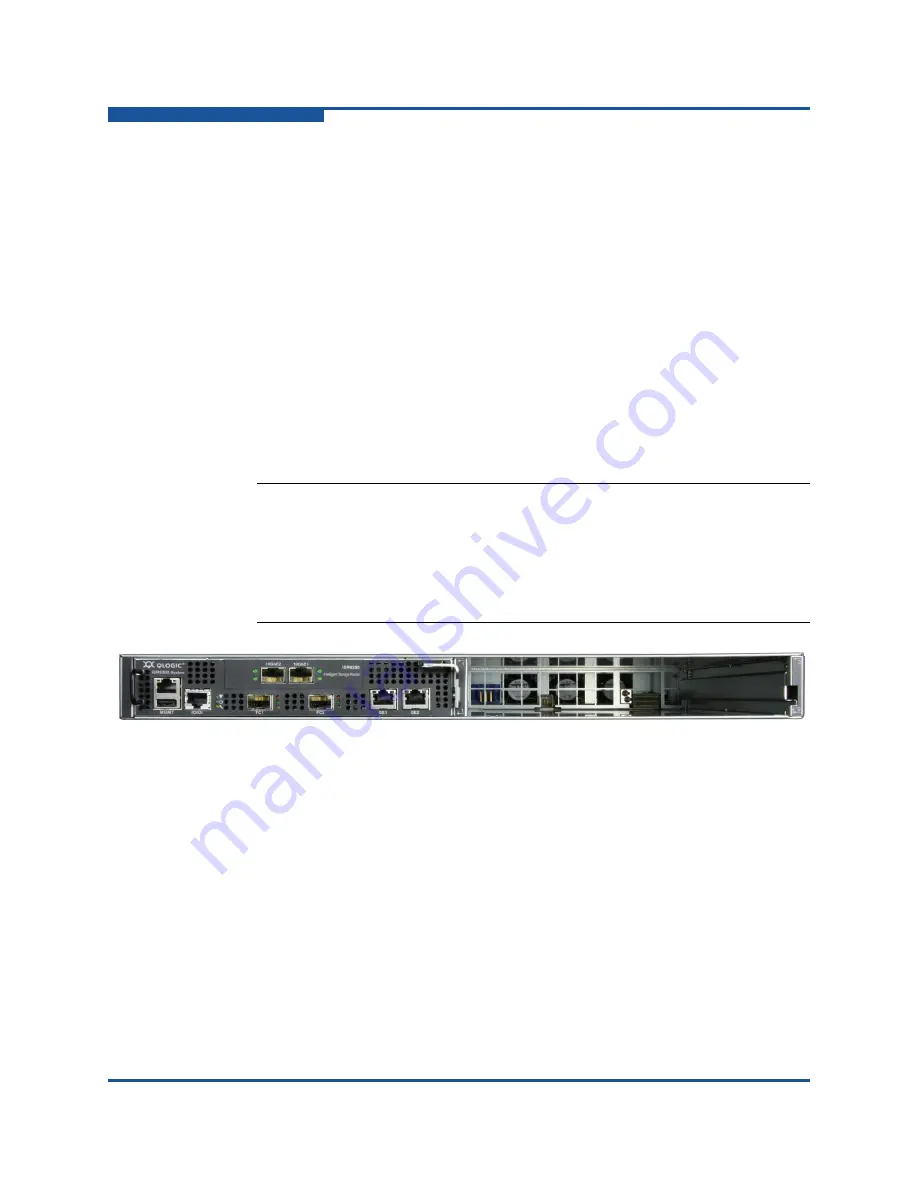
Disconnect all cables from the iSR6200 blade. This includes all Fibre
Channel, Ethernet, and serial cables. You can leave the power cables
connected. (See
.)
Figure 7-5. iSR6200 Router Blade with Cables Disconnected
5.
Remove the old blade from the chassis.
shows how to release
the latch and pull down on the lever on the right side (1), and then pull
straight back on the handle (2).
NOTE:
After you have installed the new blade, you must access it. Use a
computer with a TCP/IP interface capable of using Telnet to connect to
the new blades default IP address of
10.0.0.1
. Make sure you have
such a computer available before you remove your old blade, and that
the computer has the FRU file on it you saved in step 3.
Summary of Contents for iSR6200
Page 1: ...ISR651101 00 G iSR6200 Intelligent Storage Router Installation Guide ...
Page 20: ...Preface Technical Support xx ISR651101 00 G ...
Page 34: ...1 Introduction iSR6200 Router Blades 1 14 ISR651101 00 G ...
Page 60: ...3 Installation Installing New Firmware 3 18 ISR651101 00 G ...
Page 90: ...4 Configuration Controlling per Host LUN Access on the iSR6200 4 30 ISR651101 00 G ...
Page 110: ...5 Fibre Channel over IP Configuring FCIP 5 20 ISR651101 00 G ...
Page 128: ...7 Removal and Replacement Power and Cooling Modules 7 14 ISR651101 00 G ...
Page 134: ...A Technical Specifications Environmental and Safety A 6 ISR651101 00 G ...
Page 160: ...B Simple Network Management Protocol Notifications B 26 ISR651101 00 G ...
Page 217: ......


