2–Managing Fabrics
Zoning
2-38
59264-02 B
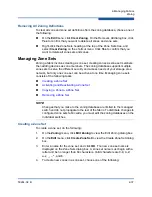
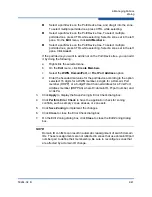
Right-click a zone set and select
Create A Zone
on the shortcut menu.
On the Create a Zone dialog box, enter a name for the new zone, and
click
OK
. The new zone name is displayed on the Zone Sets dialog
box.
Copy an existing zone by dragging a zone into the new zone set. Refer
to
“Copying a Zone to a Zone Set” on page 2-40
5.
Click
Apply
to save changes to the zoning database.
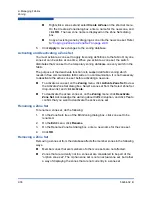
Activating and Deactivating a Zone Set
You must activate a zone set to apply its zoning definitions to the fabric. Only one
zone set can be active at one time. When you activate a zone set, the switch
distributes that zone set to the temporary zoning database on every switch in the
fabric.
The purpose of the deactivate function is to suspend all fabric zoning which
results in free communication fabric wide or no communication. It is not necessary
to deactivate the active zone set before activating a new one.
To activate a zone set, on the
Zoning
menu, click
Activate Zone Set
to view
the Activate Zone Set dialog box. Select a zone set from the Select Zone Set
drop-down list, and click
Activate
.
To deactivate the active zone set, on the
Zoning
menu, click
Deactivate
Zone Set
. Acknowledge the warning about traffic disruption, and click
Yes
to
confirm that you want to deactivate the active zone set.
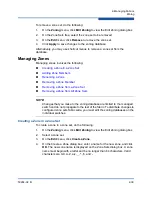
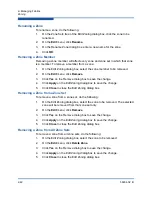
Renaming a Zone Set
To rename a zone set, do the following:
1.
On the Zone Sets tree of the Edit Zoning dialog box, click zone set to be
renamed.
2.
On the
Edit
menu, click
Rename
.
3.
On the Rename Zone Set dialog box, enter a new name for the zone set.
4.
Click
OK
.
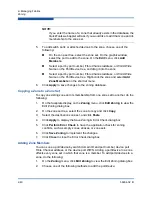
Removing a Zone Set
Removing a zone set from the database affects the member zones in the following
ways.
Member zones that are members of other zone sets are not affected.
Zones that are currently not in a zone set are considered to be part of the
“orphan zone set”. The orphan zone set is not an actual zone set, but rather
a way of displaying the zones that are not currently in a zone set.


