


0HGLD-DPV
406785%23ULQW6\VWHP2SHUDWLRQ
2
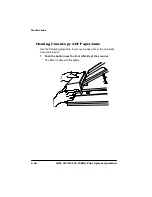
Pull out the cassette and gently remove any jammed media.
3
Adjust the remaining print media in the cassette.
4
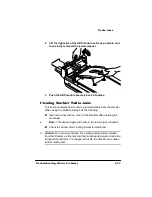
Slide the cassette back in the printer.
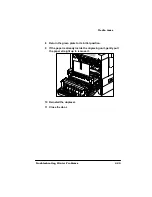
5
Open and close one of the printer’s covers (top, left, or right)
to remove the jam message and continue printing.
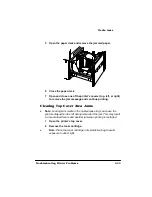
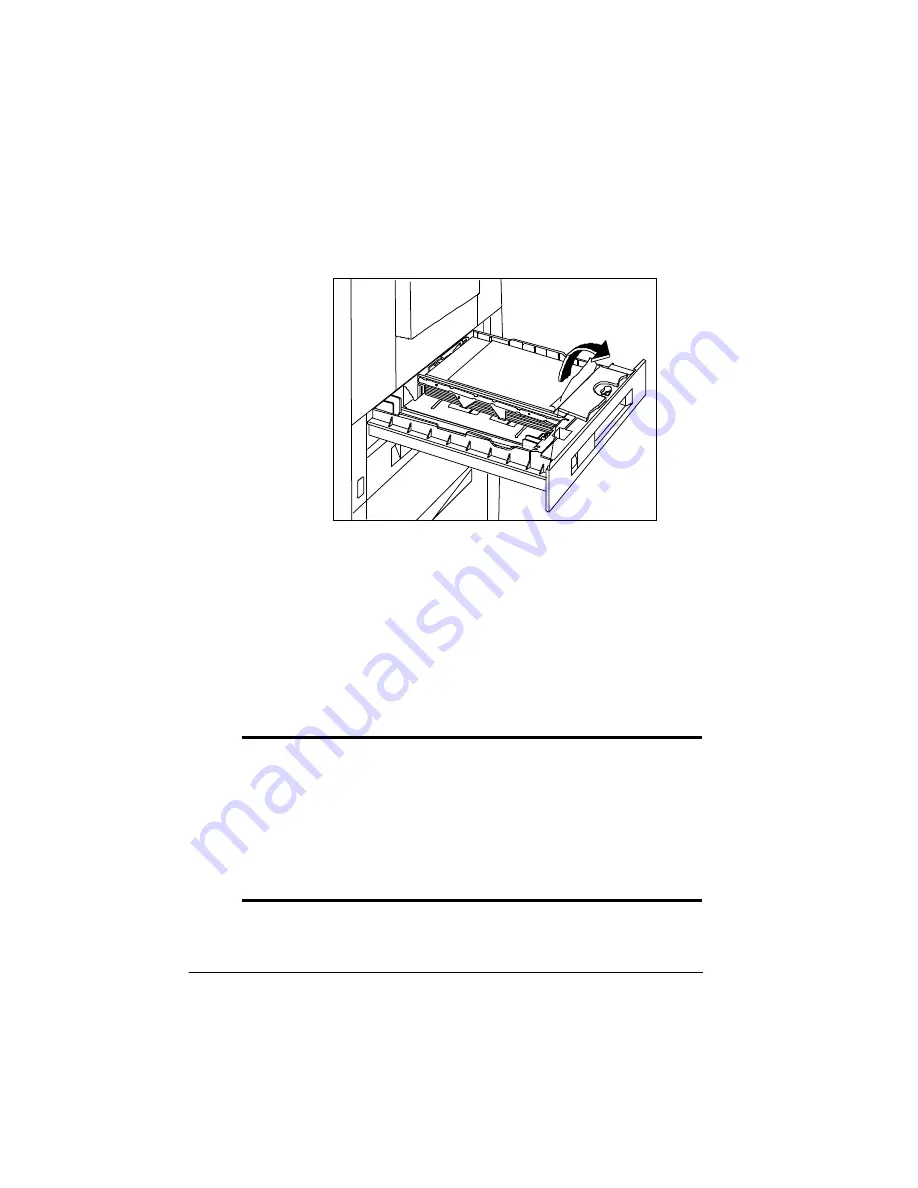
&OHDULQJ'XSOH[HU8QLW$UHD-DPV
Follow these instructions to clear a media jam from the duplexer area,
if the optional duplexer unit is installed.
0
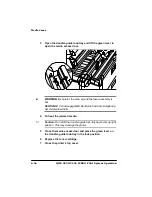
WARNING:
The fixing assembly and print delivery areas become
extremely hot when the printer is used. Wait until the printer has
completely cooled down before you touch these areas. Personal
injury could result if you touch these areas while they are hot.
ACHTUNG!
Die Fixeriereinheit sowie Teile der Papierausgabe
werden im Betrieb extrem heiá. Warten sie, bis der Drucker
vollständig abgekühlt ist, bevor Sie diese Teile berühren. Ein
Berühren der heiáen Teile kann zu Verletzungen führen.
Summary of Contents for 2425
Page 1: ...406 785 2 3ULQW 6 VWHP 2SHUDWLRQ...
Page 9: ...QWURGXFWLRQ Q 7KLV KDSWHU Introduction on page 1 2 Typographic Conventions on page 1 4...
Page 44: ......
Page 76: ......
Page 142: ......
Page 172: ......
Page 180: ......
Page 186: ......


