&
*
Service calls should be placed to the vendor from whom you purchased the printer. If
you cannot get service from your vendor, see appendix A, “QMS Customer Support,”
for more information.
»
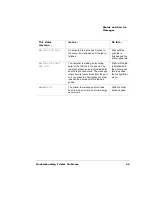
Note:
A service message sometimes occurs as a result of an unusual combination of
events, not because of an actual problem. When the printer stops and a service
message displays in the message window, turn the printer off and then back on. This
often clears the service message indicator, and printer operation resumes. Always try
this before making a service call.
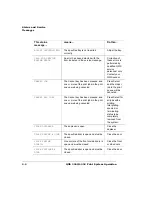
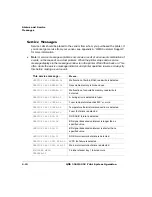
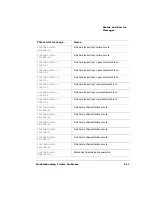
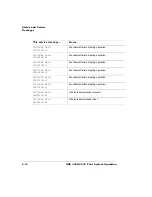
This service message...
Means...
SERVICE CALL MEMORY-04
Malfunction of built-in RAM, read/write is detected
SERVICE CALL MEMORY-06
Nonvolatile memory is broken down
SERVICE CALL MEMORY-10
Malfunction of nonvolatile memory, read/write is
detected
SERVICE CALL FUSER-02
A timing error is detected in fuser.
SERVICE CALL FUSER-04
Fuser temperature reaches 250° or more.
SERVICE CALL FUSER-06
Temperature thermistor disconnection is detected.
SERVICE CALL FUSER-15
Fuser fan failure is detected.
SERVICE CALL ROS-02
ROS ASIC failure is detected.
SERVICE CALL ROS-06
BD signal transmission interval is longer than a
specified value.
SERVICE CALL ROS-10
BD signal transmission interval is shorter than a
specified value.
SERVICE CALL ROS-12
ROS motor revolution failure is detected.
SERVICE CALL LVPS FAN-06
LVPS fan failure is detected.
SERVICE CALL LVPS FAN-02
Main motor revolution failure is detected.
FINISHER MECH.
STACKER-02
Finisher stacker tray 1 failure occurs.
Summary of Contents for 3260
Page 1: ......
Page 8: ......
Page 9: ...Introduction on page 1 2 About This Manual on page 1 2...
Page 12: ......
Page 39: ...2 Lift up the handles to unlock the transfer roller 3 Remove the transfer roller...
Page 46: ...1 Pull out the tray 6 2 Open the lower left door of the high capacity input feeder...
Page 48: ......
Page 87: ...2 3 2 1...
Page 90: ......
Page 106: ...4 5 8 1 Open the duplexer 2 Open the upper left door 3 Open the lower left door...
Page 111: ...4 4 5 8 1 Pull on the latch to open the duplexer 2 Open the cover inside of the duplexer...
Page 114: ...4 3 Reinsert the enve lope feeder...
Page 152: ......
Page 153: ...Sources of Support on page A 2 QMS World wide Offices on page A 4...
Page 184: ......
Page 194: ......


