+&#
#
/##
!"
1
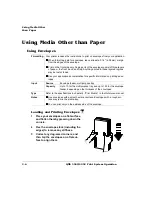
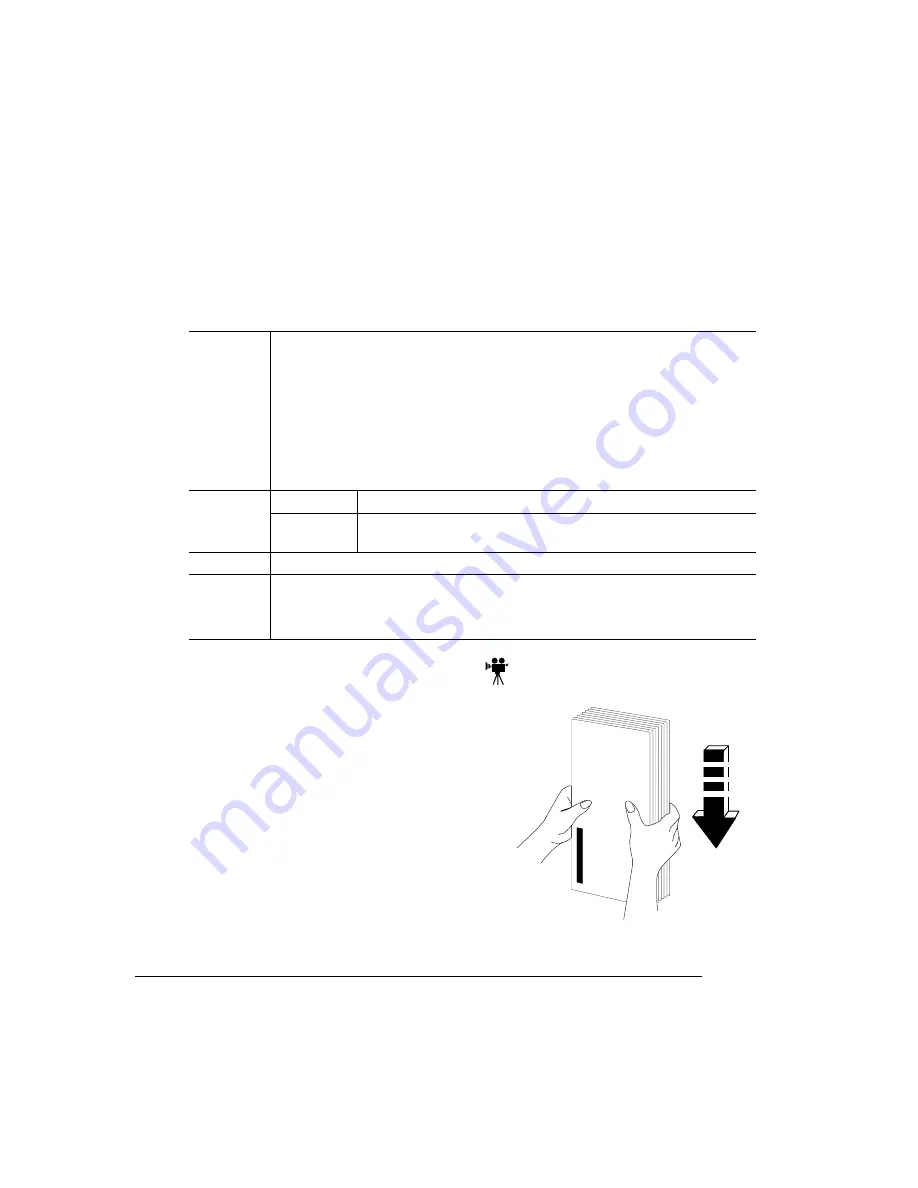
Place your envelopes on a flat surface,
and flatten them by pressing down the
corners.
2
Flex the envelope stack (including the
edges) to remove any stiffness.
3
Correct any dog-eared corners, and
then tap the envelopes on a flat sur-
face to align them.
Formatting
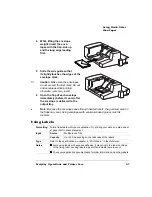
Your printer receives the instructions to print on envelopes from your application.
When formatting data for envelopes, leave at least a 0.16" (4.06 mm) margin
from the edges of the envelope.
Print on the front side only. Some parts of the envelope consist of three layers
of paper—the front, back, and flap. Anything printed in these layered regions
may be lost or faded.
See your application documentation for specific information on printing enve-
lopes.
Input
Source
Envelope feeder; multipurpose tray
Capacity
Up to 10 for the multipurpose tray and up to 100 for the envelope
feeder, depending on the thickness of the envelopes
Type
Refer to the specifications in chapter 4, “Print Media,” in the
Reference manual.
Notes
Use envelopes with a smooth exterior surface. Envelopes with a rough sur-
face may jam in the media tray.
You can print only on the address side of the envelope.
Summary of Contents for 3260
Page 1: ......
Page 8: ......
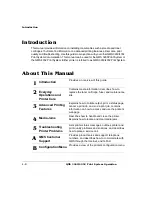
Page 9: ...Introduction on page 1 2 About This Manual on page 1 2...
Page 12: ......
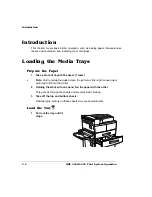
Page 39: ...2 Lift up the handles to unlock the transfer roller 3 Remove the transfer roller...
Page 46: ...1 Pull out the tray 6 2 Open the lower left door of the high capacity input feeder...
Page 48: ......
Page 87: ...2 3 2 1...
Page 90: ......
Page 106: ...4 5 8 1 Open the duplexer 2 Open the upper left door 3 Open the lower left door...
Page 111: ...4 4 5 8 1 Pull on the latch to open the duplexer 2 Open the cover inside of the duplexer...
Page 114: ...4 3 Reinsert the enve lope feeder...
Page 152: ......
Page 153: ...Sources of Support on page A 2 QMS World wide Offices on page A 4...
Page 184: ......
Page 194: ......

