$GMXVWLQJWKH
)ROGHU6WDSOHU
4064'2&%RRNOHWPDNLQJ6\VWHP8VHUV*XLGH
1
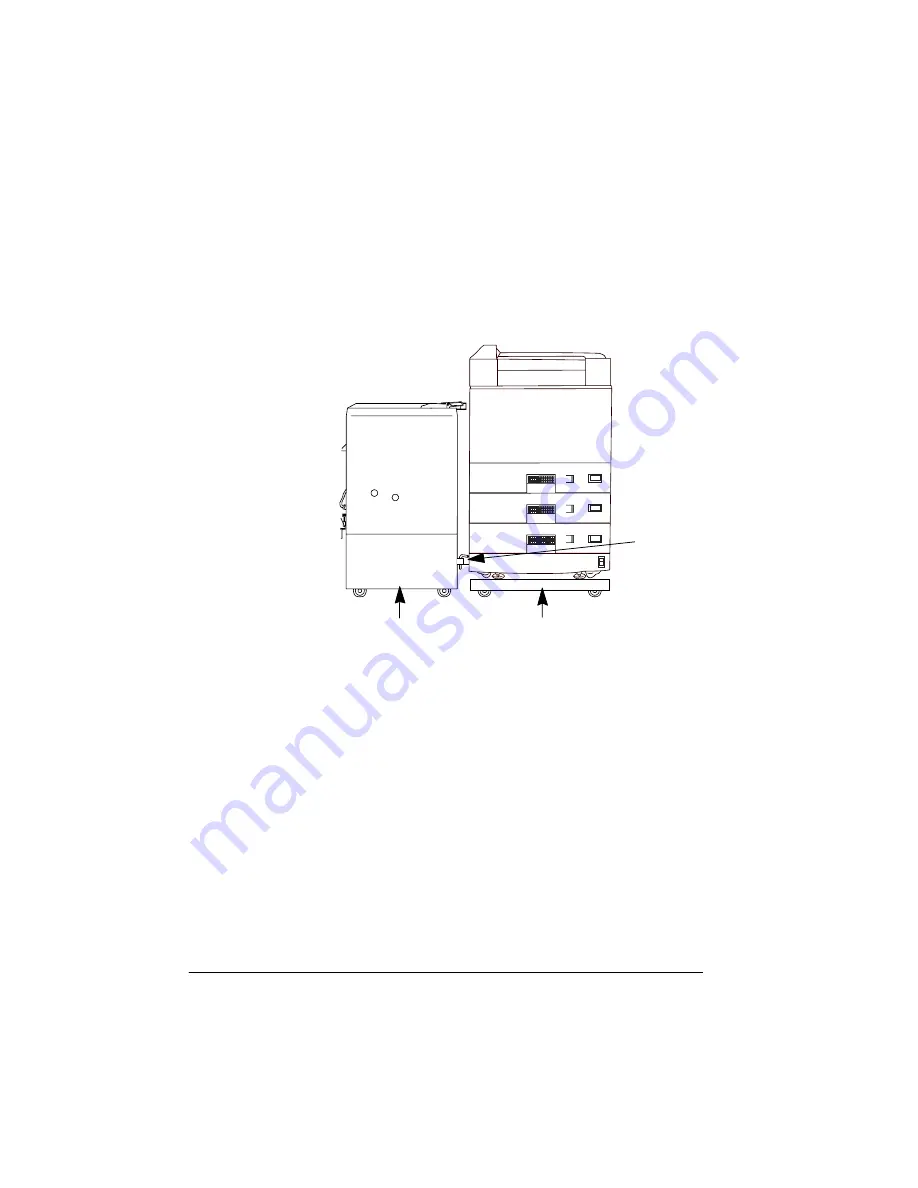
Pull the latch located between the two units (mechanical
connection to QMS 4060 Print System denoted by arrow) and
roll QMS 4060 Print System aside.
»
Note:
The QMS 4060 Print System, Folder/Stapler, and Trimmer
are all equipped with wheels.
)ROGHU6WDSOHU
406
3ULQW6\VWHP
RQ3ULQWHU6WDQG
/DWFK
Summary of Contents for QDOC
Page 1: ...k k 3 k bk p p...
Page 9: ...QWURGXFWLRQ Q 7KLV KDSWHU Introduction on page 1 2 Standard Product Documentation on page 1 5...
Page 32: ......
Page 46: ......
Page 122: ......
Page 140: ......
Page 141: ...2SWLRQV Q 7KLV KDSWHU Introduction on page 7 2 Stapler Head on page 7 2...
Page 143: ...6WDSOHU HDG 2SWLRQV 3 Open the cover RYHU...
Page 154: ......
Page 172: ......


