$GMXVWLQJWKH
)ROGHU6WDSOHU
4064'2&%RRNOHWPDNLQJ6\VWHP8VHUV*XLGH
6HWXS[6KRUW(GJH)HHG
1
Set up the tray media size tabs on the rear of the custom tray.
Use the following setting for 8.5" x 11" short-edge feed.
2
Insert the tray into the printer.
3
Access the Operator Control/Custom
Inputbin/location
(where
Location is the inputbin in which the 8.5" x 11" paper
is loaded: Upper, Middle, Lower), configuration menu and
choose Letter.
▲
Caution:
If you do not set up the paper size in the Operator
Control/Custom Input bins menu, the printer could select an
incorrect paper size and your image will not be positioned
correctly on the page.
4
In the Administration menu/Engine/Feed Option/Letter Feed/
configuration menu choose Short-Edge.
$GMXVWLQJWKH)ROGHU6WDSOHU
If you change the paper format from 8.5" x 11" to 11" x 17" or vice
versa on QMS 4060 Print System, then you must also make the fol-
lowing adjustments to the Folder/Stapler:
Exchange the tractor and paper input modules
Adjust the side tab
Adjust the booklet sheet size
Adjust the stapler head position (if desired)
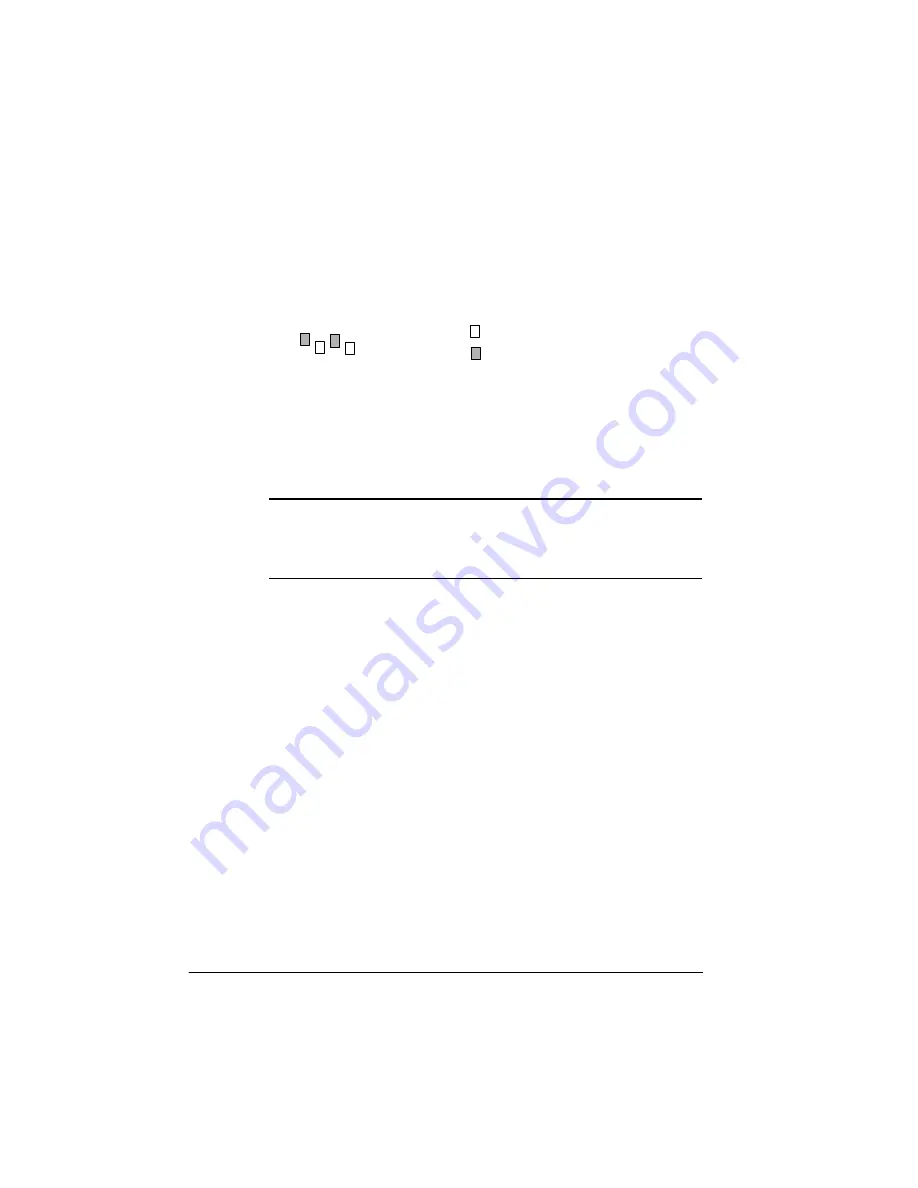
Tab is pushed forward
Tab is pushed backward
Summary of Contents for QDOC
Page 1: ...k k 3 k bk p p...
Page 9: ...QWURGXFWLRQ Q 7KLV KDSWHU Introduction on page 1 2 Standard Product Documentation on page 1 5...
Page 32: ......
Page 46: ......
Page 122: ......
Page 140: ......
Page 141: ...2SWLRQV Q 7KLV KDSWHU Introduction on page 7 2 Stapler Head on page 7 2...
Page 143: ...6WDSOHU HDG 2SWLRQV 3 Open the cover RYHU...
Page 154: ......
Page 172: ......


