8.
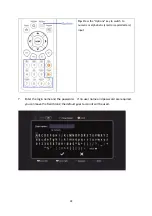
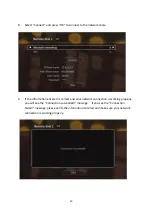
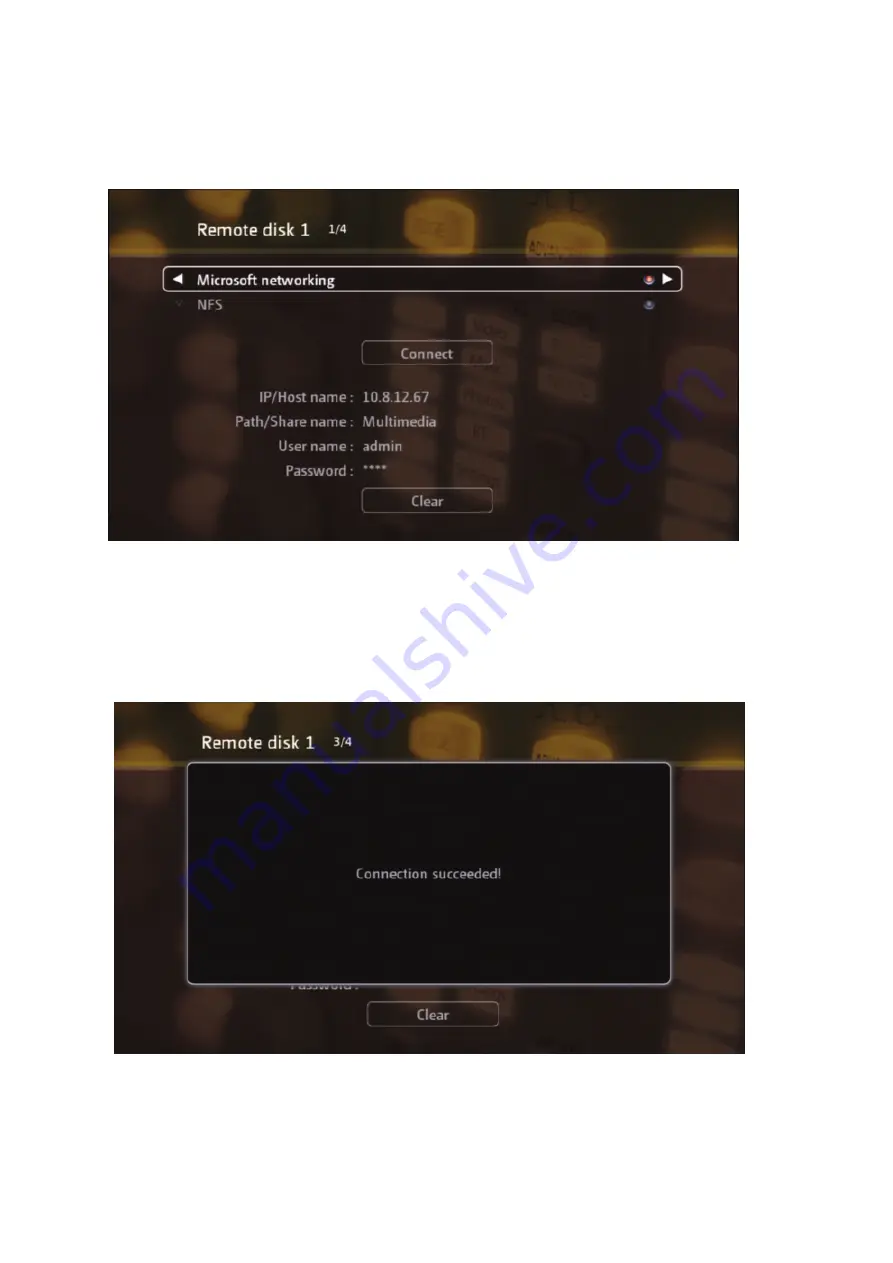
Select
“Connect”
and
press
“OK”
to
connect
to
the
network
share.
9.
If
the
information
entered
is
correct
and
your
network
connection
is
working
properly,
you
will
see
the
“Connection
succeeded!”
message.
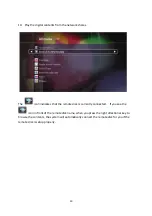
If
you
see
the
“Connection
Failed!”
message,
please
verify
the
information
entered
and
make
sure
your
network
connection
is
working
properly.
29
Summary of Contents for NMP-1000P
Page 27: ...5 Enter the IP address host name of the PC or NAS 6 Enter the network share name or path 27 ...
Page 32: ...d Play the digital contents from the local disk 32 ...
Page 42: ...5 2 1 Language Select a desired language for the user interface 42 ...
Page 44: ...5 2 3 Sleep timer This feature enables you to set the timer to shut down NMP 1000P 44 ...
Page 76: ...5 5 11 Turn off blue light LED You can disable the blue light on the front panel 76 ...
Page 95: ...95 ...
Page 100: ...4 When the management screen is shown you can use QGet to manage the download tasks 100 ...
Page 122: ...122 ...
Page 128: ...128 ...
Page 131: ...9 6 4 Delete Select a share and click Delete Click OK to confirm 131 ...
Page 135: ...135 ...
Page 140: ...9 8 3 System Information You can view the system information e g CPU usage on this page 140 ...
Page 153: ...Backup Select the files and folders for backup 153 ...

