
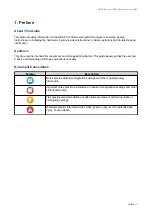
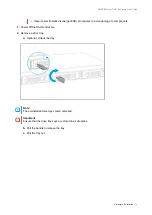
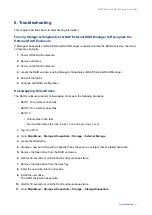
a.
Align the openings on the handle with the two round screw holes on the angle bracket.
b.
Attach the screws to lock the handle to the angle bracket.
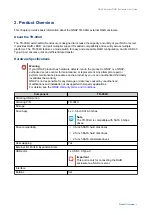
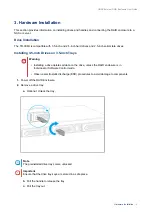
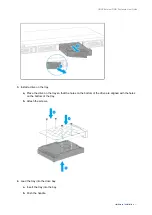
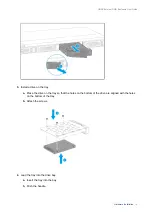
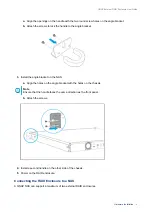
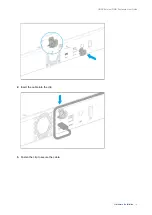
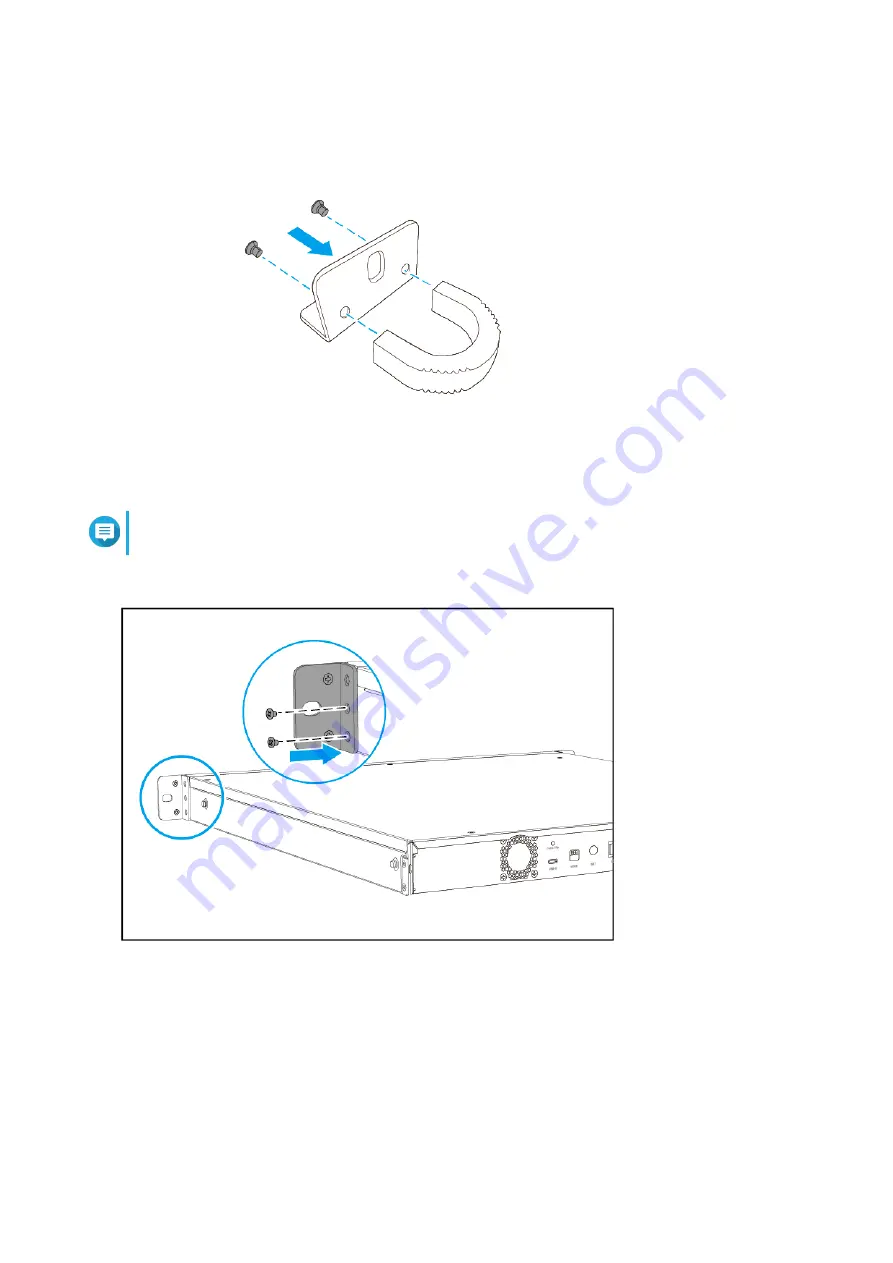
3.
Install the angle bracket on the NAS.
a.
Align the holes on the angle bracket with the holes on the chassis.
Note
Ensure that the handle faces the same direction as the front panel.
b.
Attach the screws.
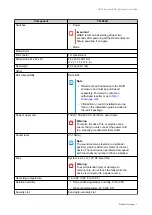
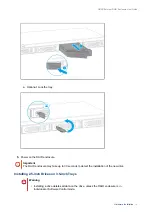
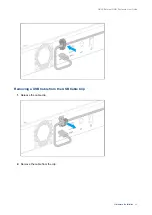
4.
Install a second handle on the other side of the chassis.
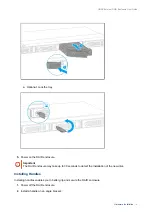
5.
Power on the RAID enclosure.
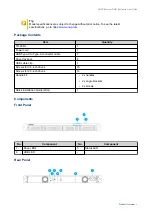
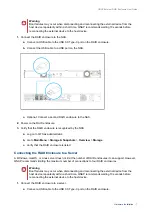
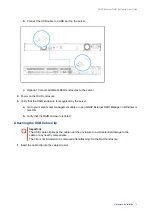
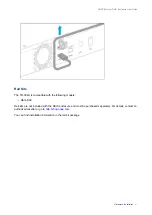
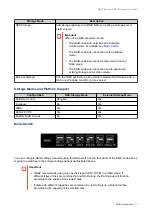
Connecting the RAID Enclosure to a NAS
A QNAP NAS can support a maximum of two external RAID enclosures.
QNAP External RAID Enclosure User Guide
Hardware Installation
16


