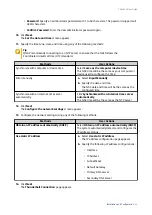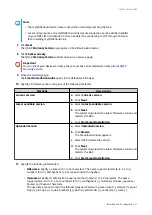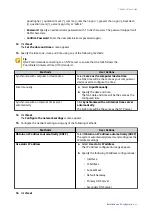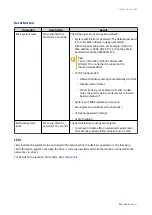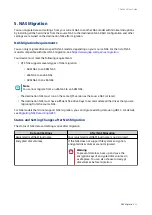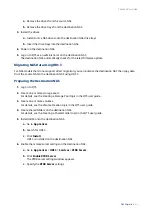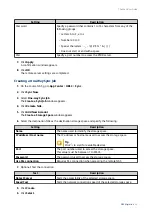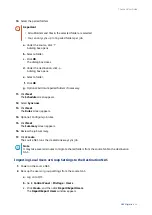
Note
• The myQNAPcloud device name is used when remotely accessing the NAS.
• For security purposes, the myQNAPcloud Link remote connection service will be disabled
on your NAS after initialization. You can enable it by connecting to QTS through LAN and
then installing myQNAPcloud Link.
7. Click Next.
The QNAP Warranty Service page opens in the default web browser.
8. Click Check warranty.
The QNAP Warranty Service window opens in a new web page.
Important
You can check your device warranty policy or purchase an extended warranty plan at
9. Close the warranty page.
The Smart Installation Guide opens in the default web browser.
10. Specify a firmware version using any of the following methods.
Methods
User Actions
Current version
a. Select Current version.
b. Click Next.
Latest available version
a. Select Latest available version.
b. Click Next.
The system downloads the latest firmware version and
restarts the NAS.
c. Click Start Smart Installation.
Uploaded version
a. Select Uploaded version.
b. Click Browse.
The file upload window appears.
c. Select the firmware file version.
d. Click Next.
The system downloads the latest firmware version and
restarts the NAS.
e. Click Start Smart Installation.
11. Specify the following information.
• NAS name: Specify a name with 1 to 14 characters. The name supports letters (A to Z, a to z),
numbers (0 to 9), and hyphens (-), but cannot end with a hyphen.
• Username: Specify an administrator username that contains 1 to 32 characters. The name
supports letters (A to Z, a to z), numbers (0 to 9), and hyphens (-), multi-byte Chinese, Japanese,
Korean, and Russian characters.
The username cannot contain the following special characters: grave accent (`), asterisk (*), equal
sign (=), plus sign (+), square brackets ([ ]), slash (\), vertical bar (|), semicolon (;), colon (:),
TS-x64eU User Guide
Installation and Configuration
42

