


153
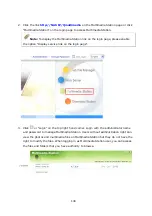
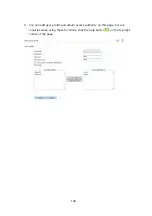
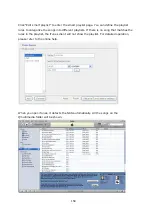
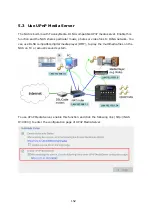
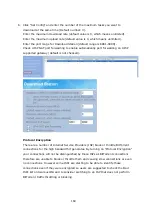
Click the link http://NAS IP:9000/ to enter UPnP Media Server configuration page and
configure the following settings.
(1)
Language: Select the display language.
(2)
Server Name: Enter the name of the NAS UPnP Media Server. This name is shown on
DMP operation interface, e.g. NAS.
(3)
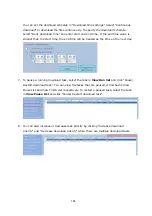
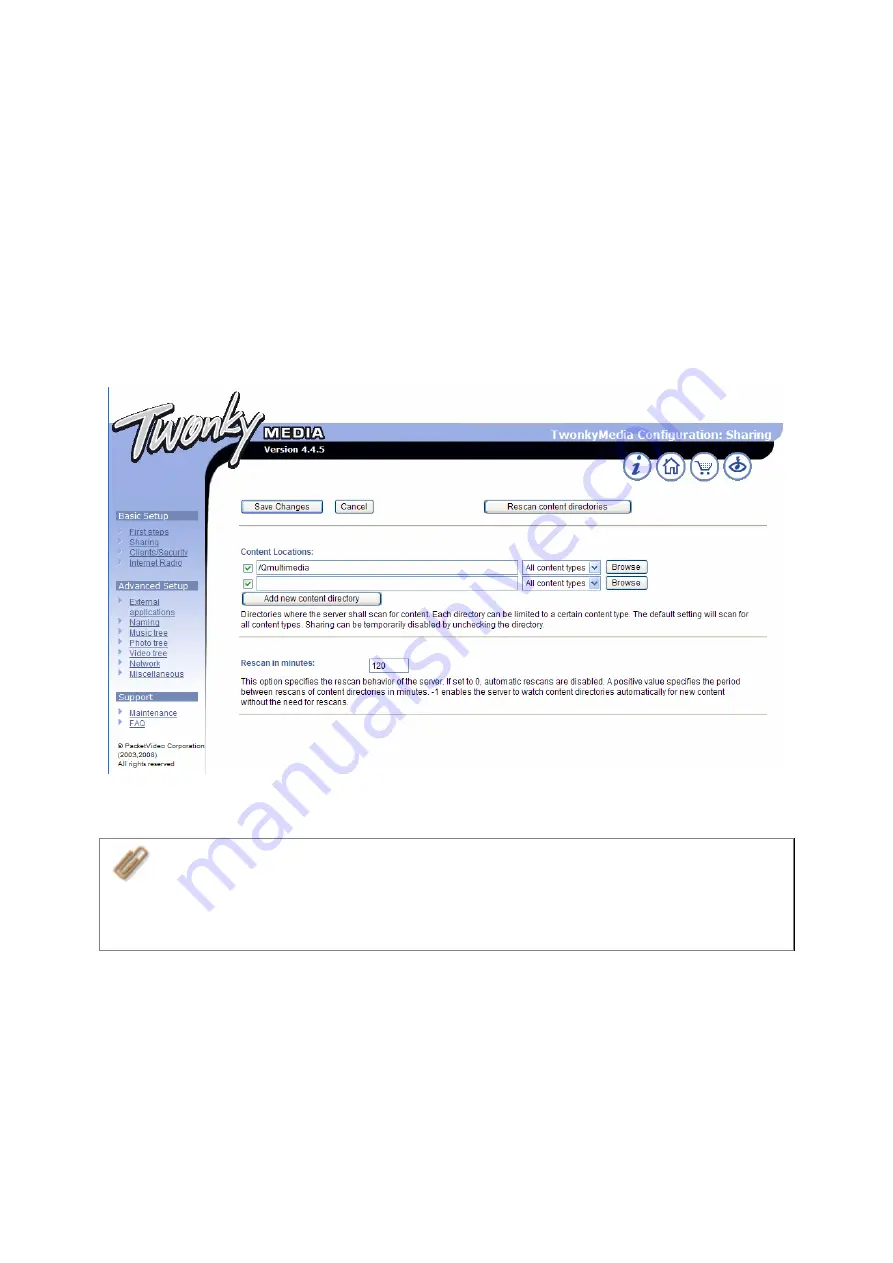
Content Locations: Select the share folder on the NAS to be shared to DMP. The
default folder is Qmultimedia. You can add more than one share folder.
Click “Save Changes” to save the settings.
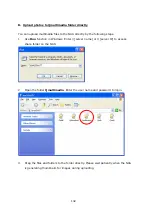
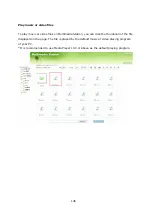
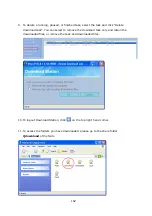
After configuring the settings, you can upload mp3, photos, or video files to Qmultimedia
folder or other specified folders on the NAS.
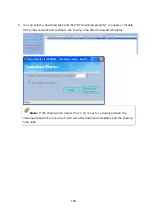
Note:
If you upload multimedia files to the default share folder but the files are not
shown on Media Player, you can click “Rescan content directories” or “Restart server” on
the Media Server configuration page.
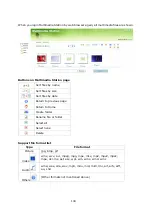
The built-in UPnP Media Server of the NAS is compatible with the DLNA DMP devices in
the market.
Summary of Contents for TS-639 Pro Turbo NAS
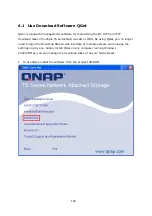
Page 21: ...21 2 The following menu is shown Select Install QNAP Finder to continue ...
Page 25: ...25 7 Click Start installation to execute the quick configuration ...
Page 36: ...36 3 1 Server Administration There are 8 main sections in server administration ...
Page 69: ...69 ...
Page 82: ...82 3 5 6 2 Mac Users 1 On the toolbar click Go Utilities 2 Click Printer Setup Utility ...
Page 96: ...96 iv The user names will appear on the list on Create User page ...
Page 105: ...105 3 7 1 4 Delete Select a share and click Delete Click OK to confirm ...
Page 184: ...184 Backup Select files and folders for backup ...


