


51
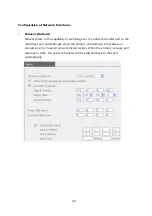
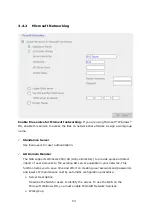
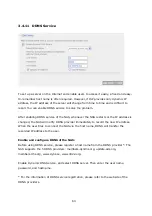
service for the NAS in external network.
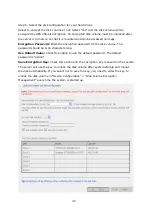
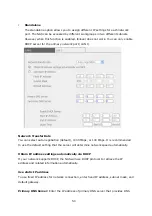
Secondary DNS Server:
Enter the IP address of secondary DNS server that provides
DNS service for the NAS in external network.
Note:
1.
Please contact your ISP or network administrator for the IP address of primary and
secondary DNS servers. When the NAS plays the role as a terminal and needs to
perform independent connection, e.g. BT download, you must enter at least one DNS
server IP for proper URL connection. Otherwise, the function may not work properly.
2.
If you select to obtain IP address via DHCP, there is no need to configure the primary
and secondary DNS servers. You can enter “0.0.0.0” in the settings.
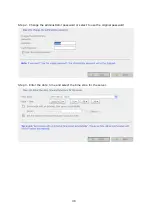
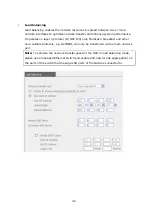
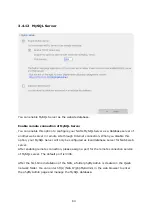
Enable DHCP Server
If no DHCP is available in the LAN where the NAS locates, you can enable this function to
enable the NAS as a DHCP server and allocate dynamic IP address to DHCP clients in
LAN.
You can set the range of IP addresses allocated by DHCP server and the lease time.
Lease time refers to time that IP address is leased to the clients by DHCP server. When
the time expires, the client has to acquire an IP address again.
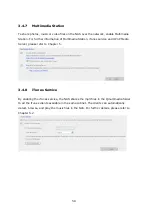
For example, to establish a DLNA network, and share the multimedia files on the NAS to
DLNA DMP via UPnP while there is no NAT gateway that supports DHCP server, you can
enable DHCP server of the NAS. The NAS will allocate dynamic IP address to DMP or
other clients automatically and set up a local network.
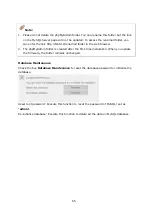
Note:
If there is an existing DHCP server in your LAN, do not enable this function.
Otherwise, there will be IP address allocation and network access errors.
Summary of Contents for TS-639 Pro Turbo NAS
Page 21: ...21 2 The following menu is shown Select Install QNAP Finder to continue ...
Page 25: ...25 7 Click Start installation to execute the quick configuration ...
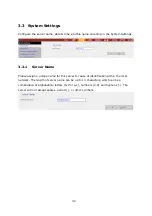
Page 36: ...36 3 1 Server Administration There are 8 main sections in server administration ...
Page 69: ...69 ...
Page 82: ...82 3 5 6 2 Mac Users 1 On the toolbar click Go Utilities 2 Click Printer Setup Utility ...
Page 96: ...96 iv The user names will appear on the list on Create User page ...
Page 105: ...105 3 7 1 4 Delete Select a share and click Delete Click OK to confirm ...
Page 184: ...184 Backup Select files and folders for backup ...


