


73
fails in RAID 5, the disk volume will be in “degraded mode”. There is no more data
protection at this stage. If one more disk fails, all the data will be crashed.
Therefore, you must replace a new disk immediately. You can install a new disk after
turning off the server or hot swap the new disk when the server is on. The status of
the disk volume will become “rebuilding” after installing a new disk. When rebuilding
completes, your disk volume resumes to normal status.
Note:
To install a disk when the server is on, make sure the disk volume is in
“degraded” mode. Or wait for two long beeps after the disk crash, then insert the
new disk.
•
RAID 6 Disk Volume
RAID 6 disk volume is ideal for important data protection.
To create a RAID 6 disk volume, a minimum of 4 hard disks are required. The total
capacity of RAID 6 disk volume = the size of the smallest capacity disk in the array x
(no. of hard disk–2). It's recommended that you use same brand and same capacity
hard drive to establish the most efficient hard drive capacity.
RAID 6 can survive 2 drives failure and system can still operate properly.
Note:
To install a disk when the server is on, make sure the disk volume is in
“degraded” mode. Or wait for two long beeps after the disk crash, and then insert the
new disk.
•
RAID 5, RAID 6 Read-only Mode
The drive configuration enters read-only mode in the following occasions:
-
2 drives are damaged in RAID 5
-
3 drives are damaged in RAID 6
The drives in the above configurations are read-only. It is recommended to re-create
new drive configuration in such case.
Summary of Contents for TS-639 Pro Turbo NAS
Page 21: ...21 2 The following menu is shown Select Install QNAP Finder to continue ...
Page 25: ...25 7 Click Start installation to execute the quick configuration ...
Page 36: ...36 3 1 Server Administration There are 8 main sections in server administration ...
Page 69: ...69 ...
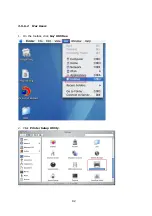
Page 82: ...82 3 5 6 2 Mac Users 1 On the toolbar click Go Utilities 2 Click Printer Setup Utility ...
Page 96: ...96 iv The user names will appear on the list on Create User page ...
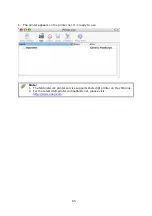
Page 105: ...105 3 7 1 4 Delete Select a share and click Delete Click OK to confirm ...
Page 184: ...184 Backup Select files and folders for backup ...


