


55
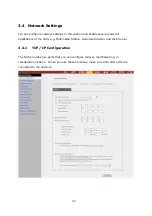
3.4.3
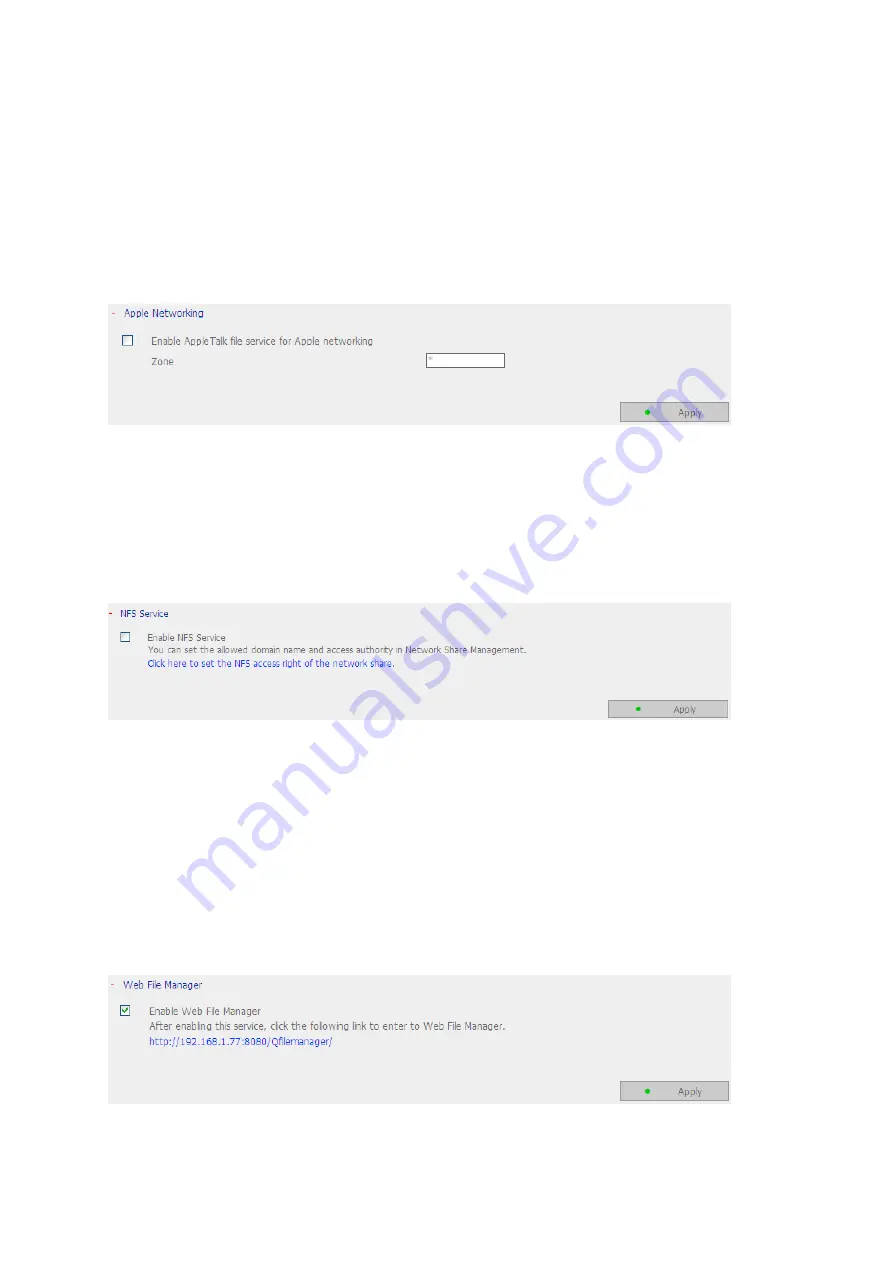
Apple Networking
To use the NAS on Apple Mac operating system, enable AppleTalk network support. If
your AppleTalk network uses extended networks, and is assigned with multiple zones,
assign a zone name to the NAS. If you do not want to assign a network zone, enter an
asterisk (*) to use the default setting.
This setting is disabled by default.
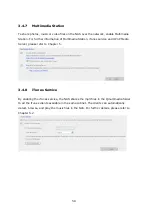
3.4.4
NFS Service
After enabling this service, you can click here to set up the Network access authority to
configure the settings. For detailed configuration, please refer to Chapter 3.7.1.6. For the
information of connecting to the NAS via NFS on Linux, please refer to Chapter 12.
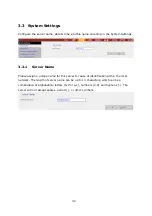
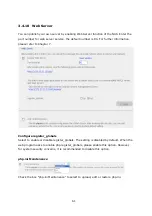
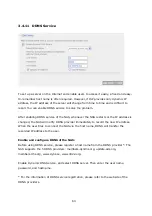
3.4.5
Web File Manager
To access files on the NAS via web browser, enable Web File Manager. If the NAS is
connected to the Internet and uses a valid IP address, you can access files on the server
by web browser from anywhere. For more information, please refer to Chapter 9.
The NAS supports SSL secure login. You can select SSL login on the NAS administration
page and login Web File Manager via https; or enter https://NAS IP:8080/Qfilemanager/
in the browser.
Summary of Contents for TS-639 Pro Turbo NAS
Page 21: ...21 2 The following menu is shown Select Install QNAP Finder to continue ...
Page 25: ...25 7 Click Start installation to execute the quick configuration ...
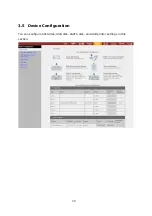
Page 36: ...36 3 1 Server Administration There are 8 main sections in server administration ...
Page 69: ...69 ...
Page 82: ...82 3 5 6 2 Mac Users 1 On the toolbar click Go Utilities 2 Click Printer Setup Utility ...
Page 96: ...96 iv The user names will appear on the list on Create User page ...
Page 105: ...105 3 7 1 4 Delete Select a share and click Delete Click OK to confirm ...
Page 184: ...184 Backup Select files and folders for backup ...


