48
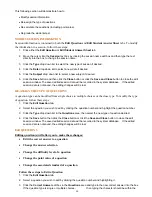
default is 100.
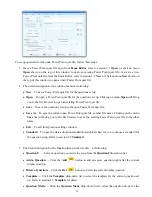
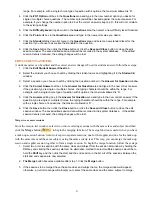
9. Questions may now be answered and in any order desired! Questions may be selected from the drop
down list
Question #
.
10. Select the
question type
by selecting from the drop down list
Question Type
for the question you are
working on.
11. Select the
difficulty level
by selecting from the drop down list
Difficulty Level
for the question you are
working on.
12. Enter a correct answer for the question you are working on into the box labeled
Correct Answer
. The
default is set to
No Answer
.
13. If the question type is single choice or multiple choices, the number of options for the question should be
selected from the drop down list
Num of Option
. The default number of options is set to 4.
14. Select the
point value
for the question you are working on from the drop down list
Point
. The default point
value is 10.
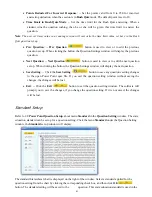
15. If you want to associate the question you are working on to a state standard, then you need to select that
association from the drop down list
Standard
.
16. The question content is optional. It serves as a hint for the current question. It may also be used as the
question comment. Just type in the text or copy and paste the text in the box marked
Question
(Optional).
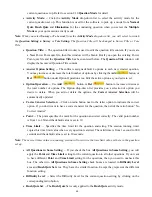
17. Select a
student name and ID
by clicking the student information row in the
Student Answer
area to
enter an individual student answer to the current selected question.
18. Repeat step 17 to finish entering all the student answers to the current selected question.
19. Repeat from step 9 to 18 until all questions are finished.
20. Click the
Save
button and then click the
Close
button to close the creating a new session window. The
saved session data will be recorded in the system database.
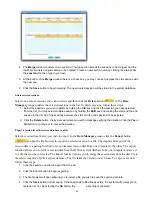
Import a data session to the system database from a file
In
Data Manager
groups, click the
Import
button
to open the file browser to import a session stored in a
file. The import and export of session data allows you to transfer this data from one computer to another. The
export function allows you retrieve a session from the QClick system database and save it to another file that you
have created. The import function allows you to merge the session data from that data file to a different QClick
system database. The file takes the extension .dat format. When a file to be imported is selected, the import
session previews the session data in two tabs, the student based tab and the question based tab. Select the
student you want to preview in the left
Student Points
window inside the student based window. The right window
Question
shows the question number, points, correct answer and the student answer. Select the question you
want to preview in the left
Question Point Standard
window inside the question based window. The right window
Student
shows each individual student’s answers to the question. These let you preview the data being imported.
Click the
Import
button to start importing. If the data to be imported is already in the system database, the
software will prompt you with a message saying
“Session already exists”
; the importing is still successful.


