


Step 1.
Unpack the drive accessory box. The accessory box should have a disc with
the included software, a QPS DVD-R disc, an audio cable, an IDE ribbon cable
and mounting screws.
Step 2.
Shut down and turn off your computer.
Step 3.
Remove the cover from your computer (please refer to your PC owners
manual for the proper way to do this).
Step 4.
Remove the cover plate from an available 5.25" drive bay or remove the drive
that you want to replace. Set aside any mounting hardware for later use. If
your system requires mounting rails go to step 5 otherwise proceed to Step 6.
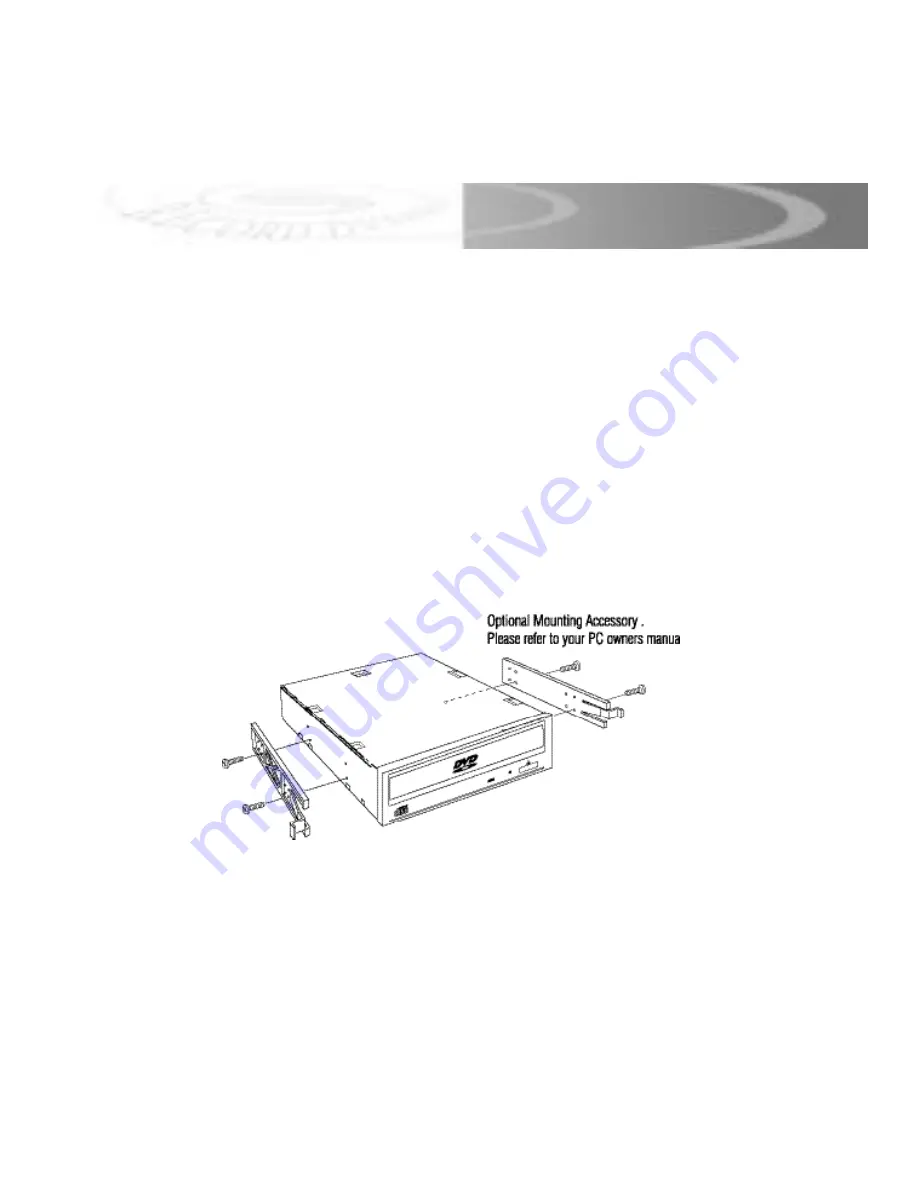
Step 5.
Attach the drive mounting hardware to the Que! Drive using M3 (ISO Metric
Screw Threads). Reference the figure below.
Caution:
Using the incorrect screw thread or length will damage the drive and void
your warranty. Consult your computer manufacturer for the correct mounting
hardware(rails) and screws, rails may not be needed.
Note: Please refer to Que! DVDBurner Installation Manual CD for complete installation version.
5
IDE INSTA L L AT I O N