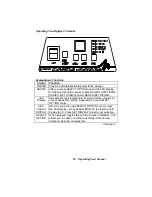
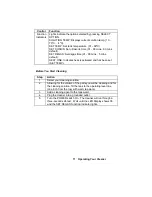
Qsonica 50, Operator'S Manual
The Yamaha 50 Owner's Manual is a comprehensive guide that provides detailed instructions for operating and maintaining your Yamaha 50 product. Easily accessible for free download on our website, this manual offers invaluable insights and information to ensure optimal performance and longevity for your Yamaha 50.
Share
Download


Reviews:
No comments
Related manuals for 50
PS20
Brand: Kärcher Pages: 64
Q Series
Brand: Ultrawave Pages: 4
Q Series
Brand: Ultrawave Pages: 39
T 350
Brand: Kärcher Pages: 68
T 350
Brand: Kärcher Pages: 5
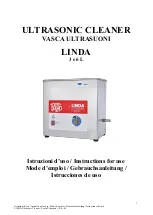
LINDA
Brand: Faro Pages: 47
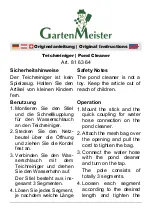
81 63 64
Brand: Garten Meister Pages: 4
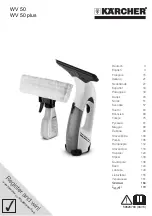
WV 50
Brand: Kärcher Pages: 184
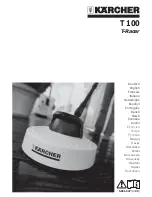
T-Racer
Brand: Kärcher Pages: 7
FR 30 Me
Brand: Kärcher Pages: 6
BR 30/1 C Bp
Brand: Kärcher Pages: 208
BD 17/5 C
Brand: Kärcher Pages: 127
SCW 2.4/25 G
Brand: Kärcher Pages: 44
FC 3 Cordless
Brand: Kärcher Pages: 76
Speedy Cleaner
Brand: Lanaform Pages: 24
PFR 28 A1
Brand: Parkside Pages: 34
QS Series
Brand: Ultrawave Pages: 36
PFR 30 A1
Brand: Parkside Pages: 26


