3.1.1 QT
ECG
Recorder
(Main
Device)
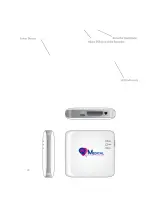
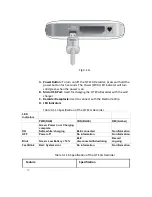
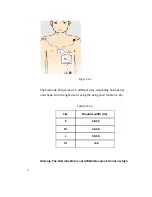
The three-view diagram of the QT ECG Recorder is shown in Fig 3.1.1a To
turn on/off the QT ECG Recorder, press and hold the power button for 5
seconds. The Power (PWR) LED indicator will turn solid green when the
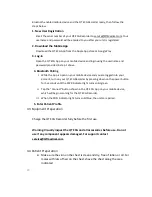
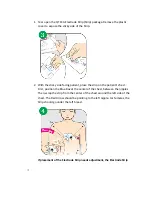
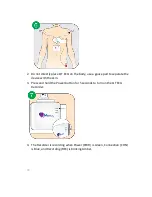
power is on. The QT ECG Recorder has two ports; one is used to connect
with the Electrode Strip, and the other is used for charging with a Micro
USB wall charger (Fig 3.1.1b & Fig 3.1.1c). Do not attempt to charge and
plug-in the Electrode Strip at the same time. Do not use any charger
other than the one provided in the original case. Do not attempt to
connect the QT ECG Recorder with any other cable, connector or power
cord
because
such
practice
can
damage
the
QT
ECG
Recorder.
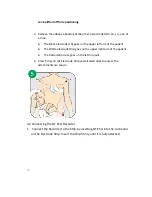
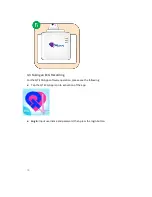
There are three LED indicators; PWR, CON and REC which indicate the
device
status.
19
Summary of Contents for QT ECG QTERD100
Page 15: ...15...
Page 17: ...The Electrode Strip is packaged and sold separately 17...
Page 18: ...18...
Page 20: ...20...
Page 21: ...21...
Page 35: ...35...
Page 37: ...37...
Page 38: ...Input patient s symptoms Click the Note button to input patient s symptoms 38...
Page 39: ...39...
Page 41: ...41...
Page 45: ...45...
Page 47: ...47...
Page 48: ...Add comment Click the New Comment button you can add new comment 48...
Page 50: ...50...
Page 61: ...A FCC Statement B IC Statement C Advice for Electromagnetic interference 61...
Page 64: ...APPENDIX B IC Statement 64...
Page 66: ...APPENDIX C Taiwan requlatory information NCC 66...
Page 72: ...FCC Part 15C 72...


