Wyvern 200 Assembly Guide
Main Frame Assembly
needs to go left to right. This is important as it will determine where the relation
between your battery lead and your power lead and ensure that your battery pack
will sit correctly on the bottom of the frame.
STEP 4, SCREW TOGETHER SANDWICH
At this point in time the mainframe
sandwich can be completed by using the
main sandwich
M3 X 10mm bolts
(I). Align
the arms properly, insert and screw in the
main sandwich bolts loosely until all 4 are in
place. If you use thread locker on your
frames now is the time to apply it to these
bolts. Once all four bolts are in position
then they can be tightened down to
complete the main frame sandwich.
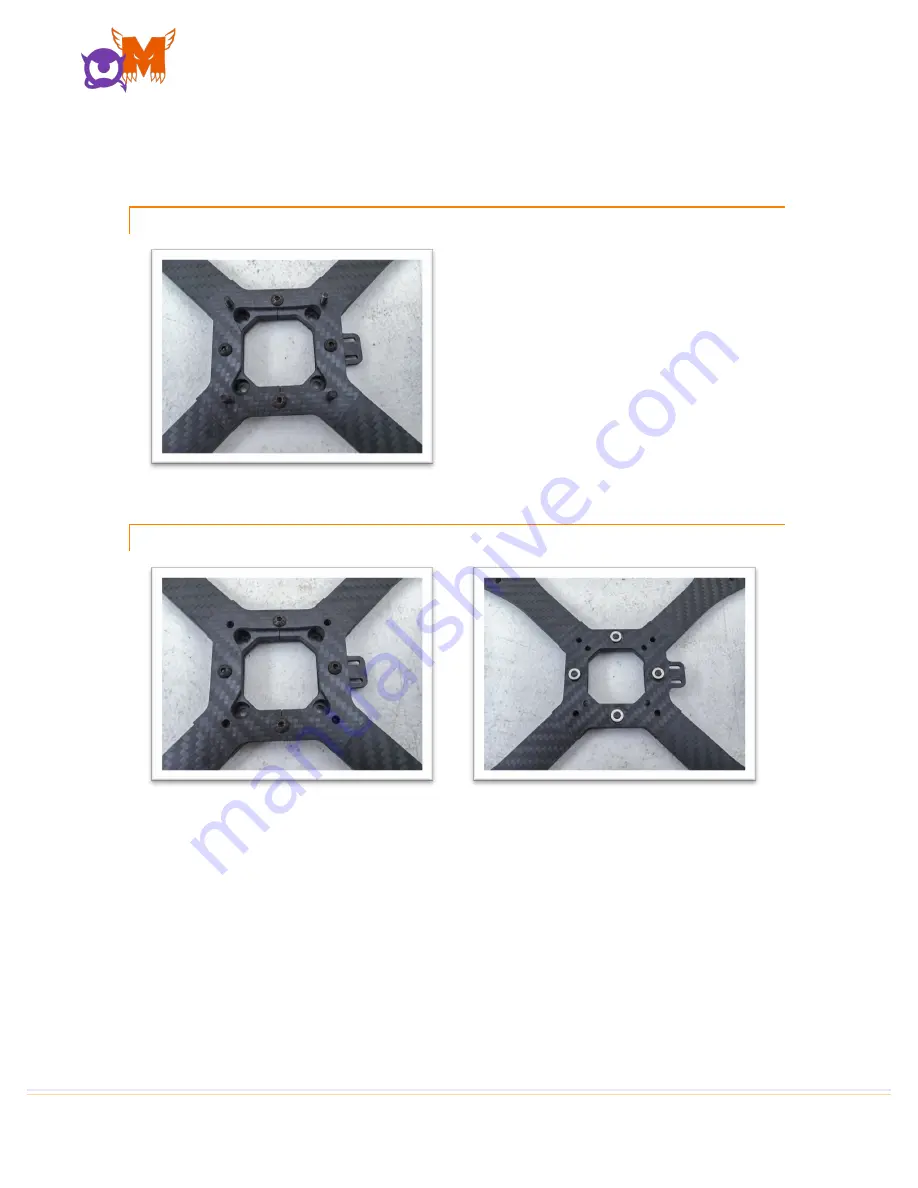
STEP 5, REMOVE ALIGNMENT BOLTS
We can now remove the
M3 X 14mm bolts
(J) that where temporarily used to
keep the sandwich together, they will be used later to mount the battery plate
and the standoffs. The pictures above show what the main frame sandwich
should look like from the bottom and from the top when completely assembled.
Summary of Contents for Wyvern 200
Page 1: ...WYVERN 200 ASSEMBLY GUIDE...


