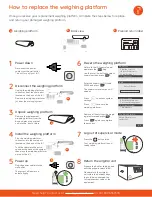
Need help? Contact us at: www.myquadient.com or call 1.800.636.7678
Insert an envelope into the
printing path to complete a test
print or press
to skip.
Visit
kb.quadient.us/iX-1_install
to watch the iX-1 installation video before you begin.
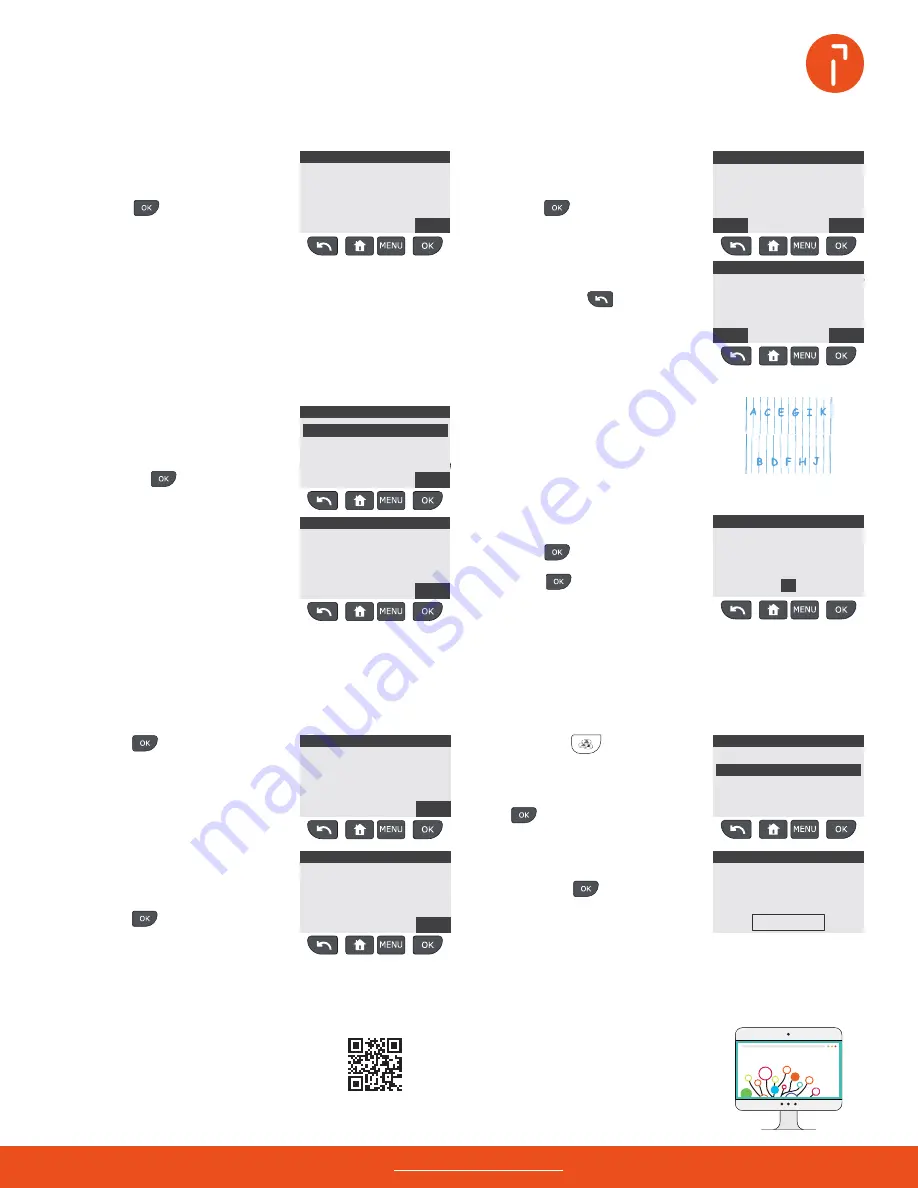
Configure your iX-1
Align the ink cartridge
Add postage funds
Press the
key to add
funds.
Use the down arrow button to
select add funds, then press
.
2
Confirm and test connection type
$_._.0
3
1
Initiate configuration
Ensure your LAN cable is
connected.
)
Press
again to align the
cartridge and complete the
installation process.
6
Test ink cartridge
alignment
From the pattern printed, choose
the letter where the top and bottom
lines are most closely aligned.
In this example, F would be selected,
but it may be a different letter for
your iX-1.
Press
to begin
configuring your iX-1.
Your iX-1 is now ready to use!
4
Confirm ink cartridge installation
Press
to Initiate
confirmation of ink cartridge
installation.
For more help with your
installation, please visit
kb.quadient.us/ix1_videos
5
Press
to initiate the print
alignment process.
p
For more information on your
mailing system, or to access
the user guide, please visit
www.myquadient.com
Myquadient.com
If the connection issue persists after shut down and power up,
chat with a support specialist on Myquadient or contact us for
help at 1.800.636.7678
Do not open the cover.
Ink cartridge installation was
completed during assembly.
Press
to continue.
Using the up and down arrow
buttons, select the letter and
press
.
If the server connection fails, a
message explaining the cause of
the error will appear.
Try to correct the cause and
retry. If the connection continues
to fail, unplug the system, wait 10
seconds, power up and try again.
Complete a connection test by
pressing .
Using the numeric keypad, enter
the amount of postage to add,
then press .
The minimum amount you can
add is $1.


