November 10, 2015
7061-197H
17
Explorer II Medium Wood Stove
Convection
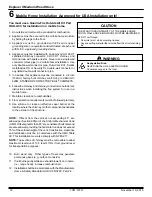
chamber top
Flue collar
Flue transition
Upper flue cover
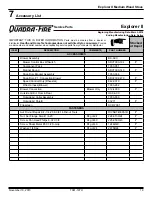
Figure.17.4.-.Completed.View
Figure.17.2
D...Reversible.Flue.Collar.and.Horizontal.Flue.
Heat Shield
Tools.Required:
#2 & #3 Phillips head screwdriver; 1/2"
wrench
The flue collar is reversible for either a top or rear venting
installation. The appliance is shipped with the flue collar in
the top vent position.
Converting.Collar.Fo
r Rear Vent Installation
and
Installing.Required.Horizontal.Flue.Shield
1. Remove flue collar (#3 Phillips) and convection chamber
top (#2 Phillips).
2. Remove 1 bolt from each side of the flue transition and
retrieve nuts attached to bolts.
3. Turn flue transition to horizontal position. Inspect rope
gasketing to ensure a leak free seal. Re-attach.
4. Remove upper flue cover from convection chamger top.
Rotate 180 degrees and reassebmle. Use paint supplied
to cover unpainted areas.
5. Reattach convection chamber top to flue collar to unit.
Figure.17.3
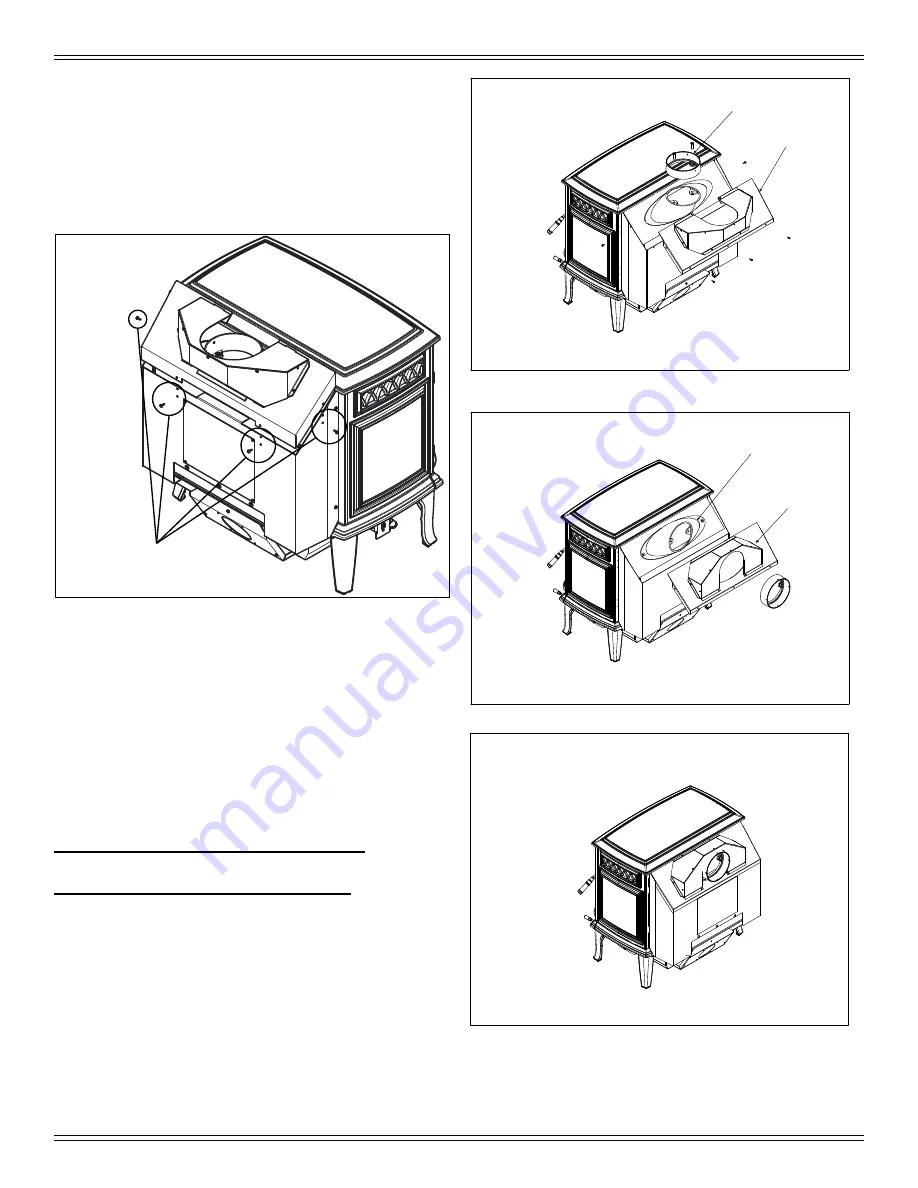
Mounting Holes
and Screws
C...Blower.(Cont’d)
The convection air top assembly can be raised to redirect
air over the top of the appliance by removing 4 screws and
lifting assembly to align with upper mount holes and reas-
semble.
(Figure.17.1)
NOTE:
This option is not available for horizontal installs.
Figure.17.1


