background image

Qualcast

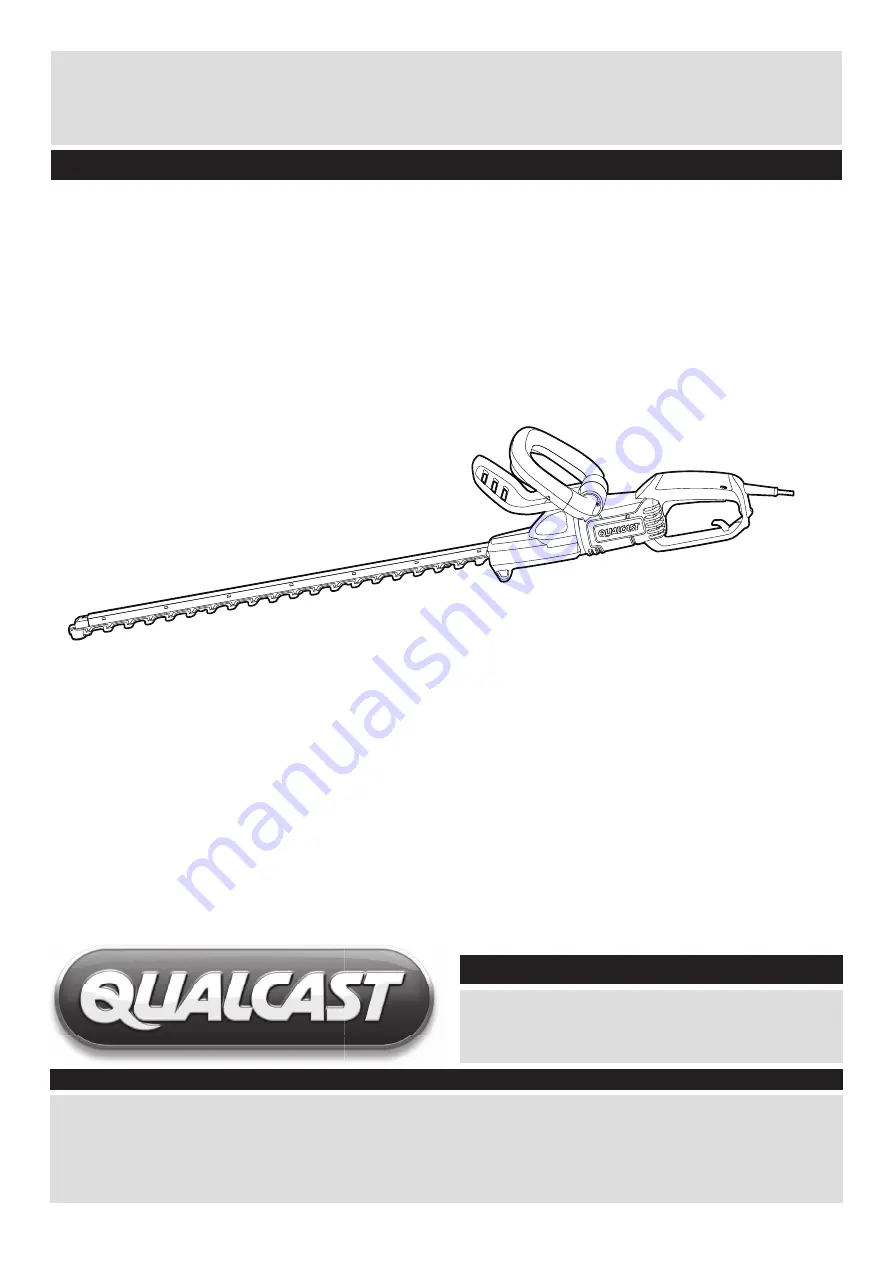
500W Electric Hedge Trimmer

Assembly Manual 

GHT500A1

Important

Please read these instructions fully before starting assembly

These instructions contain important information that will help you get the best from your 

hedge trimmer, ensuring it is assembled correctly and safely

If you need help or have damaged or missing parts, call the Customer Helpline

on 0344 801 0979.

After Sales Support

UK/Ireland  0344 801 0979
Web        WWW.ARGOS.CO.UK

ORIGINAL INSTRUCTIONS

Summary of Contents for GHT500A1

Page 1: ...These instructions contain important information that will help you get the best from your hedge trimmer ensuring it is assembled correctly and safely If you need help or have damaged or missing part...

Page 2: ...01 0979 2 ORIGINAL INSTRUCTIONS Contents Safety information 3 Warning Symbols 3 General safety 3 Personal safety 3 In the Box 4 Parts 4 Assembly 5 Preparing to assemble the hedge trimmer 5 Step 1 5 Op...

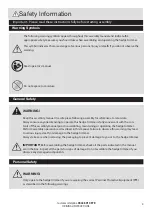
Page 3: ...rimmer Perform assembly operations as described in this manual Failure to observe this warning may lead to serious injury death or damage to the hedge trimmer Always take care when removing the packag...

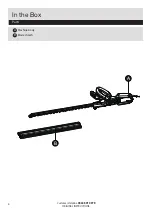
Page 4: ...Customer Helpline 0344 801 0979 4 ORIGINAL INSTRUCTIONS A B In the Box Parts Machine body Blade sheath A B...

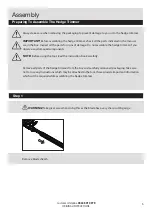
Page 5: ...s for signs of damage Do not assemble the hedge trimmer if you observe any damaged components NOTE Before using the tool read the instruction book carefully Remove all parts of the hedge trimmer from...

Page 6: ...product is intended for trimming hedges bushes and shrubs Observe the technical data for the maximum cutting capacity Do not cut branches exceeding the stated maximum capacity This product is intende...

Page 7: ...read these instructions fully before operating or maintaining your hedge trimmer These instructions contain important information that will help you get the best from your hedge trimmer ensuring it is...

Page 8: ...age 14 Preparing to Operate the Hedge trimmer 14 Step 1 To start or stop your hedge trimmer 14 Step 2 Top cutting 14 Step 3 Slide cutting 15 Maintenance 16 Maintenance 16 Troubleshooting 16 General Tr...

Page 9: ...tion Wear dust mask Remove plug from the mains immediately if the cable is damaged or cut Do not expose to moisture This product has been marked with a symbol relating to removing electric and electro...

Page 10: ...ounded c Do not expose power tools to rain or wet conditions Water entering a power tool will increase the risk of electric shock d Do not abuse the cord Never use the cord for carrying pulling or unp...

Page 11: ...use the power tool if the switch does not turn it on and off Any power tool that cannot be controlled with the switch is dangerous and must be repaired c Disconnect the plug from the power source and...

Page 12: ...7 Recommendation for the use of a residual current device with a tripping current of 30 mA or less 1 Use the Hedge trimmer only in daylight or good artificial light 2 Know how to stop the Hedge trimm...

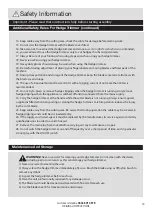
Page 13: ...pings when the appliance is switched off and disconnected from the mains supply 24 Carry the hedge trimmer at the handle while the cutter blade is not running Always ensure guard supplied is fitted wh...

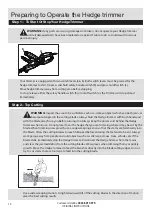
Page 14: ...lts WARNING Inspect the area to be cut before each use remove objects which can be thrown or become entangled in the cutting blades Always hold the Hedge trimmer with both hands and with the blade awa...

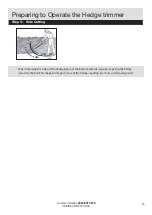
Page 15: ...IONS Preparing to Operate the Hedge trimmer When trimming the sides of the hedge begin at the bottom and cut upwards tapering the hedge inward at the top This shape will expose more of the hedge resul...

Page 16: ...op of the machine The following chart lists problem symptoms possible causes and corrective action if your electric hedge trimmer does not operate properly If these do not identify and correct the pro...

Page 17: ...the materials being cut or drilled The tool being in good condition and well maintained The use the correct accessory for the tool and ensuring it is sharp and in good condition The tightness of the...

Page 18: ...roduct shall not be discarded with household waste but that it shall be returned to a collection system which conforms to the European Directive 2002 96 CE It will then be recycled or dismantled in or...

Page 19: ...ot correspond with the colored markings identifying the terminals in your plug proceed as follows The wire which is colored blue must be connected to the terminal which is marked with N The wire which...

Page 20: ...here the fault is due to misuse abuse use in contravention of the instructions or where the product has been the subject of unauthorised modifications or alterations or has been the subject of commerc...

Page 21: ......

Page 22: ......

Page 23: ......

Page 24: ......

Reviews: